주요 콘텐츠로 건너뛰기

HP Beats Special Edition 15-p390nr WiFi Card Replacement

필요한 것

  1. HP Beats Special Edition 15-p390nr WiFi Card  Replacement, Keyboard: 1 단계, 이미지 1/2 HP Beats Special Edition 15-p390nr WiFi Card  Replacement, Keyboard: 1 단계, 이미지 2/2
    • Turn computer off before starting.

    • Turn computer over and begin removing noticeable 8mm screws with a Phillips #0 screwdriver.

  2. HP Beats Special Edition 15-p390nr WiFi Card  Replacement: 2 단계, 이미지 1/2 HP Beats Special Edition 15-p390nr WiFi Card  Replacement: 2 단계, 이미지 2/2
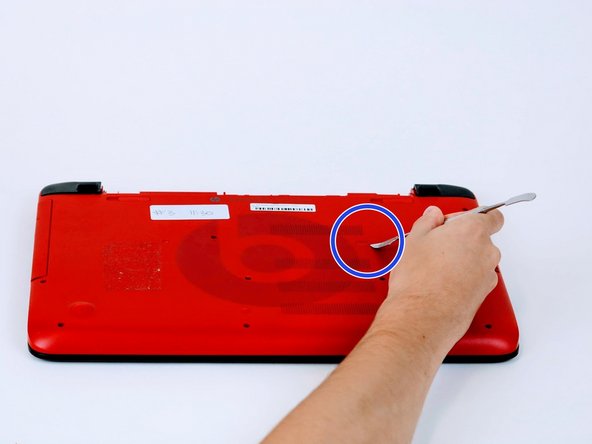
    • Some screws may be hidden under a screw cover.

    • Simply use a metal spudger to pop off the screw cover to unveil the hidden 8mm screw.

    • Screw cover may fly when removing.

  3. HP Beats Special Edition 15-p390nr WiFi Card  Replacement: 3 단계, 이미지 1/2 HP Beats Special Edition 15-p390nr WiFi Card  Replacement: 3 단계, 이미지 2/2
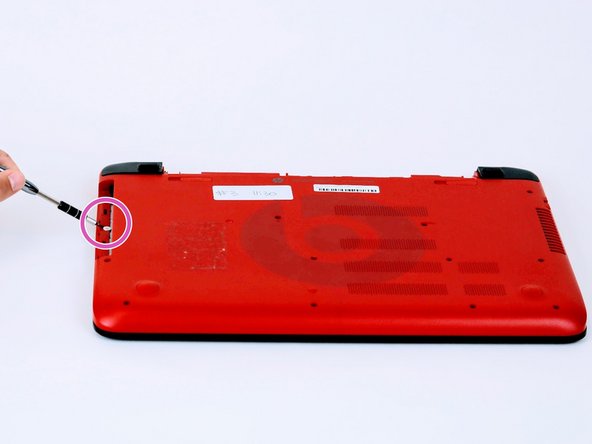
    • Once screws are removed you may now remove the optical drive.

    • Remove the hidden 3mm screw in the optical drive port.

  4. HP Beats Special Edition 15-p390nr WiFi Card  Replacement: 4 단계, 이미지 1/2 HP Beats Special Edition 15-p390nr WiFi Card  Replacement: 4 단계, 이미지 2/2
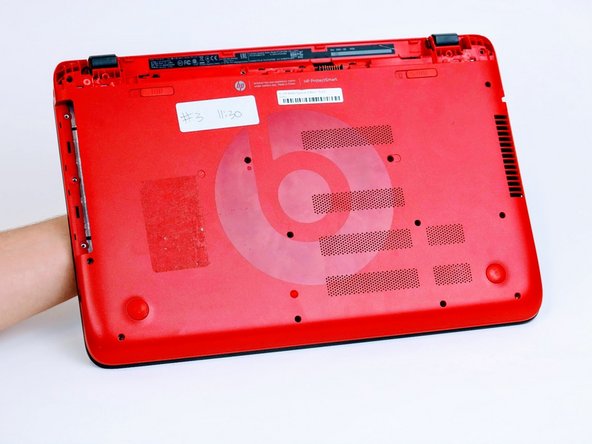
    • Remove the rubberized feet located on the left and right shoulder of the computer to uncover hidden 8mm screws.

    • Popping noises are normal.

    • The shoulder caps are removable. Underneath there are 2 additional screws.

  5. HP Beats Special Edition 15-p390nr WiFi Card  Replacement: 5 단계, 이미지 1/2 HP Beats Special Edition 15-p390nr WiFi Card  Replacement: 5 단계, 이미지 2/2
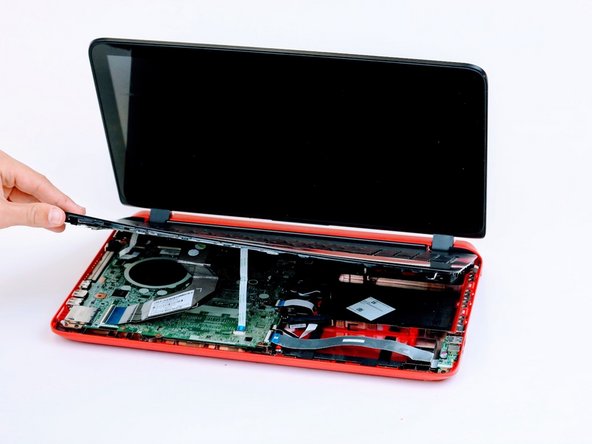
    • Flip computer over and wedge metal spudger along the computer to pop off keyboard panel

  6. HP Beats Special Edition 15-p390nr WiFi Card  Replacement: 6 단계, 이미지 1/2 HP Beats Special Edition 15-p390nr WiFi Card  Replacement: 6 단계, 이미지 2/2
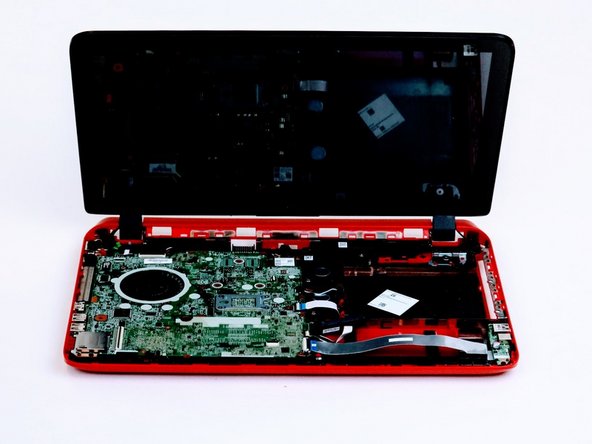
    • Unclip wires connected to the motherboard and remove keyboard from the device.

    • 17 screws should be removed up to this point.

  7. HP Beats Special Edition 15-p390nr WiFi Card  Replacement, WiFi Card: 7 단계, 이미지 1/1
    • Once the keyboard panel is removed you will need to locate the WiFi card

  8. HP Beats Special Edition 15-p390nr WiFi Card  Replacement: 8 단계, 이미지 1/1
    • Remove two screws using the Phillips #0 screwdriver.

  9. HP Beats Special Edition 15-p390nr WiFi Card  Replacement: 9 단계, 이미지 1/1
    • Remove wire connected to the back of the card by pulling it straight up.

  10. HP Beats Special Edition 15-p390nr WiFi Card  Replacement: 10 단계, 이미지 1/1
    • Pull card away from you to remove it from the motherboard.

    • Refrain from wiggling or moving the card around, while connected to the motherboard, to prevent damage to connector pins.

결론

To reassemble your device, follow these instructions in reverse order.

다른 3명이 해당 안내서를 완성하였습니다.

Evan Rice

회원 가입일: 10/02/18

506 평판

안내서 3개 작성하였습니다

댓글 0개

댓글 쓰기

조회 통계:

24 시간 전: 0

7일 전: 4

30일 전: 13

전체 시간: 1,105