주요 콘텐츠로 건너뛰기

HP Chromebook 11-2210nr LCD Screen Replacement

필요한 것

  1. HP Chromebook 11-2210nr LCD Screen Replacement, LCD Screen: 1 단계, 이미지 1/1
    • Remove adhesive tabs using fine point tweezers or a metal spudger.

    • These adhesives are typically located at the bottom left and right corners of the screen.

  2. HP Chromebook 11-2210nr LCD Screen Replacement: 2 단계, 이미지 1/1
    • Remove the one 3 mm screw located underneath both adhesive layers using a Phillips #0 screwdriver.

  3. HP Chromebook 11-2210nr LCD Screen Replacement: 3 단계, 이미지 1/2 HP Chromebook 11-2210nr LCD Screen Replacement: 3 단계, 이미지 2/2
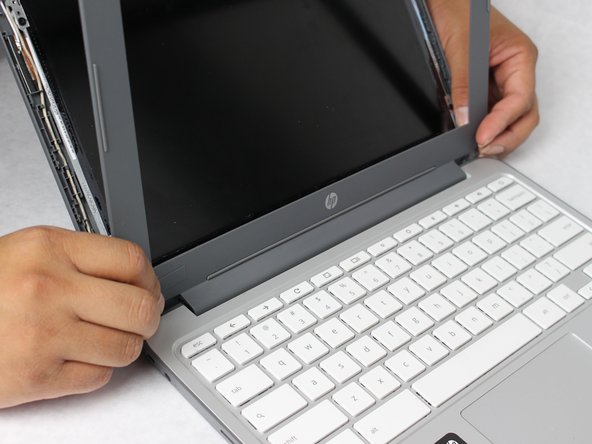
    • Using a metal spudger, gently pry the front plastic frame (or bezel) off of the device by inserting the tool along the inside edge of the bezel.

    • Completely open the screen as far as possible to remove the bottom edge of the bezel from the laptop.

    • Be sure to disconnect the bezel from all the way around the screen before completely removing.

  4. HP Chromebook 11-2210nr LCD Screen Replacement: 4 단계, 이미지 1/2 HP Chromebook 11-2210nr LCD Screen Replacement: 4 단계, 이미지 2/2
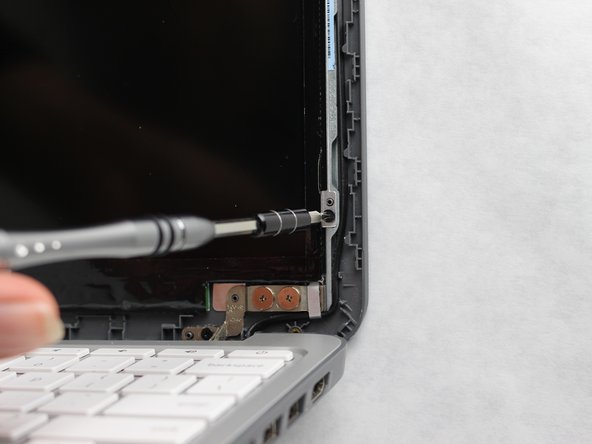
    • Remove the four black 3 mm screws along the left and right sides of the LCD screen using a Phillips #0 screwdriver.

  5. HP Chromebook 11-2210nr LCD Screen Replacement: 5 단계, 이미지 1/1
    • After removing all screws, gently lower the LCD screen onto the keyboard.

    • The LCD screen will not be completely disconnected from the laptop just yet.

  6. HP Chromebook 11-2210nr LCD Screen Replacement: 6 단계, 이미지 1/2 HP Chromebook 11-2210nr LCD Screen Replacement: 6 단계, 이미지 2/2
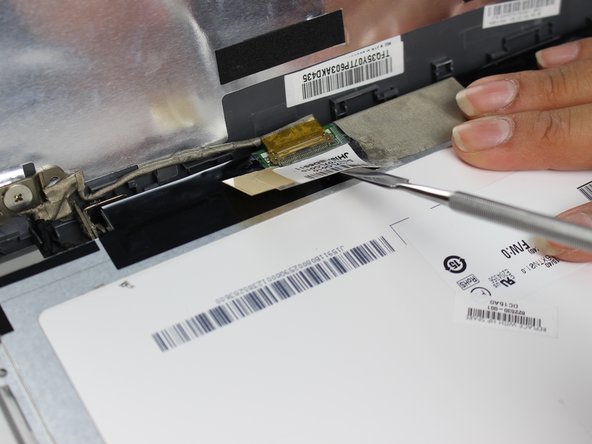
    • Gently use the spudger to pry off the tape on top of the gold chip. You may also use your hands to gently remove the tape.

  7. HP Chromebook 11-2210nr LCD Screen Replacement: 7 단계, 이미지 1/2 HP Chromebook 11-2210nr LCD Screen Replacement: 7 단계, 이미지 2/2
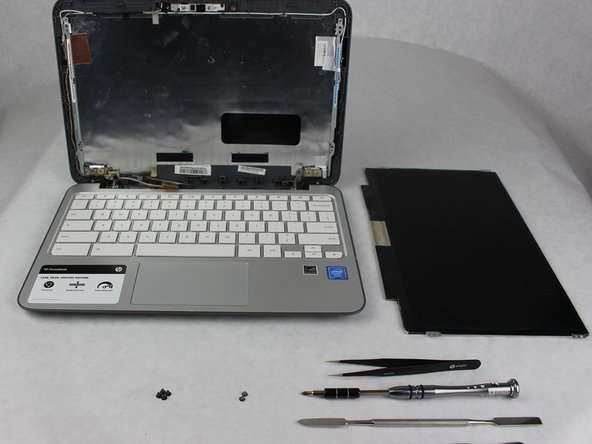
    • Remove the display cable by gently sliding out the cable away from the LCD screen.

    • This action disconnects the LCD screen from the rest of the device, allowing it to be completely removed.

결론

To reassemble your device, follow these instructions in reverse order.

다른 한 분이 해당 안내서를 완성하였습니다.

Kimberly Rodriguez

회원 가입일: 10/02/18

425 평판

안내서 2개 작성하였습니다

Sam Houston State, Team S11-G3, Blackburne Fall 2018 Sam Houston State, Team S11-G3, Blackburne Fall 2018 회원

SHSU-BLACKBURNE-F18S11G3

4 회원들

안내서 5개 작성하였습니다

댓글 0개

댓글 쓰기

조회 통계:

24 시간 전: 0

7일 전: 1

30일 전: 2

전체 시간: 327