소개
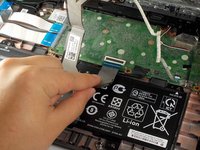
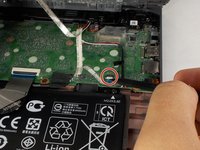
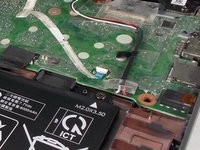
If your HP Chromebook 14-ca061dx is not charging, won’t turn on, or continuously shuts off by itself and you have determined that that battery needs replacing, you can replace it with this guide. Be sure to remove all the internal pieces with caution, for they can be broken easily. Before opening up the Chromebook, make sure the battery is completely drained because having a charged battery could be a hazard.
필요한 것
-
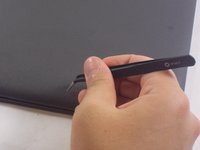
이 단계에 사용된 도구:Tweezers$3.99
-
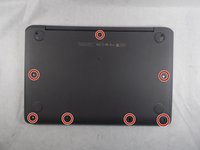
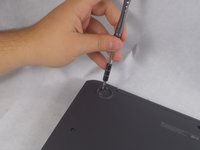
Flip the Chromebook to the underside with the hinge at the top.
-
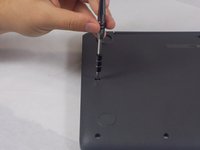
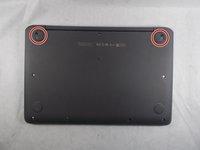
Remove the seven, small rubber stoppers using angled tweezers.
-
-


To reassemble your device, follow these instructions in reverse order.
To reassemble your device, follow these instructions in reverse order.
다른 4명이 해당 안내서를 완성하였습니다.
팀

UMass Dartmouth, Team S2-G5, Barthe Fall 2019 UMass Dartmouth, Team S2-G5, Barthe Fall 2019 회원
UMASSD-BARTHE-F19S2G5
3 회원들
안내서 6개를 작성함