주요 콘텐츠로 건너뛰기

HP Chromebook CB2L Keyboard Replacement

필요한 것

  1. HP Chromebook CB2L Keyboard Replacement, Keyboard: 1 단계, 이미지 1/1
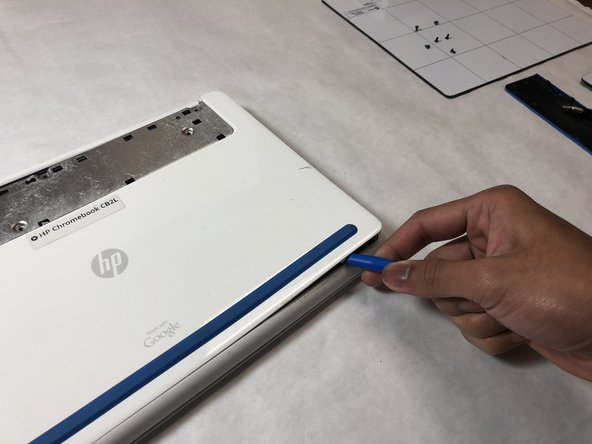
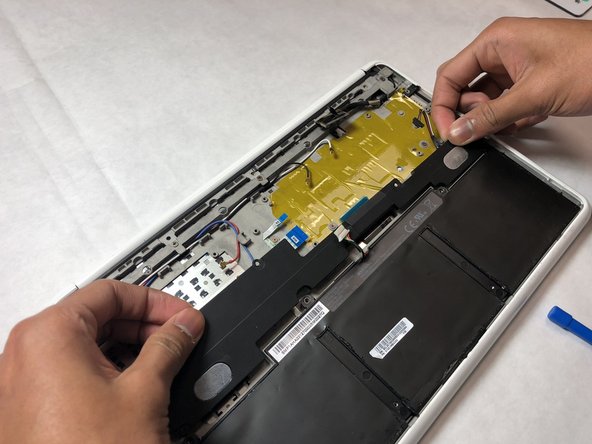
    • Flip the Chromebook over so the blue panels are showing.

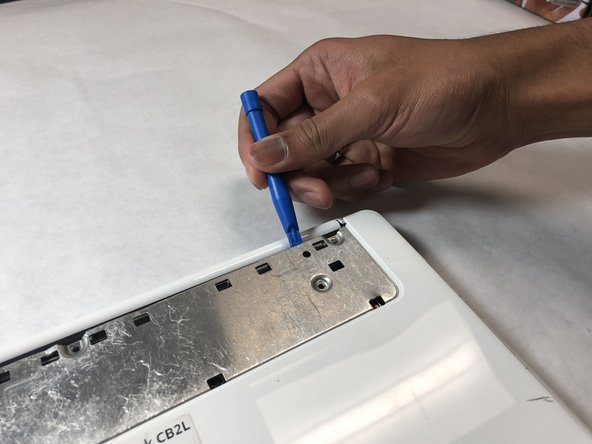
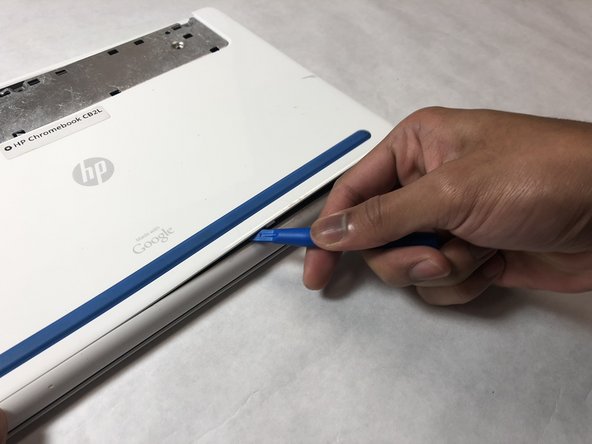
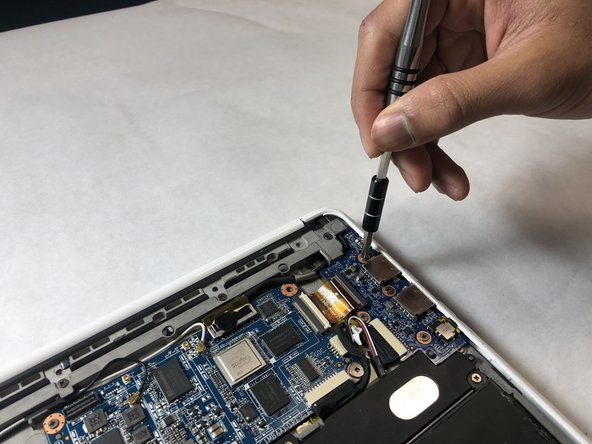
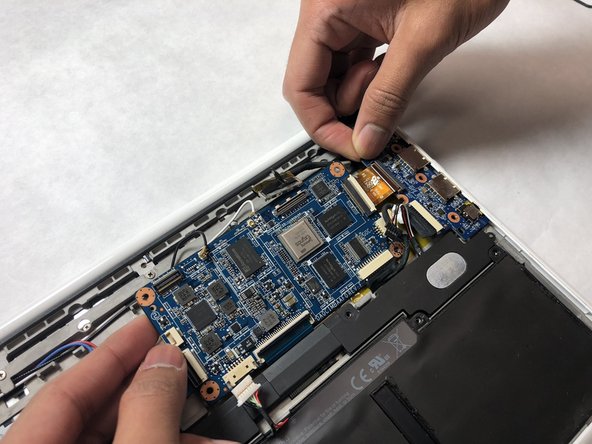
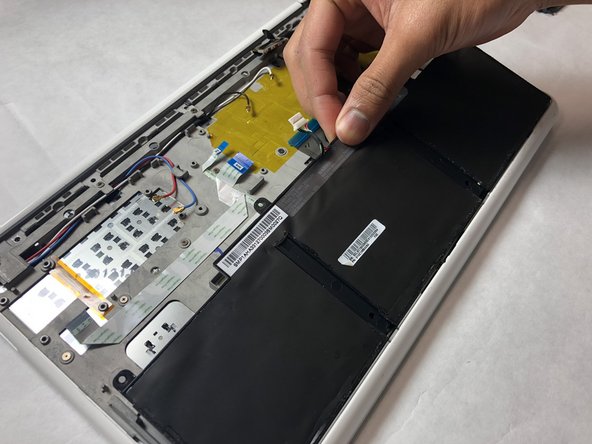
    • Starting in the top left or right corner, use the plastic opening tool to remove the large blue panel.

    • This piece has fragile plastic connectors. Don't damage them.

  2. HP Chromebook CB2L Keyboard Replacement: 2 단계, 이미지 1/2 HP Chromebook CB2L Keyboard Replacement: 2 단계, 이미지 2/2
    • Remove six 4.77mm screws using the Phillips #1 screwdriver.

  3. HP Chromebook CB2L Keyboard Replacement: 3 단계, 이미지 1/3 HP Chromebook CB2L Keyboard Replacement: 3 단계, 이미지 2/3 HP Chromebook CB2L Keyboard Replacement: 3 단계, 이미지 3/3
    • Starting in the top right-hand corner of the exposed metal piece, use the blue plastic opening tool to remove the back panel.

  4. HP Chromebook CB2L Keyboard Replacement: 4 단계, 이미지 1/2 HP Chromebook CB2L Keyboard Replacement: 4 단계, 이미지 2/2
    • Remove twenty 3.42mm screws with the Phillips #1 screwdriver.

  5. HP Chromebook CB2L Keyboard Replacement: 5 단계, 이미지 1/2 HP Chromebook CB2L Keyboard Replacement: 5 단계, 이미지 2/2
    • Remove the black and white antennae wires, the white ribbon cables, the large black connecter, and the speaker cable from the motherboard.

    • Grabbing the boards by the edges, remove the motherboard and audio/USB board.

  6. HP Chromebook CB2L Keyboard Replacement: 6 단계, 이미지 1/3 HP Chromebook CB2L Keyboard Replacement: 6 단계, 이미지 2/3 HP Chromebook CB2L Keyboard Replacement: 6 단계, 이미지 3/3
    • Remove the red and blue antennae wires from the SIM card board.

    • Remove the SIM card tray.

    • Flip the board over and use the plastic opening tool to remove the ribbon cable, then remove the board.

  7. HP Chromebook CB2L Keyboard Replacement: 7 단계, 이미지 1/2 HP Chromebook CB2L Keyboard Replacement: 7 단계, 이미지 2/2
    • Remove the speakers and battery.

  8. HP Chromebook CB2L Keyboard Replacement: 8 단계, 이미지 1/2 HP Chromebook CB2L Keyboard Replacement: 8 단계, 이미지 2/2
    • Remove eighteen 2.5mm screws using the Phillips #1 screwdriver.

    • Flip the Chromebook so the top is on the table and the push out the keyboard from the back.

결론

To reassemble your device, follow these instructions in reverse order.

Nathan Petrie

회원 가입일: 10/31/18

277 평판

안내서 2개 작성하였습니다

IUPUI, Team S1-G4, Harley Fall 2018 IUPUI, Team S1-G4, Harley Fall 2018 회원

IUPUI-HARLEY-F18S1G4

3 회원들

안내서 2개 작성하였습니다

댓글 0개

댓글 쓰기

조회 통계:

24 시간 전: 0

7일 전: 1

30일 전: 1

전체 시간: 169