소개
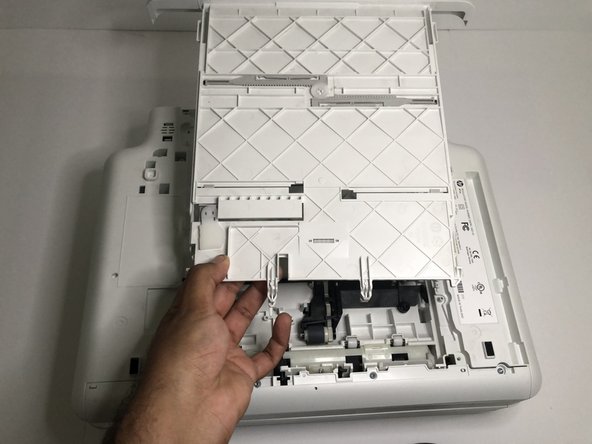
If your HP ENVY 6055e printer has lost the ability to feed paper into the printer, you likely have a defective input tray. This guide will demonstrate how to replace the input tray of an HP ENVY 6055e printer. All you need for this guide is a T3 Torx Screwdriver, and you are ready to begin the replacement.
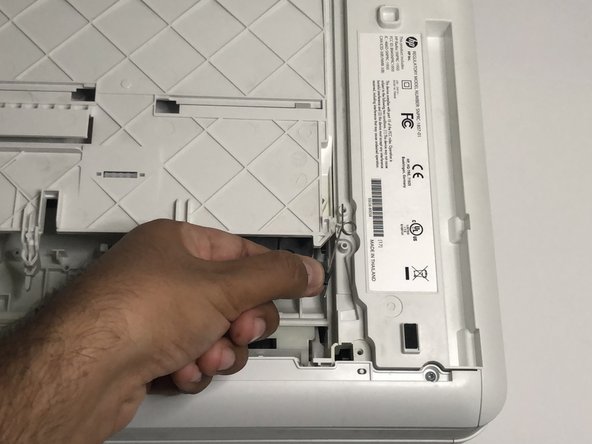
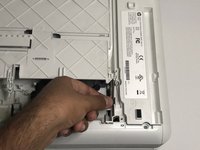
Make sure you have unplugged your device before you begin to repair it.
필요한 것


To reassemble your device, follow these instructions in reverse order.
다른 4명이 해당 안내서를 완성하였습니다.

팀

CSU Los Angeles, Team 3-69, Briggs Fall 2022 CSU Los Angeles, Team 3-69, Briggs Fall 2022 회원
CSULA-BRIGGS-F22S3G69
1 회원
안내서 3개를 작성함