소개
If the tablet experiences one of the three symptoms below, there might be a problem with the motherboard.
- The initial start-up functions appear like indicative light, fan, and hard drive sound, but disappears after a while, i.e., 5 – 3 minutes.
- A high pitched sound comes from the laptop when you press the “on” button.
- Your screen is projecting a black screen, even though all other components such as fans, indication light and hard drive seems to be working perfectly.
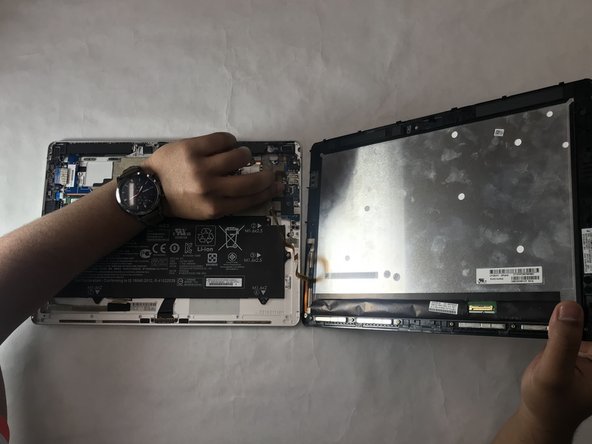
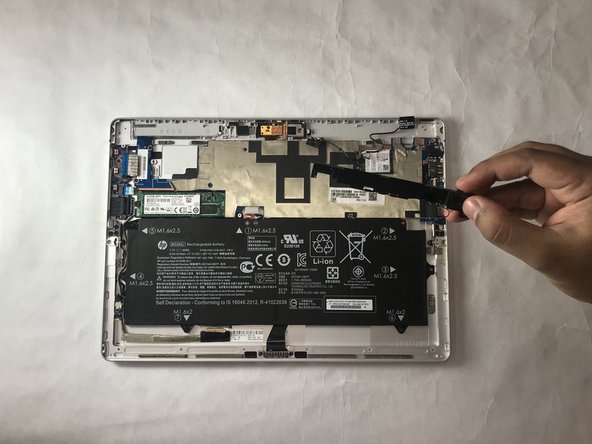
Before going through the replacement process, make sure your tablet is turned off and not connected to the power cord.
필요한 것


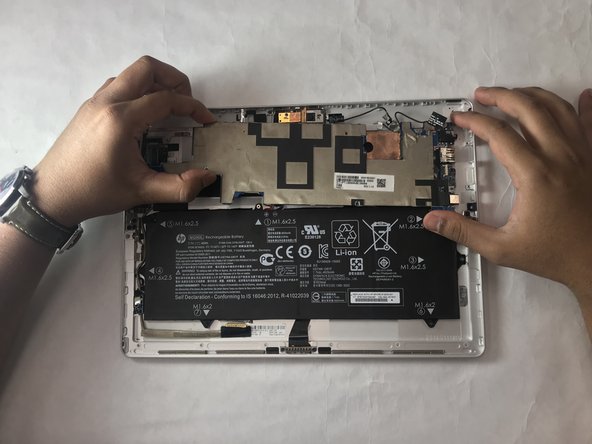

To reassemble your device, follow these instructions in reverse order.
To reassemble your device, follow these instructions in reverse order.
다른 3명이 해당 안내서를 완성하였습니다.
팀

IUPUI, Team S1-G5, Harley Summer 2019 IUPUI, Team S1-G5, Harley Summer 2019 회원
IUPUI-HARLEY-SU19S1G5
4 회원들
안내서 2개 작성하였습니다
댓글 한 개
¿basta con esto para cambiar el cable LCD?
Is this enough to replace the LCD wire?