소개
Use this guide to replace the keyboard on a HP EliteBook 840 G7
필요한 것
-
-
-
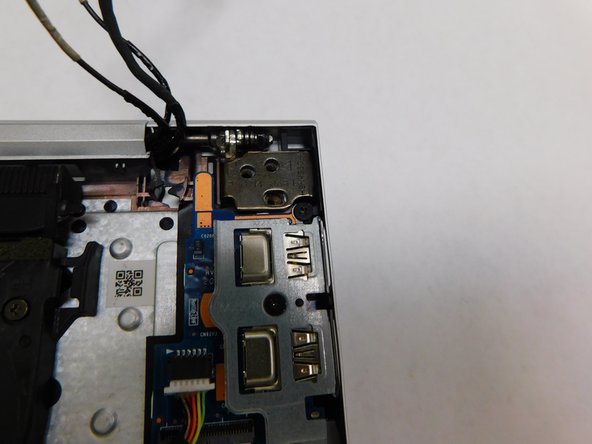
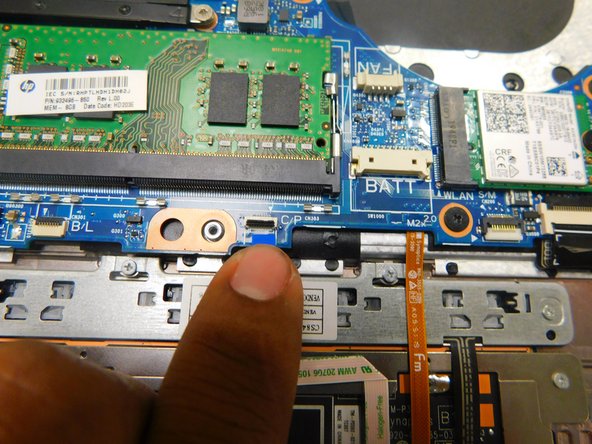
Pull on the bundled connector to remove.
-
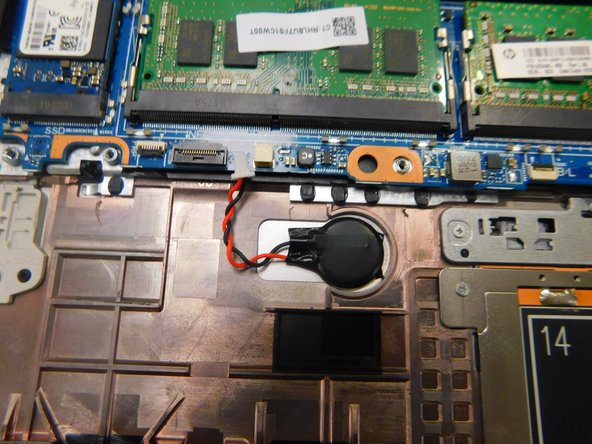
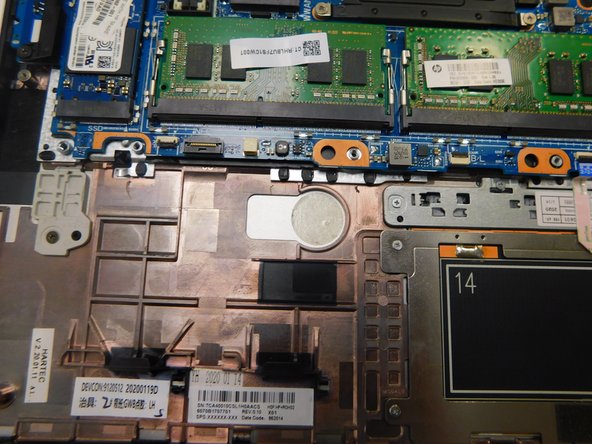
Remove the speaker system from the board.
-


To reassemble your device, follow these instructions in reverse order.
To reassemble your device, follow these instructions in reverse order.
다른 5명이 해당 안내서를 완성하였습니다.
팀

Gateway, Team 1-1, Pee Spring 2022 Gateway, Team 1-1, Pee Spring 2022 회원
GCC-PEE-S22S1G1
4 회원들
안내서 5개 작성하였습니다
댓글 3개
the keyboard is part of the top shell and is rivetted in, you need to replace the whole part