소개
The LCD screen of the HP Envy 5660 tells the user about the status of the printing. It also informs the user about the ink levels and provides different functions, such as copying and faxing documents. There may be a chance that the LCD doesn't work anymore and this guide will help the user replace it.
필요한 것
-
-
-
-
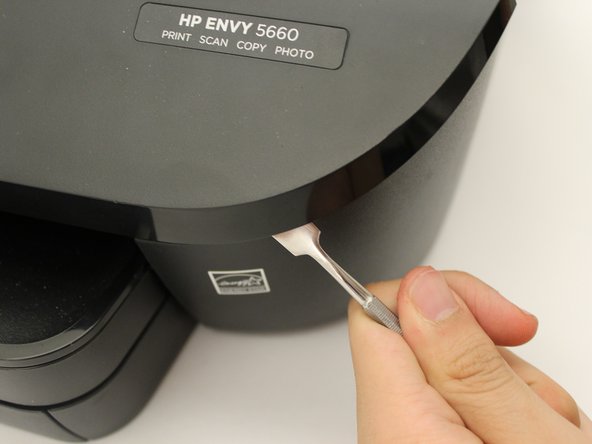
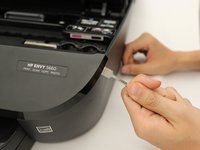
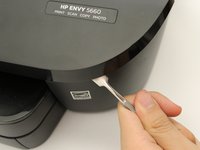
Use a metal spudger to pry open the front panel.
-
Work your way all the way around the front panel doing the same.
-
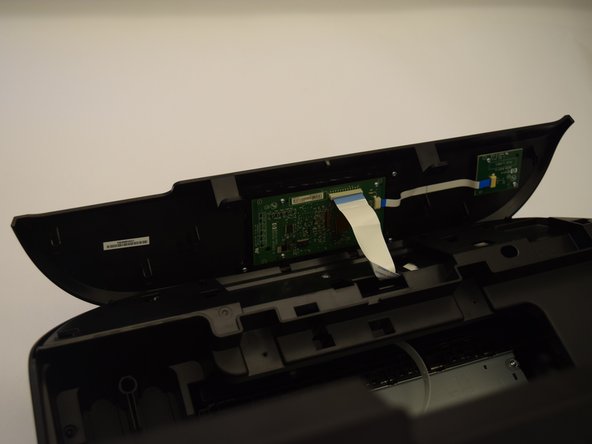
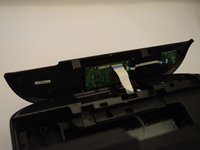
Gently flip the cover over, exposing the motherboard.
-
-
-
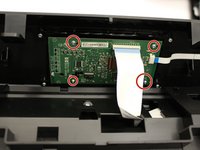
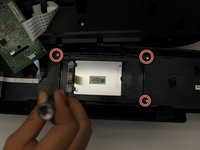
Remove the four 4.5 mm screws from the motherboard with a T6 bit.
-
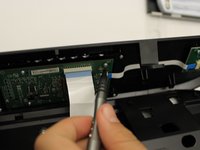
Gently remove the motherboard from the top of the LCD, but make sure the ribbon cables are still attached.
-
-
-
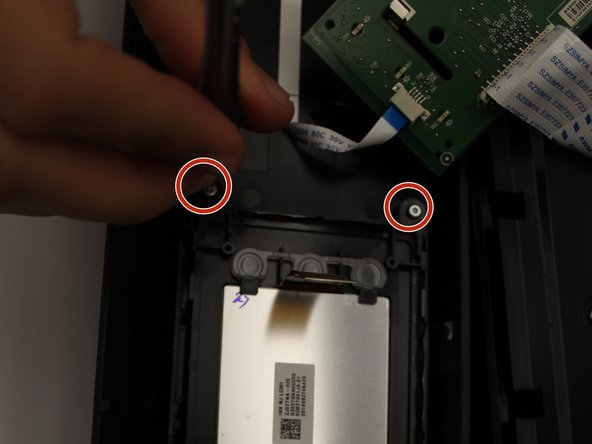
Remove the four 5 mm screws with a T6 bit, allowing you to separate the LCD from the cover,
-
-
-
Place the metal spudger underneath the LCD and gently lift up to remove the LCD.
-


To reassemble your device, follow these instructions in reverse order.
다른 한 분이 해당 안내서를 완성하였습니다.
팀

Cal Poly, Team S1-G6, Livingston Winter 2018 Cal Poly, Team S1-G6, Livingston Winter 2018 회원
CPSU-LIVINGSTON-W18S1G6
4 회원들
안내서 10개를 작성함
2가이드 댓글
Great description but there is a part needed - the LCD. Is that part available? How do I get it?
Thanks,
PJE
Ditto, I'm in the same position, did you ever find the part/LCD replacement screen?
Tessa Robles - 답글 공유