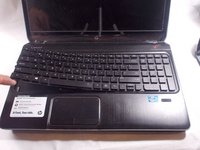
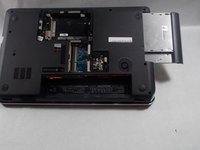
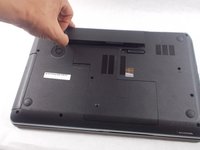
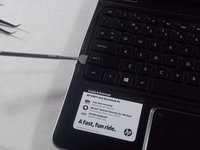
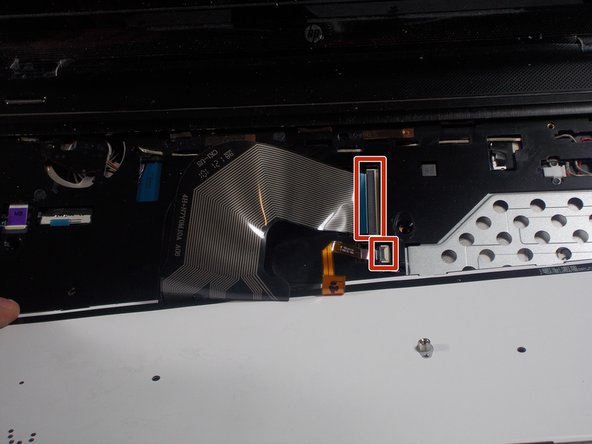
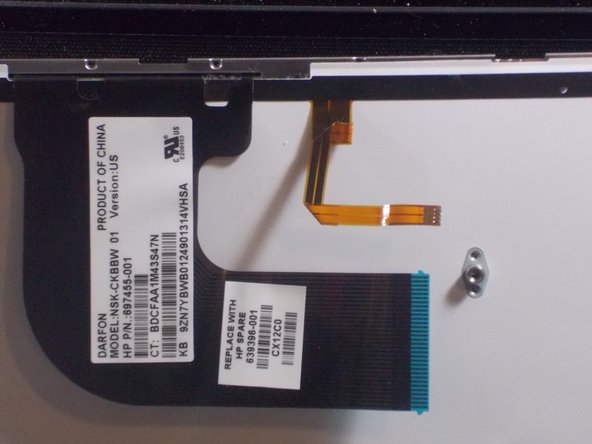
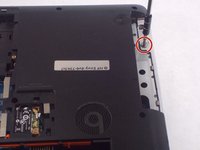
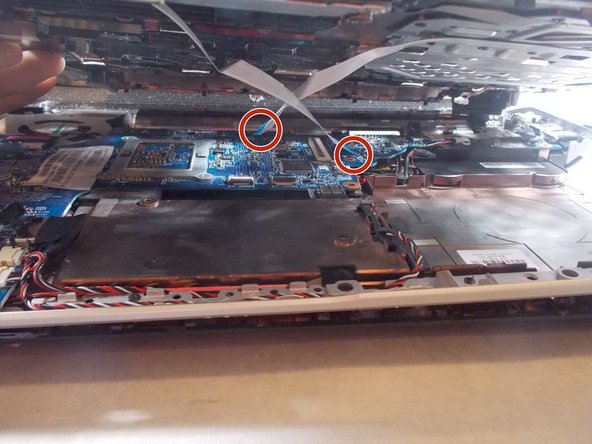
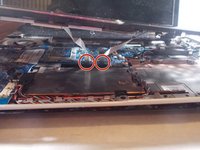
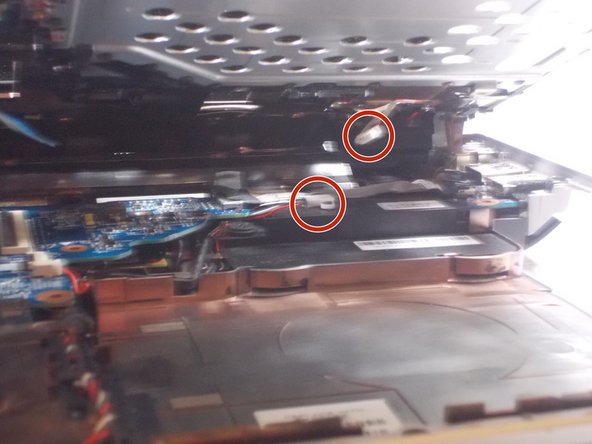
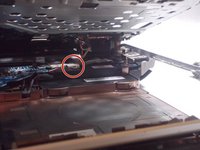
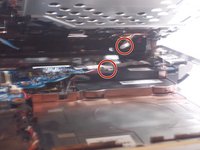
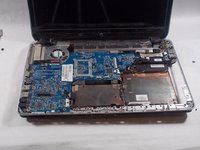
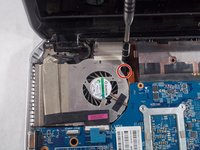
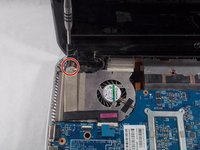
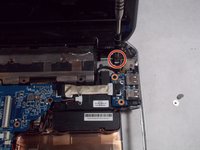
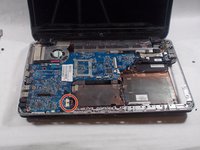
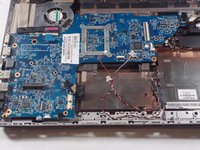
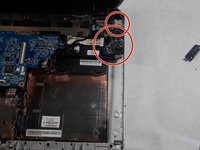
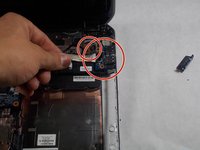
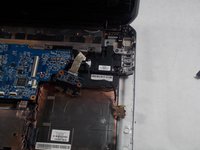
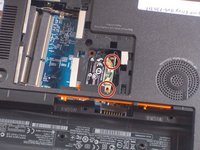
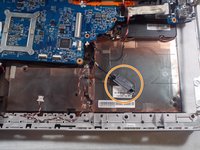
주요 콘텐츠로 건너뛰기

HP Envy dv6-7363cl Fan Replacement

필요한 것

  1. HP Envy dv6-7363cl Fan Replacement, Battery: 1 단계, 이미지 1개 중 1개
    • Flip the device upside-down so that its bottom is facing up.

  2. HP Envy dv6-7363cl Fan Replacement: 2 단계, 이미지 1개 중 1개
    • Push the lever underneath the battery to the left.

  3. HP Envy dv6-7363cl Fan Replacement: 3 단계, 이미지 2개 중 1개 HP Envy dv6-7363cl Fan Replacement: 3 단계, 이미지 2개 중 2개
    • Lift the battery up out of its socket.

  4. HP Envy dv6-7363cl Fan Replacement, Fan: 4 단계, 이미지 1개 중 1개
    • Remove the circled screws from the back panel.

  5. HP Envy dv6-7363cl Fan Replacement: 5 단계, 이미지 1개 중 1개
    • Lift and remove the back panel of the device.

  6. HP Envy dv6-7363cl Fan Replacement: 6 단계, 이미지 3개 중 1개 HP Envy dv6-7363cl Fan Replacement: 6 단계, 이미지 3개 중 2개 HP Envy dv6-7363cl Fan Replacement: 6 단계, 이미지 3개 중 3개
    • Flip the laptop back over and carefully pry the keyboard frame out of the device.

  7. HP Envy dv6-7363cl Fan Replacement: 7 단계, 이미지 3개 중 1개 HP Envy dv6-7363cl Fan Replacement: 7 단계, 이미지 3개 중 2개 HP Envy dv6-7363cl Fan Replacement: 7 단계, 이미지 3개 중 3개
    • Lift the keyboard out of the device

    • Carefully remove ribbon cables.

  8. HP Envy dv6-7363cl Fan Replacement: 8 단계, 이미지 3개 중 1개 HP Envy dv6-7363cl Fan Replacement: 8 단계, 이미지 3개 중 2개 HP Envy dv6-7363cl Fan Replacement: 8 단계, 이미지 3개 중 3개
    • Flip device onto its back

    • Remove disk tray and circled screw.

  9. HP Envy dv6-7363cl Fan Replacement: 9 단계, 이미지 2개 중 1개 HP Envy dv6-7363cl Fan Replacement: 9 단계, 이미지 2개 중 2개
    • Flip device right-side-up and remove ribbon cables from plastic cover beneath keyboard. Remove plastic cover from device.

  10. HP Envy dv6-7363cl Fan Replacement: 10 단계, 이미지 3개 중 1개 HP Envy dv6-7363cl Fan Replacement: 10 단계, 이미지 3개 중 2개 HP Envy dv6-7363cl Fan Replacement: 10 단계, 이미지 3개 중 3개
    • Disconnect red cord from DVD drive and remove DVD drive.

  11. HP Envy dv6-7363cl Fan Replacement: 11 단계, 이미지 3개 중 1개 HP Envy dv6-7363cl Fan Replacement: 11 단계, 이미지 3개 중 2개 HP Envy dv6-7363cl Fan Replacement: 11 단계, 이미지 3개 중 3개
    • Remove circled screws.

  12. HP Envy dv6-7363cl Fan Replacement: 12 단계, 이미지 2개 중 1개 HP Envy dv6-7363cl Fan Replacement: 12 단계, 이미지 2개 중 2개
    • Disconnect red and white cords from blue circuit board.

  13. HP Envy dv6-7363cl Fan Replacement: 13 단계, 이미지 3개 중 1개 HP Envy dv6-7363cl Fan Replacement: 13 단계, 이미지 3개 중 2개 HP Envy dv6-7363cl Fan Replacement: 13 단계, 이미지 3개 중 3개
    • Gently pull circled pieces from their holsters.

  14. HP Envy dv6-7363cl Fan Replacement: 14 단계, 이미지 2개 중 1개 HP Envy dv6-7363cl Fan Replacement: 14 단계, 이미지 2개 중 2개
    • Turn device onto its back and remove circled screws from Wi-Fi card.

    • Flip device back over and unscrew disk reader

  15. HP Envy dv6-7363cl Fan Replacement: 15 단계, 이미지 1개 중 1개
    • Remove circled screws from blue circuit board and lift fan assembly out of device.

결론

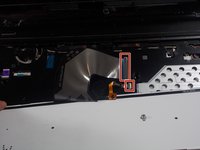
To reassemble your device, follow these instructions in reverse order.

다른 한 분이 해당 안내서를 완성하였습니다.

작성자

7다른 기여자 명과 함께

dylananthony

회원 가입일: 10/20/16

564 평판

안내서 3개를 작성함

UMass Dartmouth, Team S2-G5, Bernier Spring 2018 UMass Dartmouth, Team S2-G5, Bernier Spring 2018 회원

UMASSD-BERNIER-S18S2G5

3 회원들

안내서 4개를 작성함

댓글 2개

My laptop is a slightly different model and everything provided by the author is likely accurate for their model. I only mention this to caution that your repair may be slightly different depending on your specific model. Mine was different in a few areas though held mostly true with my dv6t-7000. Cheers!

zabadoo - 답글

Salom menga shu modeldagi kompyuterni ustgi qopqogʻini topib pochta qila olasizmi iloji boʻlsa iltimos nomerim +998991768069 shu nomerga telfon qib bogʻlanishiz mumkin men bilan

Shamsullo Quzratov - 답글

댓글 쓰기

조회 통계:

지난 24시간: 1

지난 7일: 6

지난 30일: 25

전체 시간: 4,626