소개
DVD RW Double-Layer with SuperMulti drive. Part Number 686916-001
Also known as a DVD player, the optical drive allows the user to play DVD’s or CD’s. This Optical drive also allows the user to create/burn new DVD’s and CD’s.
The Optical Drive can suffer hardware issues which might prevent it from reading DVD’s. You can run a HP PC Hardware Diagnostics test at Support.hp.com. If the diagnostic test is unable to find the problem, the Optical Drive itself could be faulty.
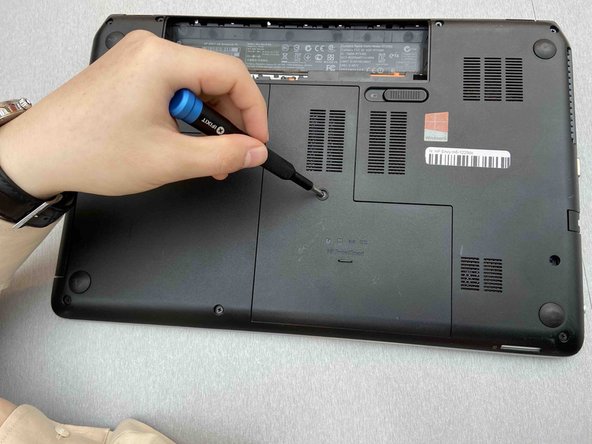
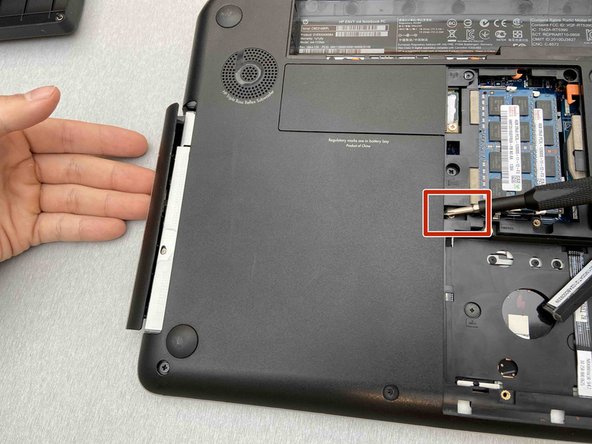
This guide will explain how to remove the Optical Drive for replacement.
Check out the Troubleshooting guide for other issues that could be related to the optical drive.
필요한 것


To reassemble your device, follow these instructions in reverse order.
To reassemble your device, follow these instructions in reverse order.
팀

Embry-Riddle Aeronautical University, Team S14-G3, Lamothe Spring 2020 Embry-Riddle Aeronautical University, Team S14-G3, Lamothe Spring 2020 회원
ERAU-LAMOTHE-S20S14G3
5 회원들
안내서 5개 작성하였습니다