소개
It is necessary to remove or disconnect the battery to make most repairs to a laptop in order to avoid damaging components. The battery in the HP Envy m6-p114dx is located inside the computer housing, which will need to be removed. Symptoms that may indicate a need for battery replacement would be the depletion of battery charge in an unreasonably short amount of time, or excessive heat during operation or charging. Creating a backup of your hard drive is recommended in case of damage caused during battery replacement. Ensure that the laptop is unplugged and powered off before attempting to remove the battery. Once removed, other repairs can be completed and/or the battery itself can be replaced. Consult local regulations for the proper disposal of batteries.
Warning: if the battery appears swollen, is extremely hot, or has a bad smell be very cautious. At home removal can still be accomplished, but consulting a professional is recommended. The following link contains further information on swollen battery detection and repair: https://www.ifixit.com/News/11211/what-t...
필요한 것
-
-
-
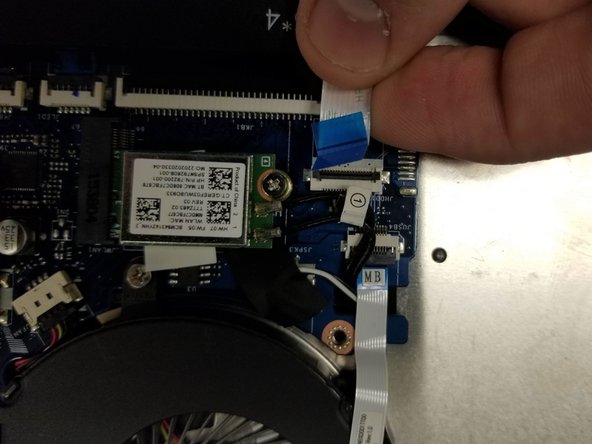
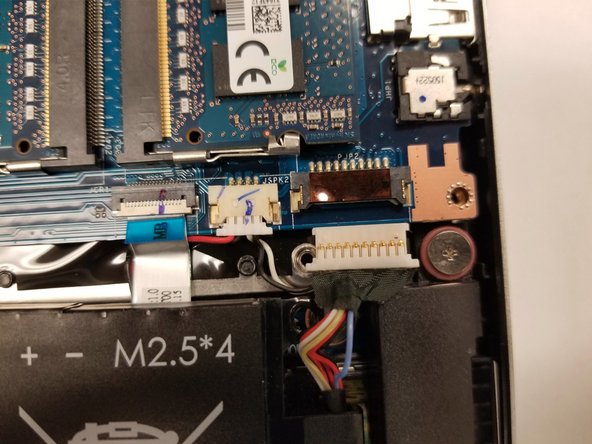
Remove the cable connecting the hard drive to the motherboard by carefully lifting the black tab, then pulling out the disconnected ribbon cable.
-


To reassemble your device, follow these instructions in reverse order.
To reassemble your device, follow these instructions in reverse order.
다른 한 분이 해당 안내서를 완성하였습니다.

팀

Gateway, Team S1-G1, Saknee Fall 2019 Gateway, Team S1-G1, Saknee Fall 2019 회원
GCC-SAKNEE-F19S1G1
2 회원들
안내서 5개 작성하였습니다