소개
Use this guide to replace the motherboard in your HP Envy x360.
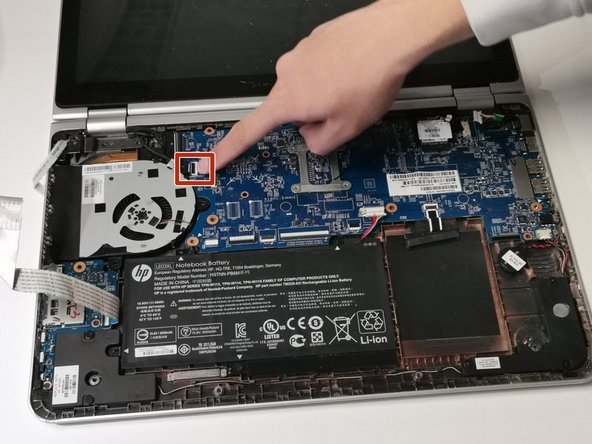
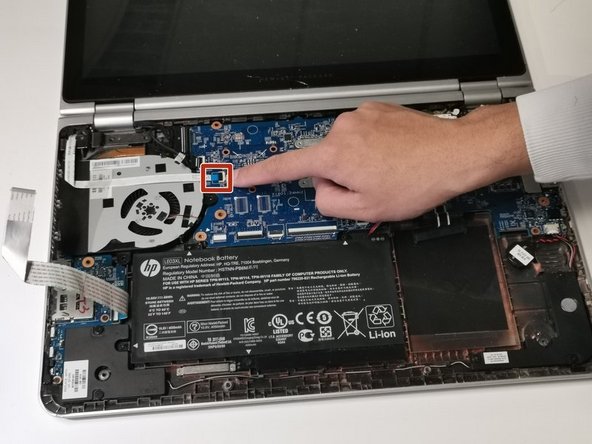
A motherboard is a circuit board located inside the laptop which holds the majority of the laptop's important contents, enabling the device to fully function. On your motherboard you can find sockets and power connectors that house your Central Process Unit(CPU), Chipset and Random-Access Memory(RAM). Housing the main components of your laptop, a failed motherboard means your system is dead. You may hear the fan or some other parts of your laptop still function with the motherboard dead however, the laptop still will not start up.
Before you begin the process, ensure you have a clean and spacious working space, your device is turned off and disconnected from any power sources.
필요한 것


To reassemble your device, follow these instructions in reverse order,
To reassemble your device, follow these instructions in reverse order,

팀

York University, Team S8-G5, Turner Winter 2020 York University, Team S8-G5, Turner Winter 2020 회원
YORK-TURNER-W20S8G5
5 회원들
안내서 2개 작성하였습니다