이 버전에는 잘못된 편집 사항이 있을 수 있습니다. 최신 확인된 스냅샷으로 전환하십시오.
필요한 것
-
이 단계는 번역되지 않았습니다. 번역을 도와주십시오
-
Use a PH1 screw head to remove the 16, 6mm screws from the bottom case housing of the laptop.
-
-
이 단계는 번역되지 않았습니다. 번역을 도와주십시오
-
Slide the spudger with a twisting motion along the entire perimeter of the laptop until the top cover is separated from the frame of the device.
-
-
이 단계는 번역되지 않았습니다. 번역을 도와주십시오
-
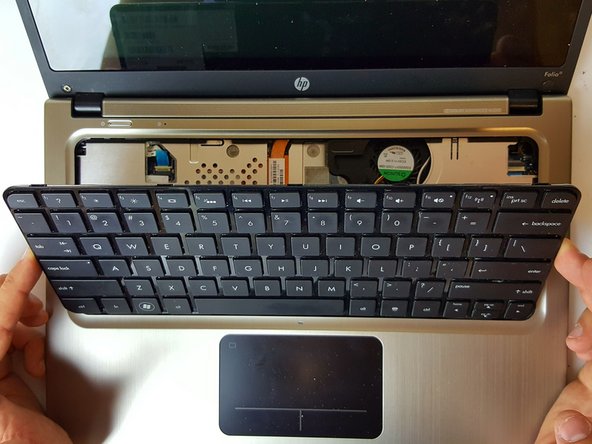
Using the flat portion of the plastic spudger, push the corner of the black surface until the first clip unlocks.
-
The top right corner of the keyboard should now be sticking out slightly.
-
Repeat the same process for the top left corner.
-
-
이 단계는 번역되지 않았습니다. 번역을 도와주십시오
-
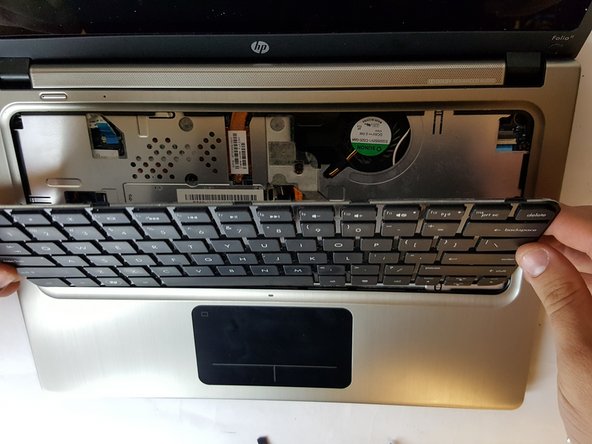
Slide the keyboard up and towards the screen just enough to separate the keyboard from the top cover.
-
-
이 단계는 번역되지 않았습니다. 번역을 도와주십시오
-
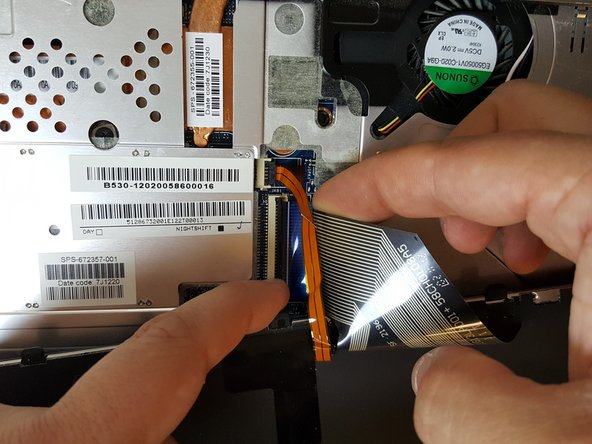
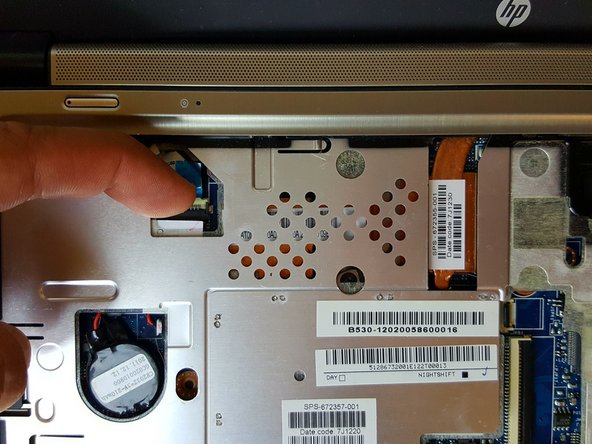
To unlock the clamps connected to the motherboard, use your fingers or insert the pointed edge of the spudger between the first clamp and the cable.
-
Repeat the same process for the second clamp.
-
-
-
이 단계는 번역되지 않았습니다. 번역을 도와주십시오
-
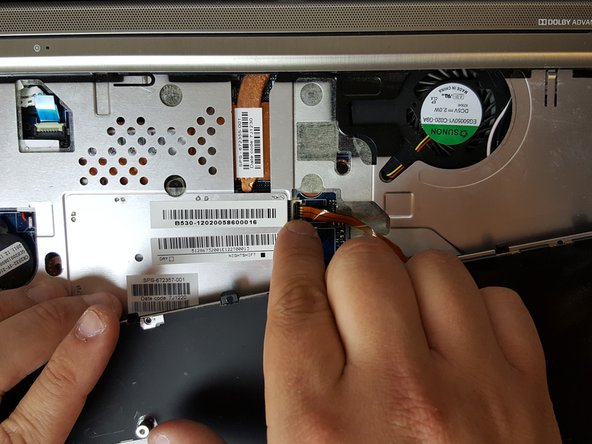
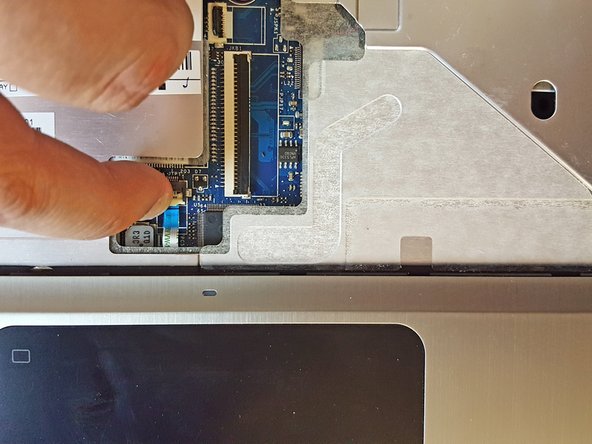
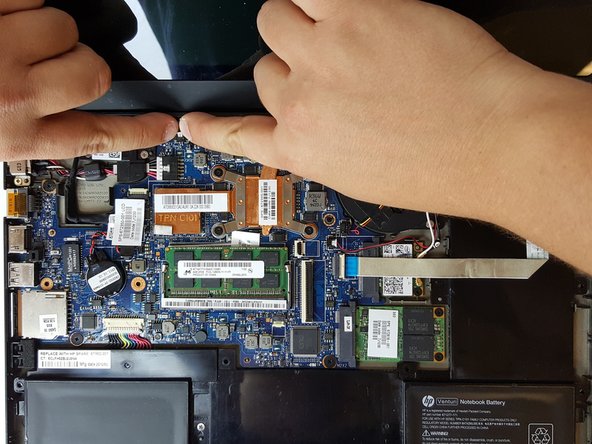
Place your finger between one of the plastic clamps and the cable and apply a slight leveraging force until the clamp pops up.
-
Do the same for the second connection.
-
-
이 단계는 번역되지 않았습니다. 번역을 도와주십시오
-
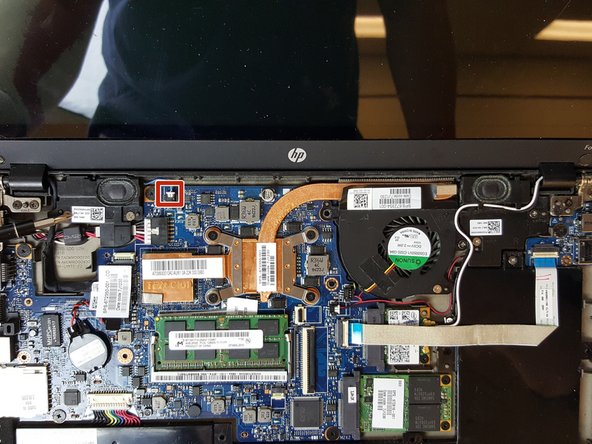
Carefully unplug the connection to the motherboard using your finger or the nylon spudger.
-
-
이 단계는 번역되지 않았습니다. 번역을 도와주십시오
-
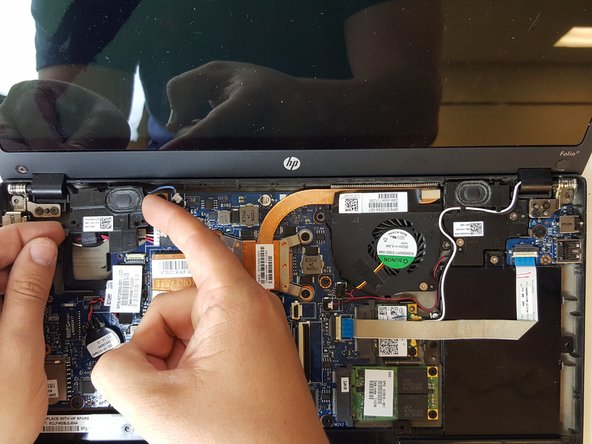
Move aside the black and white wires that are channeled through the top of the speaker housing using your fingers.
-
-
이 단계는 번역되지 않았습니다. 번역을 도와주십시오
-
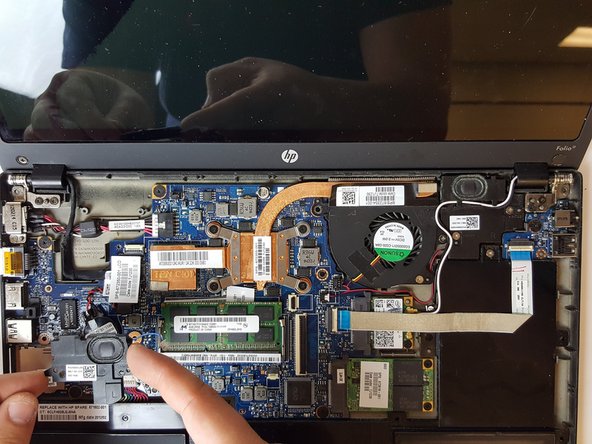
Unplug the connection to the motherboard using your fingers or the nylon spudger.
-


팀

USF Tampa, Team 1-2, Cagle Fall 2016 USF Tampa, Team 1-2, Cagle Fall 2016 회원
USFT-CAGLE-F16S1G2
4 회원들
안내서 7개 작성하였습니다