소개
Use this guide to replace the keyboard on your HP Mini 210-1035la.
필요한 것
-
-
Shut down the computer
-
Flip the computer upside down
-
Remove the battery by sliding its tabs in and pulling it away from the laptop.
-
-
-
-
Simultaneously press in on the right release button (1) to release the right side ofrece the service cover (2)
-
Simultaneously press in on the left release button (3) to release the left side of the service cover (4)
-
-
-
Remove the three screws (circled in red) that hold the keyboard
-
With the computer facing you, turn it right-side up.
-
Completely open the computer
-
-
-
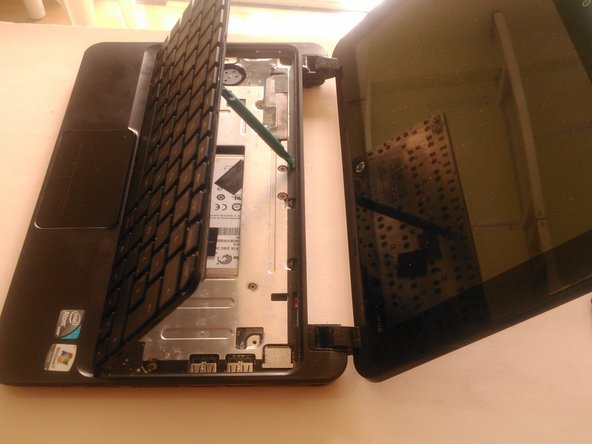
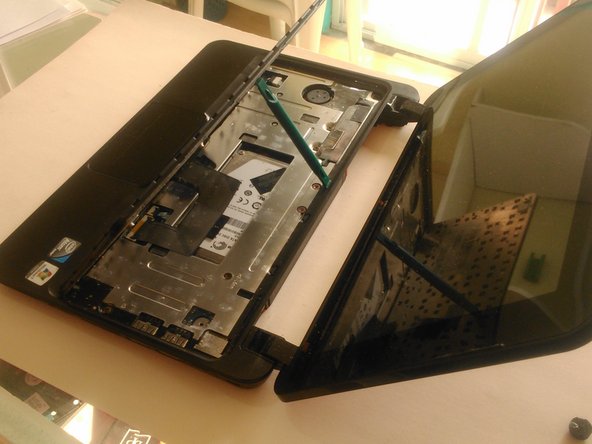
Lift the back edge of the key board until it rest at an angle
-
Slide the keyboard back until the keyboard cable and connector are accessible
-
Release the connector to which the keyboard cable has been attaching, and then disconnect the keyboard cable
-
Remove the keyboard
-


To reassemble your device, follow these instructions in reverse order.
To reassemble your device, follow these instructions in reverse order.
다른 3명이 해당 안내서를 완성하였습니다.