이 버전에는 잘못된 편집 사항이 있을 수 있습니다. 최신 확인된 스냅샷으로 전환하십시오.
필요한 것
-
이 단계는 번역되지 않았습니다. 번역을 도와주십시오
-
Insert 2 fingers in the dent on the right side of the printer and pull towards the front of the printer.
-
Using fingers to open the cover of the scanner which located on the top of the printer.
-
-
이 단계는 번역되지 않았습니다. 번역을 도와주십시오
-
Remove four 10mm screws on the panel with T8 torx security screwdriver.
-
Remove the cover of the top part.
-
-
-
이 단계는 번역되지 않았습니다. 번역을 도와주십시오
-
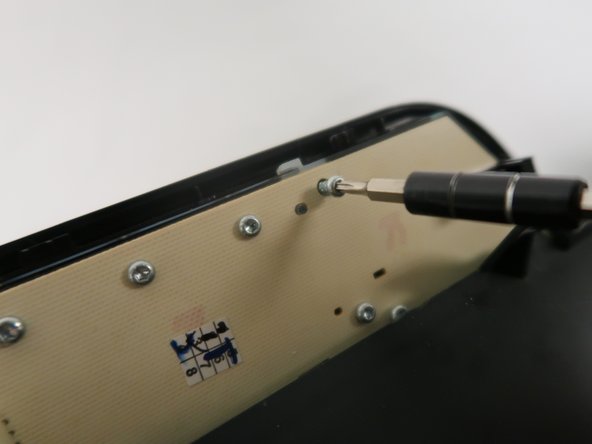
Remove eight 10mm screws on the back of the controlling keyboard with T8 torx security screwdriver.
-
Remove the back board of the controlling keyboard.
-
-
이 단계는 번역되지 않았습니다. 번역을 도와주십시오
-
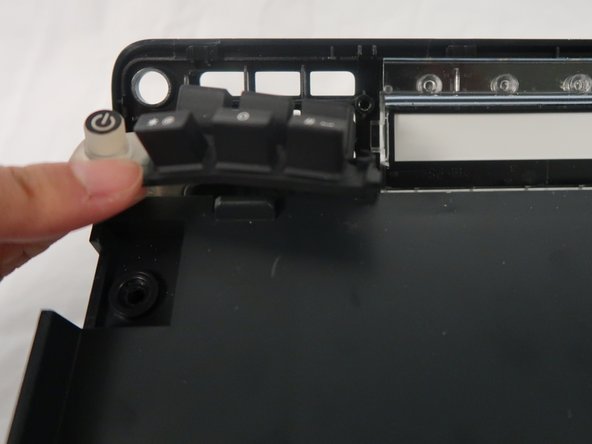
Remove the button that is located at the left of the controlling keyboard.
-


팀

UC Davis, Team S11-G8, Lore Fall 2018 UC Davis, Team S11-G8, Lore Fall 2018 회원
UCD-LORE-F18S11G8
3 회원들
안내서 8개 작성하였습니다