소개
Using this guide, you can replace the motherboard in your HP Pavilion 14-bk061st laptop.
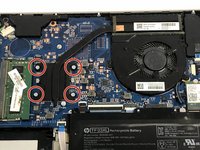
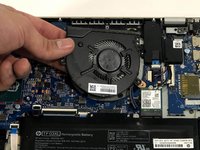
The motherboard is the central connection between all the components of a computer. A faulty motherboard can lead to the whole computer failing so it is important to keep good care of all the components in your PC.
필요한 것
-
-
Remove the three 5.7 JIS #1 screws from the bottom of the laptop.
-
Remove the two 6.7mm JIS #1 screws from underneath the feet of the laptop close to the exhaust vent.
-
-
이 단계에 사용된 도구:Halberd Spudger$2.99
-
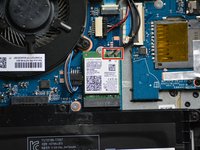
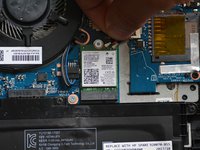
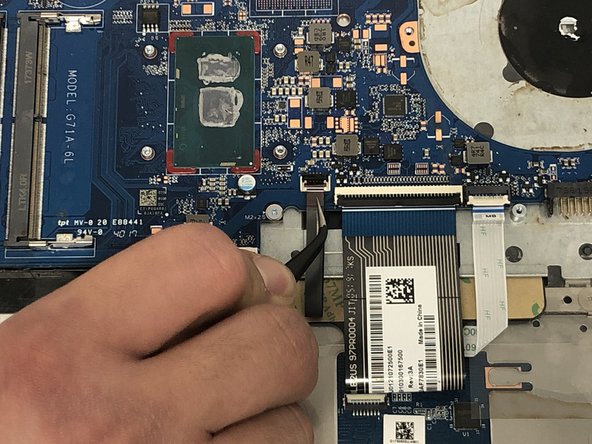
Use the hook end of the Halberd spudger to pull back the clamps holding the card in place.
-
-
-
-
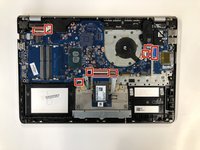
Disconnect the two Wi-Fi and Bluetooth antenna wires by gently pulling them away from the board.
-


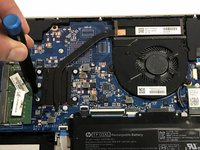


To reassemble your device, follow these instructions in reverse order.
다른 3명이 해당 안내서를 완성하였습니다.
팀

York University, Team S8-G3, Turner Winter 2020 York University, Team S8-G3, Turner Winter 2020 회원
YORK-TURNER-W20S8G3
4 회원들
안내서 11개를 작성함