주요 콘텐츠로 건너뛰기

HP Pavilion 15-ca2073cl Display-Pad Replacement

보관된 가이드
해당 안내서는 단지 역사적인 목적으로 보관됩니다. 최신 버전 안내서를 사용하여 수리 하십시오.

필요한 것

  1. HP Pavilion 15-ca2073cl Display-Pad Replacement, Back Cover: 1 단계, 이미지 1/1
    • Before beginning, make sure the laptop is completely turned off by pressing the off button and waiting for the screen to turn black.

    • Flip the laptop over.

    • Remove all the 6.5mm screws (black) and the 4.8mm long screws (silver) using the Phillips #00 screwdriver.

  2. HP Pavilion 15-ca2073cl Display-Pad Replacement: 2 단계, 이미지 1/2 HP Pavilion 15-ca2073cl Display-Pad Replacement: 2 단계, 이미지 2/2
    • Use an iFixit opening tool to wedge in between the case and the body of the laptop.

    • Start from the front and work down both sides, disconnecting clips.

    • Remove the bottom case from the body.

  3. HP Pavilion 15-ca2073cl Display-Pad Replacement, Battery: 3 단계, 이미지 1/2 HP Pavilion 15-ca2073cl Display-Pad Replacement, Battery: 3 단계, 이미지 2/2
    • Remove six 4.8mm screws (silver) using the Phillips #00 screwdriver.

  4. HP Pavilion 15-ca2073cl Display-Pad Replacement, Display-Pad: 4 단계, 이미지 1/1
    • Open the laptop like you normally would if you were about to use it and use a plastic spudger to separate the top cover from the bottom.

    • While lifting the top cover, undo the clip holding the keyboard cable in place and pull the cable out.

  5. HP Pavilion 15-ca2073cl Display-Pad Replacement: 5 단계, 이미지 1/2 HP Pavilion 15-ca2073cl Display-Pad Replacement: 5 단계, 이미지 2/2
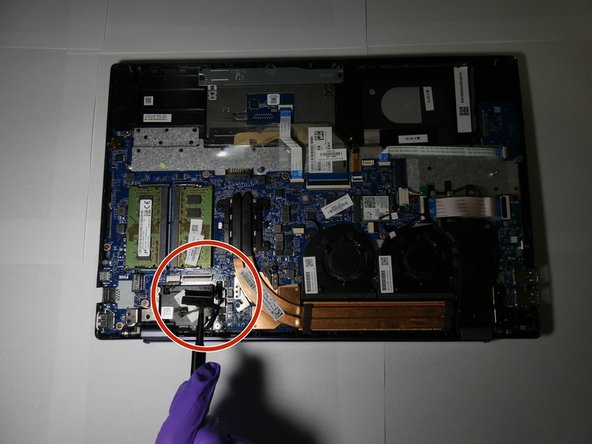
    • Remove the screws from the display to the frame of the laptop.

    • Remove the cables that connect to the motherboard.

  6. HP Pavilion 15-ca2073cl Display-Pad Replacement: 6 단계, 이미지 1/1
    • Gently remove the display from the rest of the laptop.

  7. HP Pavilion 15-ca2073cl Display-Pad Replacement: 7 단계, 이미지 1/1
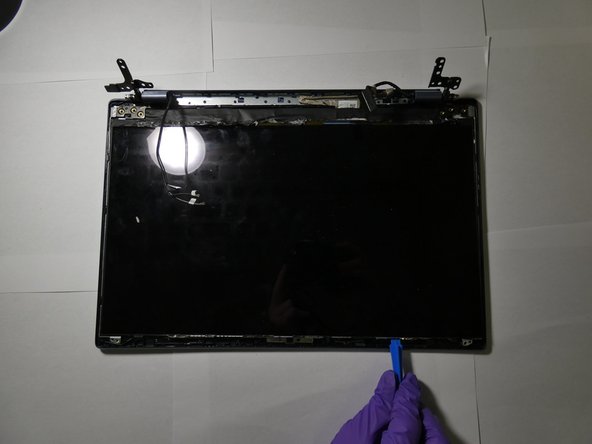
    • Using a spudger, remove the cover from the display pad.

  8. HP Pavilion 15-ca2073cl Display-Pad Replacement: 8 단계, 이미지 1/2 HP Pavilion 15-ca2073cl Display-Pad Replacement: 8 단계, 이미지 2/2
    • Remove the screws surrounding the display.

    • Using the spudger, pry the display from the display pad.

결론

To reassemble your device, follow these instructions in reverse order.

댓글 0개

댓글 쓰기

조회 통계:

24 시간 전: 0

7일 전: 0

30일 전: 0

전체 시간: 33