소개
Use this guide to replace or upgrade the RAM in your HP Pavilion 15 Laptop PC.
Note: This procedure was written using a model 15-eg2015od HP 15 Pavilion Laptop PC, but is fully compatible with any HP 15 Pavilion Laptop PC whose model number starts with 15-eg or 15-eh.
This laptop has two RAM slots that support DDR4 SO-DIMM memory modules.
필요한 것
-
-
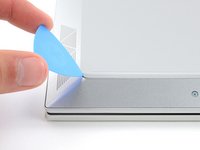
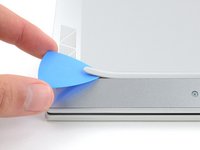
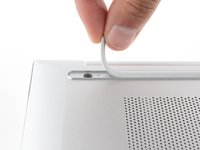
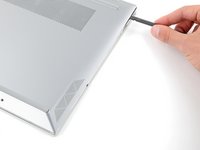
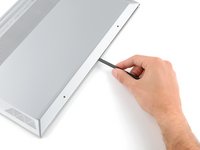
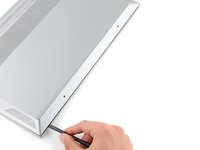
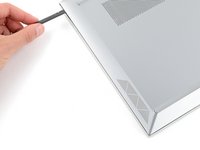
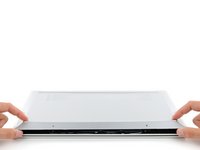
Use an opening pick to peel up an end of the front rubber foot until you can grip it with your fingers.
-
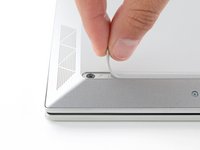
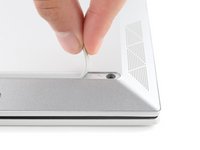
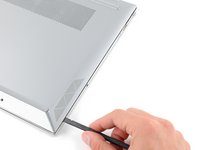
Peel up the end of the foot with your fingers just until the hidden screw underneath is exposed—you don't need to fully remove the foot.
-
-
이 단계에 사용된 도구:Tesa 61395 Tape$5.99
-
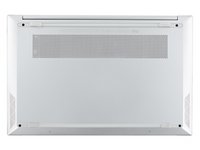
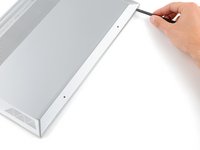
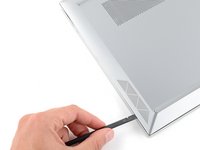
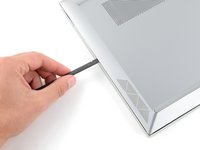
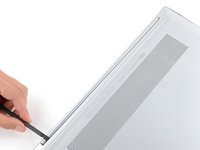
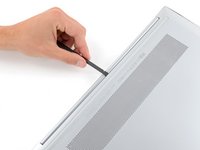
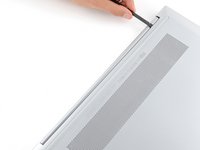
Peel up the other ends of the feet to expose the three remaining screws.
-
Press down firmly on the ends of the feet to secure them into their recesses.
-
If the foot adhesive doesn't remain tacky enough to readhere, you can use double-sided tape such as Tesa Tape.
-
-
-
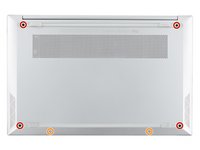
Use a Phillips screwdriver to remove the six screws securing the back cover:
-
Four larger 6.6 mm-long black screws
-
Two smaller 4.8 mm-long silver screws
-
-
-
-
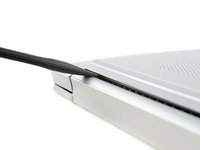
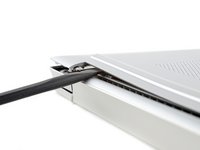
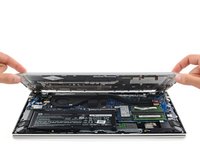
Insert the flat end of a spudger between the top edge of the back cover and frame, just to the left of the right hinge.
-
Pry up with the spudger to release the clips securing the top right corner of the back cover.
-
-
-
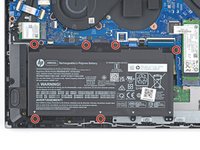
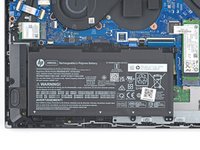
Use a Phillips screwdriver to remove the six 3.9 mm-long screws securing the battery.
-
-
-
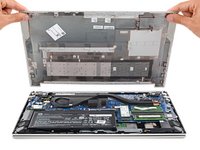
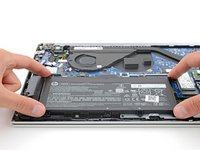
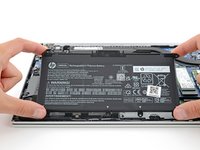
Gently lift the upper edge of the battery to disconnect its socket from the motherboard.
-
Remove the battery.
-
-
-
Your laptop has two memory slots, each with a pair of metal arms that secure a stick of RAM.
-
Simultaneously push out the metal arms on each side of a stick of RAM until they disengage and the stick pops up at a slight angle.
-
-
-
Pull the stick of RAM out of its socket to remove it.
-
Repeat for a second stick of RAM.
-


To reassemble your device, follow these instructions in reverse order.
Take your e-waste to an R2 or e-Stewards certified recycler.
Repair didn’t go as planned? Try some basic troubleshooting, or ask our Answers community for help.
To reassemble your device, follow these instructions in reverse order.
Take your e-waste to an R2 or e-Stewards certified recycler.
Repair didn’t go as planned? Try some basic troubleshooting, or ask our Answers community for help.
다른 3명이 해당 안내서를 완성하였습니다.

