주요 콘텐츠로 건너뛰기

HP Pavilion 15-eg0025nr Back Panel Replacement

필요한 것

  1. HP Pavilion 15-eg0025nr Back Panel Replacement, Back Panel: 1 단계, 이미지 1/1
    • Unplug and turn off the laptop before removing the back panel

    • Flip over the computer so that the back panel is facing upwards.

    • Remove the two silver screws on the bottom of the laptop using a Phillips #00 screwdriver.

  2. HP Pavilion 15-eg0025nr Back Panel Replacement: 2 단계, 이미지 1/2 HP Pavilion 15-eg0025nr Back Panel Replacement: 2 단계, 이미지 2/2
    • Peel up each end of the two gray rubber stoppers using your fingers or an opening pick.

    • This may be difficult if it is your first time removing them.

    • Remove the two black screws underneath the rubber stoppers with the Phillips #00 screwdriver

  3. HP Pavilion 15-eg0025nr Back Panel Replacement: 3 단계, 이미지 1/3 HP Pavilion 15-eg0025nr Back Panel Replacement: 3 단계, 이미지 2/3 HP Pavilion 15-eg0025nr Back Panel Replacement: 3 단계, 이미지 3/3
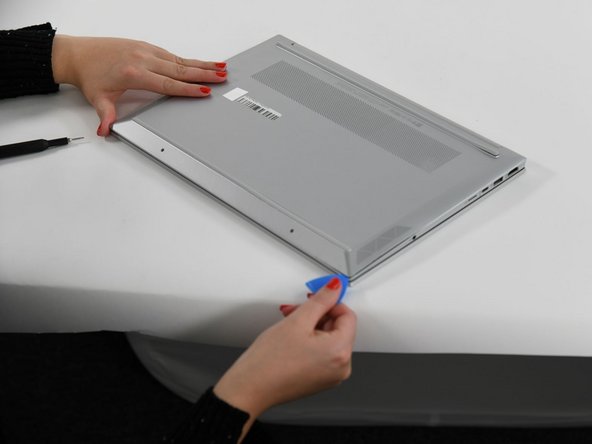
    • Slide the opening pick around the edges of the laptop where the chassis has a seam.

    • You will hear a clicking noise as you undo the clips of the chassis.

    • It may be easier to start with the four corners of the laptop, and then follow through with the sides.

  4. HP Pavilion 15-eg0025nr Back Panel Replacement: 4 단계, 이미지 1/1
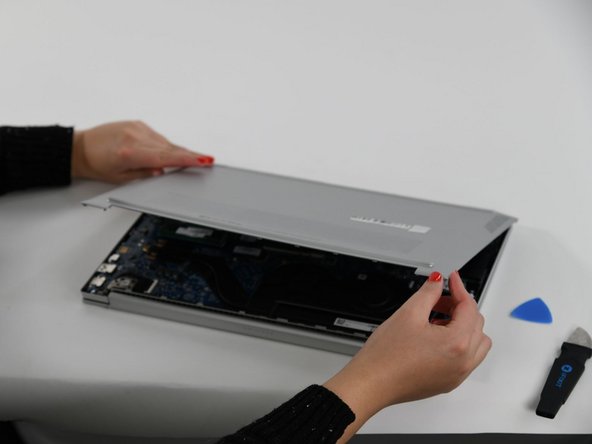
    • Remove the back panel completely.

    • With the back panel removed, you can now access parts of the laptop such as the fan or the battery.

결론

To reassemble your device, follow these instructions in reverse order.

다른 2명이 해당 안내서를 완성하였습니다.

Khin Sandar Win

회원 가입일: 09/06/22

216 평판

안내서 2개 작성하였습니다

University of Colorado Denver, Team 1-1, Campeau Fall 2022 University of Colorado Denver, Team 1-1, Campeau Fall 2022 회원

UCDENVER-CAMPEAU-F22S1G1

4 회원들

안내서 3개 작성하였습니다

댓글 0개

댓글 쓰기

조회 통계:

24 시간 전: 7

7일 전: 27

30일 전: 61

전체 시간: 852