주요 콘텐츠로 건너뛰기

HP Pavilion DV2160BR Hard Drive Replacement

필요한 것

  1. HP Pavilion DV2160BR Hard Drive Replacement, Hard Drive: 1 단계, 이미지 1/2 HP Pavilion DV2160BR Hard Drive Replacement, Hard Drive: 1 단계, 이미지 2/2
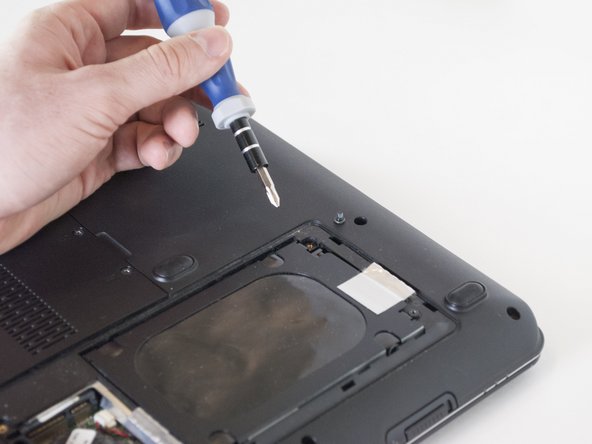
    • Start with the bottom of the laptop facing up.

    • Locate the panel covering the hard drive compartment.

    • Unscrew the two 5mm Phillips #0 screws.

  2. HP Pavilion DV2160BR Hard Drive Replacement: 2 단계, 이미지 1/1
    • Lift up this external panel by the end with the screws and set it aside.

    • Be careful about the four plastic tabs holding the panel on the device.

  3. HP Pavilion DV2160BR Hard Drive Replacement: 3 단계, 이미지 1/2 HP Pavilion DV2160BR Hard Drive Replacement: 3 단계, 이미지 2/2
    • Locate the second plastic panel covering the hard drive.

    • Unscrew the two 4mm Phillips #0 screws holding it in.

  4. HP Pavilion DV2160BR Hard Drive Replacement: 4 단계, 이미지 1/1
    • Lift up this internal panel using the plastic white tab and set it aside.

  5. HP Pavilion DV2160BR Hard Drive Replacement: 5 단계, 이미지 1/3 HP Pavilion DV2160BR Hard Drive Replacement: 5 단계, 이미지 2/3 HP Pavilion DV2160BR Hard Drive Replacement: 5 단계, 이미지 3/3
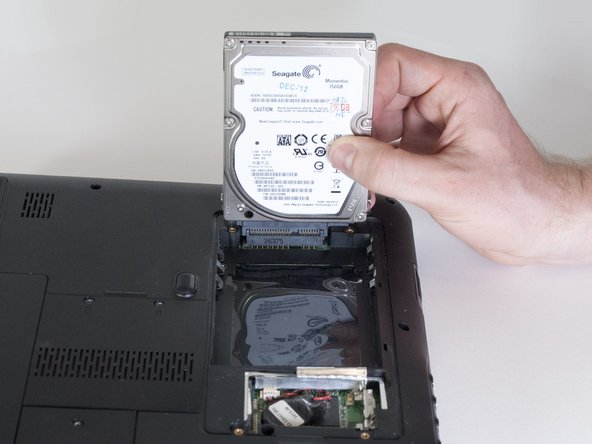
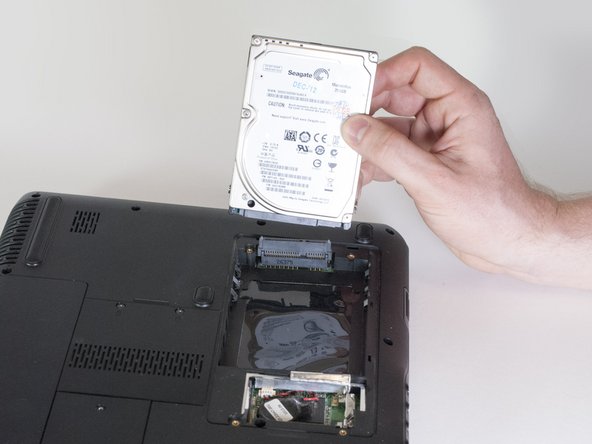
    • Grab the end of the hard drive and pull it up to a vertical position.

    • Gently slide the Hard Drive off of the SATA connector.

    • Warning: Don’t wiggle the SATA connector or the top piece will come off. If it does, reconnect it vertically.

결론

To reassemble your device, follow these instructions in reverse order.

다른 한 분이 해당 안내서를 완성하였습니다.

Shannon

회원 가입일: 04/11/13

55 평판

안내서 6개 작성하였습니다

Cal Poly, Team 13-66, Johann Spring 2013 Cal Poly, Team 13-66, Johann Spring 2013 회원

CPSU-JOHANN-S13S13G66

3 회원들

안내서 6개 작성하였습니다

댓글 0개

댓글 쓰기

조회 통계:

24 시간 전: 0

7일 전: 0

30일 전: 0

전체 시간: 515