소개
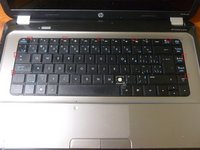
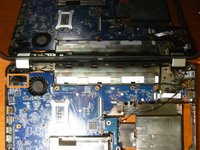
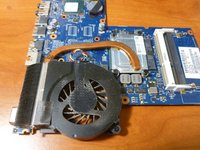
Disassembly to clean dust from the fan and heat sink.
필요한 것
-
-
Power off and unplug the laptop.
-
Then, remove the battery. Move the switch in the direction indicated, take the battery out, and set aside.
-
-
-
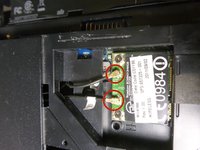
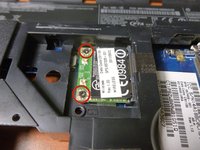
Slide the hard drive to the left, clear of the SATA connectors and lift it out.
-
If you're having difficulty removing the hard drive, insert your spudger into the gap and gently ease the hard drive away from the SATA connectors.
-
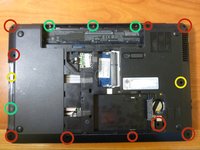
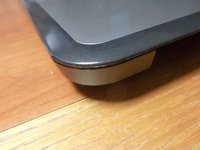
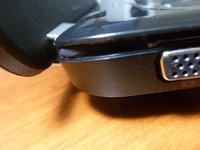
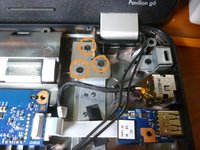
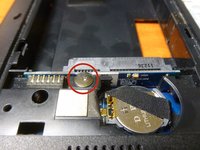
Remove the screw that holds the optical drive in and slide the drive out.
-
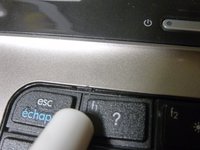
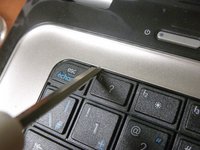
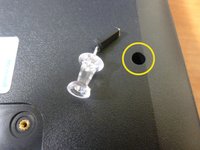
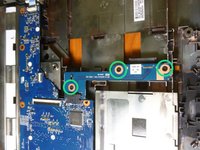
Remove the screw that helps hold the keyboard in.
-
-


To reassemble your device, follow these instructions in reverse order.
To reassemble your device, follow these instructions in reverse order.
다른 133명이 해당 안내서를 완성하였습니다.

댓글 57개
after cleaning and put it back , now my laptop can't start
If you took reasonable precautions against static electricity, you probably forgot to connect one of the cables.
Patrick -
This guide was unbelievably useful, my G6 was heating up to 80+ degrees under light loads and turning off due to overheating, I was about to write it off, thought I might as well try this.
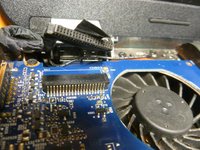
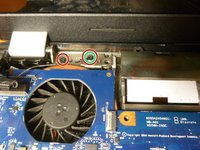
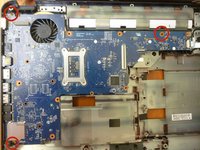
Once you get to the last step, it is possible to partly remove the fan (it stays attached at one corner) and clean out the gap between the fan and the bladed thing that looks like a barber's hair clipper.
That for me was full of a thick cake of dust, now that's gone the computer stays at 50+ degrees, and the battery life is massively improved (I was getting about 20 minutes due to the fan) and the fan is no longer louder than the speakers. Thanks uploader!
Absolutely amazing instructions! Better than the videos out there because the detail is so precise and easy to follow!