소개
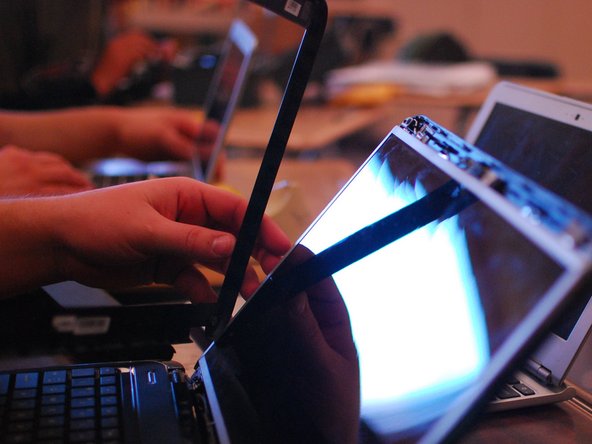
I'm going to replace the broken screen because my dad is not the best with technology and punched the screen.
필요한 것
-
-
Make sure the computer is shut off.
-
When you know that is shut off you may remove the battery
-
-
-
Remove the little pieces of black sticky tape covering the screws that need to be removed in each lower corner
-
-
-
After the little black sticky tape is removed the two little screws at the lower corners of the screen need to be removed (place the screws on a little piece of tape).
-
-
-
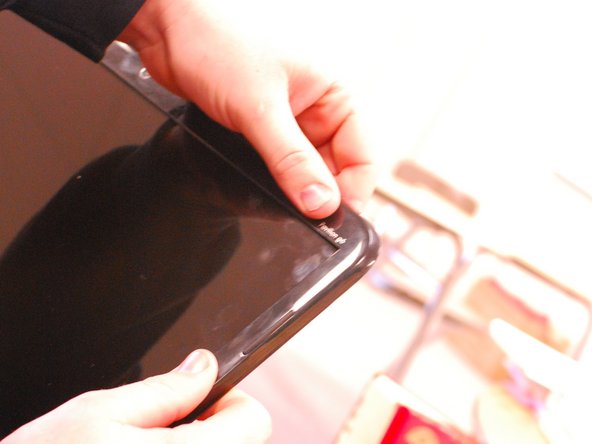
After removing the screws, pop out the plastic protector (can be done with your fingers).
-
Start at one corner and run your finger under the plastic and it will pop out.
-
-
-
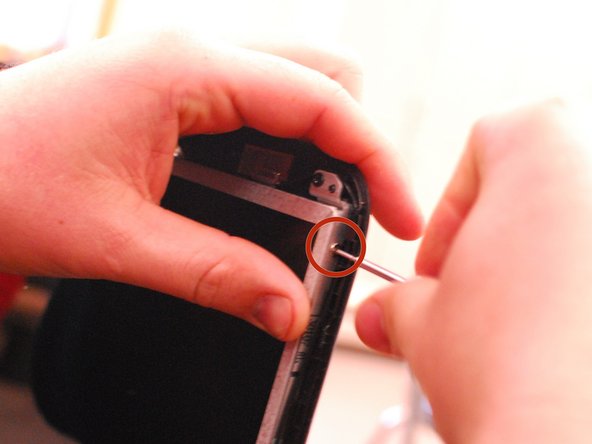
On each side of the screen there are two little screws, one on top and one on bottom.
-
All four of the screws need to be removed (place the screws on a little piece of tape so they won't be lost).
-
-
-
-
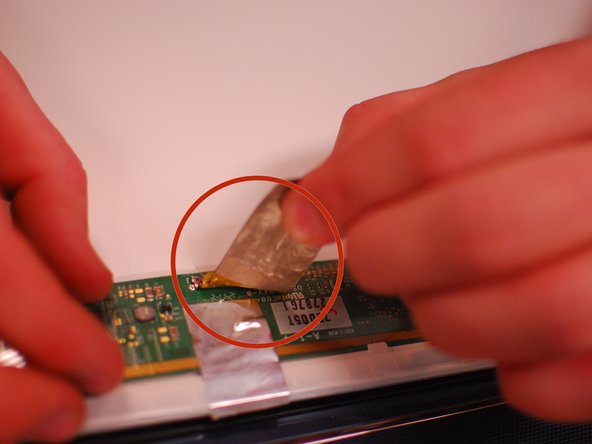
Once the screen is laying down you will see a connector on the back of it.
-
Pull the sticker off which pulls the connector with it.
-
-
-
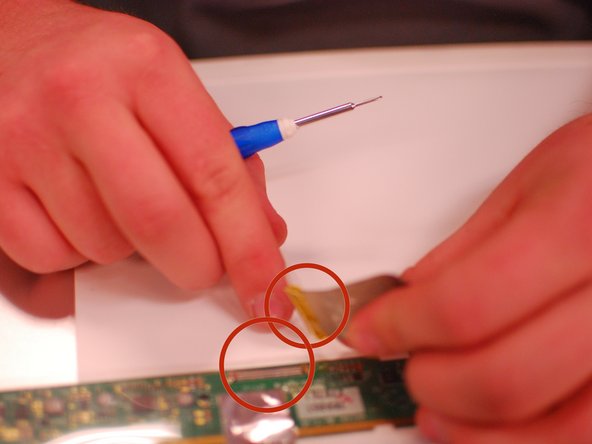
After the new screen has arrived, reconnect the little connecter strip.
-
-
-
After the connecter has been connected place the screen back into its place.
-
Once the screen is in place put in the four little screws that go in each corner of the screen.
-
-
-
After the screen is screwed in place the black plastic cover back over the screen.
-
Once the black over is in place start clicking the clips back into place by just pressing with your fingers.
-
-
-
After the black cover is in place start to but the two little screws back in the two button corners
-
-
-
After the screen is in and everything is tight and in place you may but the battery back in.
-
-
-
Once the battery is in place you may turn is it on and watch your screen come back to life.
-


To reassemble your device, follow these instructions in reverse order.
To reassemble your device, follow these instructions in reverse order.
다른 9명이 해당 안내서를 완성하였습니다.

팀

댓글 한 개
Good guide. Easiest screen replacement ever.
I’m concerned about your poor little knuckles.