소개
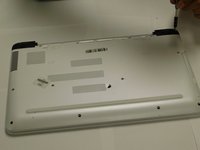
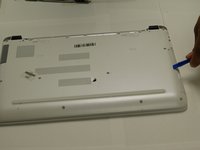
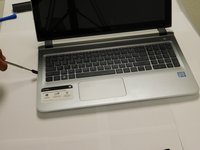
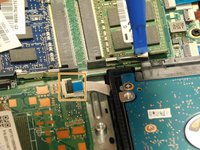
This step-by-step guide will explain how to open and remove your HP Pavilion Notebook 15-ab293cl hard drive. After removing the hard drive, you can easily replace it.
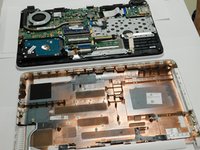
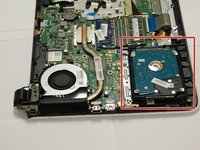
The hard drive is the device in your computer that stores and retrieves your saved data. If you are running low on space, upgrading your hard drive will give you more space to work. If your hard drive fails, replacing your it will allow you to continue using your computer.
필요한 것


To reassemble your device, follow these instructions in reverse order.
To reassemble your device, follow these instructions in reverse order.
다른 한 분이 해당 안내서를 완성하였습니다.

팀

Gateway, Team S1-G2, Luster Fall 2018 Gateway, Team S1-G2, Luster Fall 2018 회원
GCC-LUSTER-F18S1G2
4 회원들
안내서 4개를 작성함