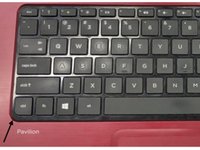
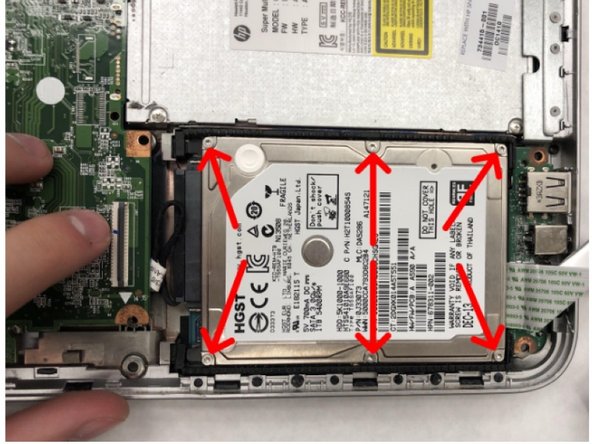
주요 콘텐츠로 건너뛰기

HP Pavilion TouchSmart 14z-n100 Hard Drive Replacement

필요한 것

  1. HP Pavilion TouchSmart 14z-n100 Hard Drive Replacement, Hard Drive: 1 단계, 이미지 1/1
    • Remove the battery from the device and unplug it.

    • Keep different sized screws separated from each other during disassembly and reassembly.

  2. HP Pavilion TouchSmart 14z-n100 Hard Drive Replacement: 2 단계, 이미지 1/1
    • Using a Phillips #0 screwdriver, remove the two screws on the small back cover.

    • Remove the cover.

    • Remove the three screws that have been uncovered.

  3. HP Pavilion TouchSmart 14z-n100 Hard Drive Replacement: 3 단계, 이미지 1/1
    • Remove the two rubber screw covers by the rubber feet of the device.

    • Using a Phillips #0 screwdriver, remove the two screws that have been uncovered.

  4. HP Pavilion TouchSmart 14z-n100 Hard Drive Replacement: 4 단계, 이미지 1/1
    • Using a Phillips #0 screwdriver, remove the eight screws as directed.

    • Using a Phillips #1 screwdriver, remove the two remaining screws.

  5. HP Pavilion TouchSmart 14z-n100 Hard Drive Replacement: 5 단계, 이미지 1/2 HP Pavilion TouchSmart 14z-n100 Hard Drive Replacement: 5 단계, 이미지 2/2
    • Using the plastic opening tool, gently pull up the keyboard starting from the bottom left corner, working your way to the bottom right corner.

    • To remove the keyboard, lift up the plastic retaining tab with the opening tool and gently pull out the ribbon wire.

  6. HP Pavilion TouchSmart 14z-n100 Hard Drive Replacement: 6 단계, 이미지 1/1
    • Remove the plastic cover of the laptop using the opening tool.

    • The plastic cover is fragile, be cautious during removal.

  7. HP Pavilion TouchSmart 14z-n100 Hard Drive Replacement: 7 단계, 이미지 1/1
    • Using the plastic opening tool, pull up the retaining tab and and pull out the ribbon wire

    • This port is fragile, take care in removing and reinserting the ribbon wire.

  8. HP Pavilion TouchSmart 14z-n100 Hard Drive Replacement: 8 단계, 이미지 1/1
    • Using a Phillips #0 screwdriver, remove the six screws on the hard drive, then remove it.

    • Be sure to properly dispose or recycle your hard drive.

결론

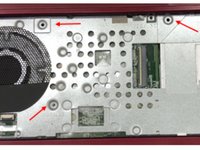
To reassemble your device, follow these instructions in reverse order.

Justin Hurley

회원 가입일: 01/14/19

1 평판

안내서 1개 작성함

IUPUI, Team S6-G6, Wilson Spring 2019 IUPUI, Team S6-G6, Wilson Spring 2019 회원

IUPUI-WILSON-S19S6G6

3 회원들

안내서 1개 작성하였습니다

댓글 0개

댓글 쓰기

조회 통계:

24 시간 전: 0

7일 전: 1

30일 전: 6

전체 시간: 346