이 안내서에는 최근 변경 사항이 더 있습니다. 최신 비검증 버전으로 전환하십시오.
소개
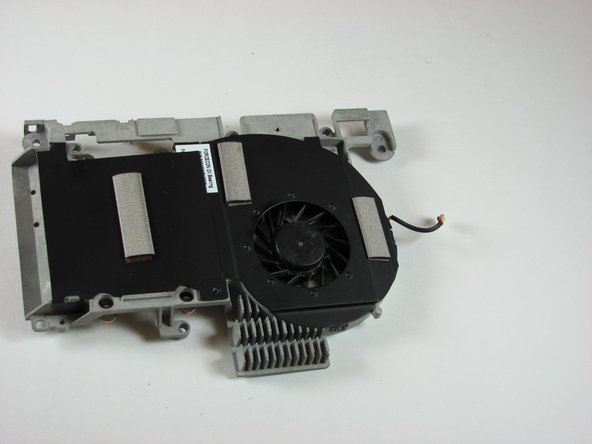
These instructions detail how to take apart an HP dv5000 laptop computer, how to identify and remove the fan from the computer, and how to reassemble the computer.
필요한 것
-
-
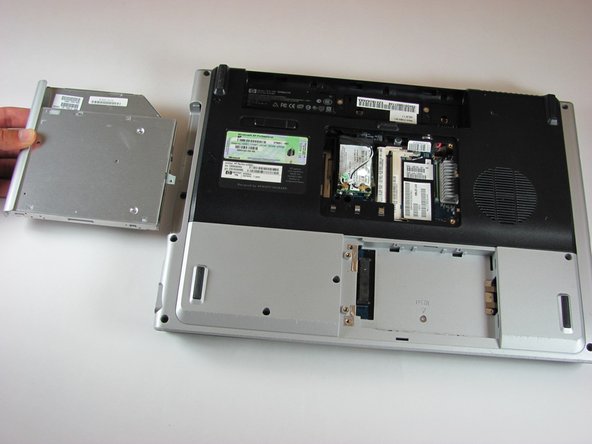
Lay the computer face-down on a flat surface. Orient the computer to match the image.
-
Locate the battery release switch, as indicated in the image by the red rectangle. Slide the switch from right to left, and remove the battery.
-
-
-
Remove the two 5mm Phillips screws on the right side of the RAM cover.
-
Lift the right side of the RAM cover, and remove it.
-
-
-
Disconnect the antenna leads from the wifi card by lifting the gold ends of the wires off the prongs on the wifi card.
-
The white wire connects to the AUX terminal.
-
The black wire connects to the MAIN terminal.
-
-
-
Locate the hard drive cover. Note that in this image, the RAM cover is still in place.
-
-
-
-
Remove the two 11.0mm screws at the corners on either side of the battery compartment.
-
Remove the three 6.0mm screws.
-
Remove the two 5.0mm screws.
-
Remove the 6.0mm screw in the middle of the battery compartment.
-
-
-
Flip the computer over to access the screws on the underside of the frame.
-
Remove the two 3.0mm screws.
-
Remove the 5.0mm screw.
-


To reassemble your device, follow these instructions in reverse order.
To reassemble your device, follow these instructions in reverse order.
다른 13명이 해당 안내서를 완성하였습니다.
팀

Cal Poly, Team 21-34, Regan Fall 2010 Cal Poly, Team 21-34, Regan Fall 2010 회원
CPSU-REGAN-F10S21G34
4 회원들
안내서 11개 작성하였습니다
댓글 2개
Kindly add this on dv 4000 also