이 버전에는 잘못된 편집 사항이 있을 수 있습니다. 최신 확인된 스냅샷으로 전환하십시오.
필요한 것
-
이 단계는 번역되지 않았습니다. 번역을 도와주십시오
-
Lay the computer face-down on a flat surface. Orient the computer to match the image.
-
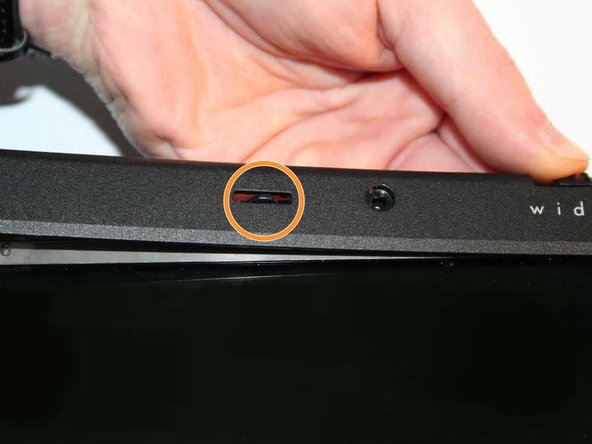
Locate the battery release switch, as indicated in the image by the red rectangle. Slide the switch from right to left, and remove the battery.
-
-
이 단계는 번역되지 않았습니다. 번역을 도와주십시오
-
Remove the two 11.0mm screws at the corners on either side of the battery compartment. (shown by the red circles)
-
Remove the three 6.0mm screws. (shown by the blue circles)
-
Remove the two silver 5.0mm screws. (shown by the yellow circles)
-
Remove the 6.0mm screw in the middle of the battery compartment. (shown by the teal circle)
-
-
이 단계는 번역되지 않았습니다. 번역을 도와주십시오
-
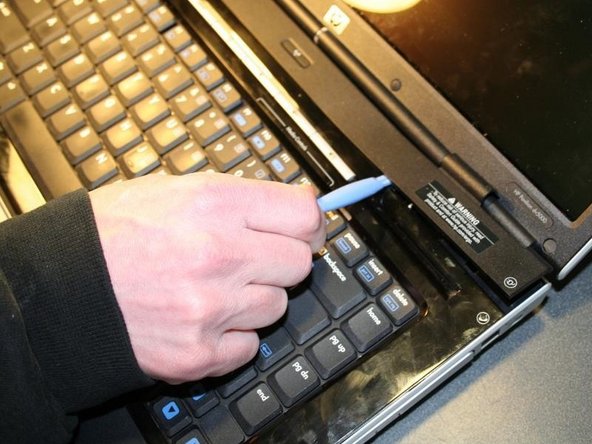
Lift plastic covering strip gently at the corner to separate the plastic it from the keyboard area.
-
Slide a plastic separator tool along the strip and lift off to remove it.
-
-
-
이 단계는 번역되지 않았습니다. 번역을 도와주십시오
-
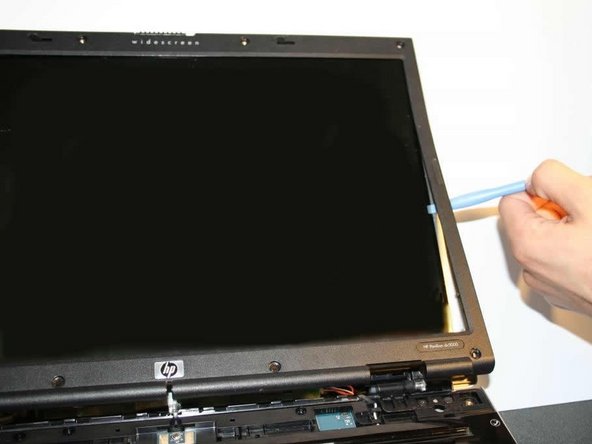
Using tweezers, remove the (8) silicone covers over the screws of the screen's frame.
-
Remove the (8) now-exposed screws.
-
-
이 단계는 번역되지 않았습니다. 번역을 도와주십시오
-
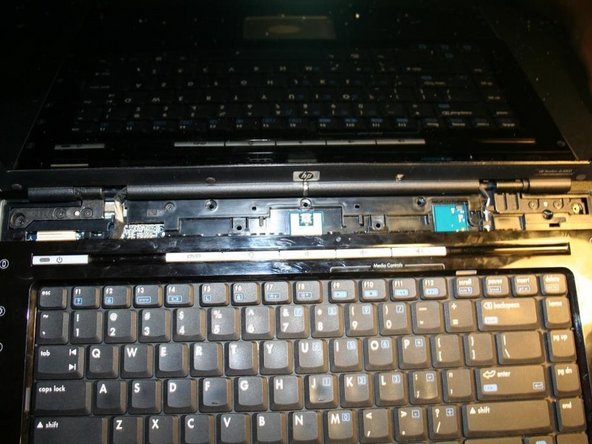
Using the plastic separator, make your way up from the bottom, separating the screen's frame off.
-
You may need to finagle the locking tab slightly in order to pull the frame away from it
-
-
이 단계는 번역되지 않았습니다. 번역을 도와주십시오
-
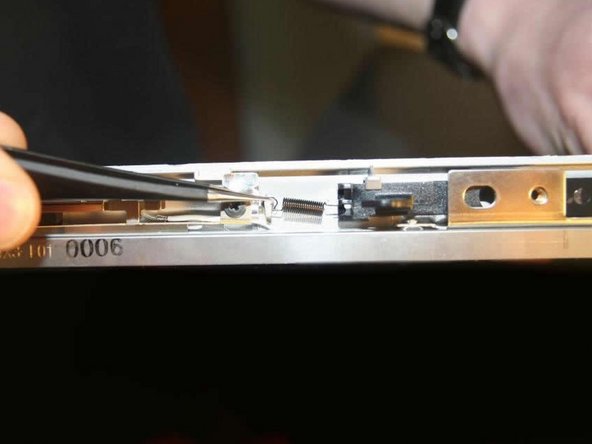
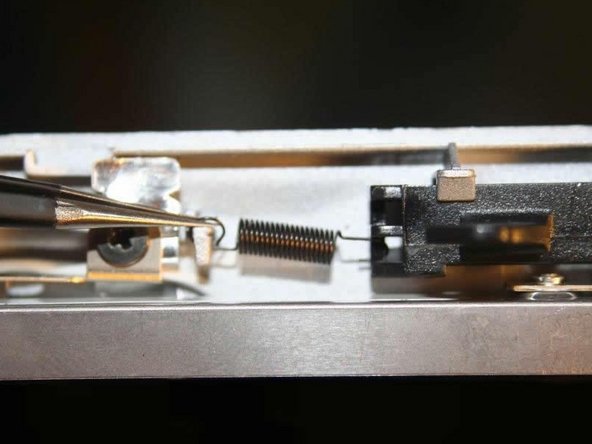
With frame removed, the locking assembly is visible
-
Using tweezers, pull the spring off the hook, and the locking assembly will pull down and off with little effort
-
Be sure not to drop the spring behind the screen while removing it!
-
-
이 단계는 번역되지 않았습니다. 번역을 도와주십시오
-
Congratulations! You're ready to install the new assembly and reassemble your laptop!
-


다른 한 분이 해당 안내서를 완성하였습니다.
팀

UMass Dartmouth, Team 4-5, Calaway Spring 2014 UMass Dartmouth, Team 4-5, Calaway Spring 2014 회원
UMASSD-CALAWAY-S14S4G5
4 회원들
안내서 3개 작성하였습니다