이 안내서에는 최근 변경 사항이 더 있습니다. 최신 비검증 버전으로 전환하십시오.
필요한 것
-
-
Lay the computer face-down on a flat surface. Orient the computer to match the image.
-
Locate the battery release switch, as indicated in the image by the red rectangle. Slide the switch from right to left, and remove the battery.
-
-
-
Remove the two 5mm Phillips screws on the right side of the RAM cover.
-
Lift the right side of the RAM cover, and remove it.
-
-
-
Locate the hard drive cover. Note that in this image, the RAM cover is still in place.
-
-
-
-
Remove the two 11.0mm screws at the corners on either side of the battery compartment.
-
Remove the three 6.0mm screws.
-
Remove the two 5.0mm screws.
-
Remove the 6.0mm screw in the middle of the battery compartment.
-
-
-
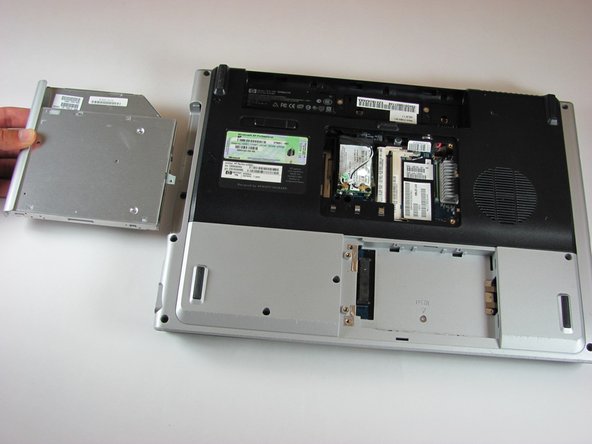
Remove the two 3.0mm screws on the side of the laptop shown.
-
Remove the one 5.0mm screw in the hard drive compartment.
-


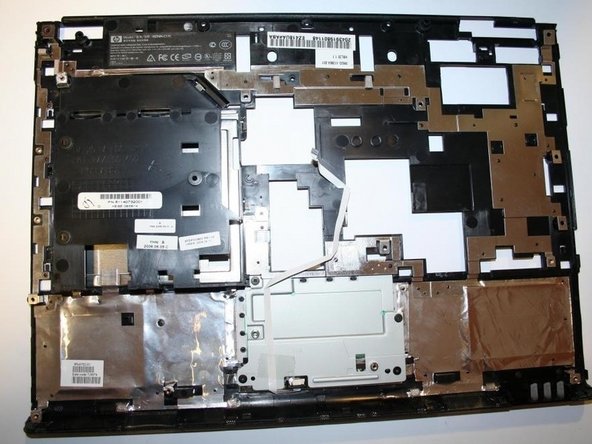
To reassemble your device, follow these instructions in reverse order.
To reassemble your device, follow these instructions in reverse order.
다른 한 분이 해당 안내서를 완성하였습니다.
팀

UMass Dartmouth, Team 4-5, Calaway Spring 2014 UMass Dartmouth, Team 4-5, Calaway Spring 2014 회원
UMASSD-CALAWAY-S14S4G5
4 회원들
안내서 3개 작성하였습니다