주요 콘텐츠로 건너뛰기

HP Pavilion dv6t-1200 Disk Tray Motor Replacement

필요한 것

  1. HP Pavilion dv6t-1200 Disk Tray Motor Replacement, Disk Tray Motor: 1 단계, 이미지 2개 중 1개 HP Pavilion dv6t-1200 Disk Tray Motor Replacement, Disk Tray Motor: 1 단계, 이미지 2개 중 2개
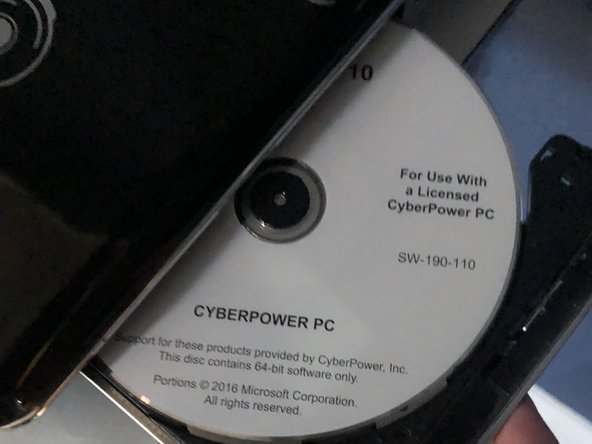
    • Locate the small hole on the right side of the disk tray next to the release button.

  2. HP Pavilion dv6t-1200 Disk Tray Motor Replacement: 2 단계, 이미지 2개 중 1개 HP Pavilion dv6t-1200 Disk Tray Motor Replacement: 2 단계, 이미지 2개 중 2개
    • Extend the paper clip into a straight line and insert it into the disk tray hole located next to the release button.

    • Do not poke the optical light button to the middle left of the release button. The disk tray hole is to the bottom right of the tray release button.

    • When the disk tray is removed, clean your workspace and the tray with canned air.

  3. HP Pavilion dv6t-1200 Disk Tray Motor Replacement: 3 단계, 이미지 1개 중 1개
    • Be cautious of the open disk tray.

    • Flip the laptop upside-down.

    • Remove the four screws on the bottom of the disk tray using a Phillips #0 screwdriver.

  4. HP Pavilion dv6t-1200 Disk Tray Motor Replacement: 4 단계, 이미지 2개 중 1개 HP Pavilion dv6t-1200 Disk Tray Motor Replacement: 4 단계, 이미지 2개 중 2개
    • Remove the top metal plate of the disk tray and locate the motor.

  5. HP Pavilion dv6t-1200 Disk Tray Motor Replacement: 5 단계, 이미지 2개 중 1개 HP Pavilion dv6t-1200 Disk Tray Motor Replacement: 5 단계, 이미지 2개 중 2개
    • Remove and replace the motor piece.

  6. HP Pavilion dv6t-1200 Disk Tray Motor Replacement: 6 단계, 이미지 2개 중 1개 HP Pavilion dv6t-1200 Disk Tray Motor Replacement: 6 단계, 이미지 2개 중 2개
    • After replacing the motor and screwing the tray back together, apply WD40 to lubricate the tray.

    • The disk tray should now be working smoothly.

결론

To reassemble your device, follow these instructions in reverse order.

다른 2명이 해당 안내서를 완성하였습니다.

작성자

4다른 기여자 명과 함께

Daniel Pelayo

회원 가입일: 10/05/21

228 평판

안내서 1개를 작성함

0가이드 댓글

댓글 쓰기

조회 통계:

지난 24시간: 1

지난 7일: 6

지난 30일: 17

전체 시간: 497