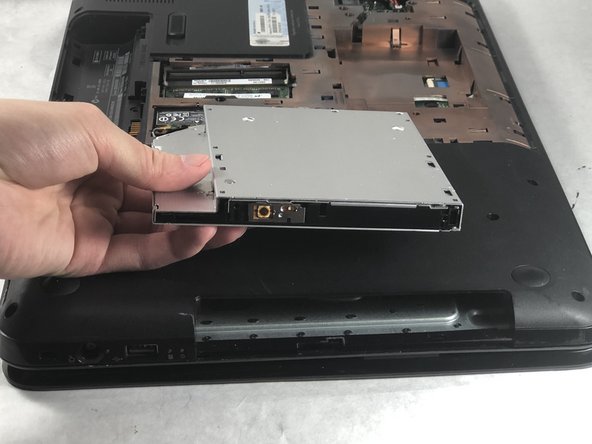
주요 콘텐츠로 건너뛰기

HP Pavilion g7-2023cl Optical Drive Replacement

필요한 것

  1. HP Pavilion g7-2023cl Optical Drive Replacement, Battery: 1 단계, 이미지 1/1
    • Shut off your device and disconnect the power cord. Disconnect any external devices connected to the device.

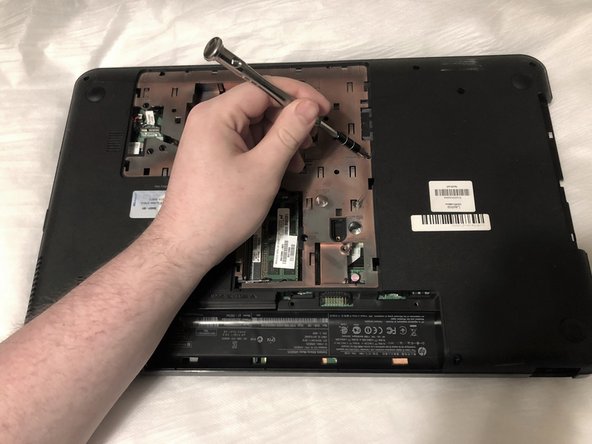
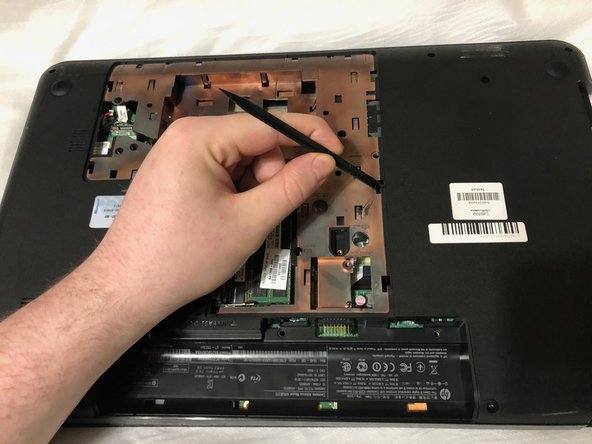
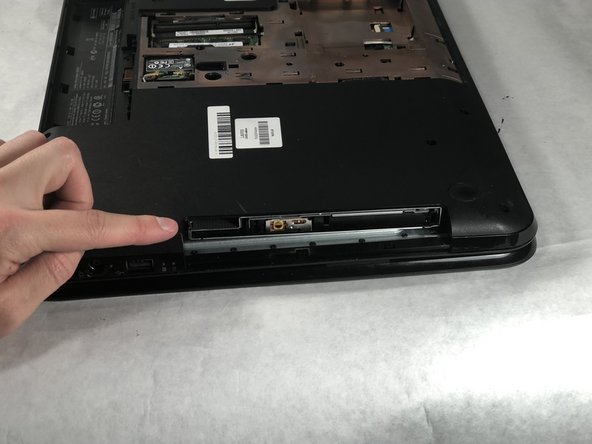
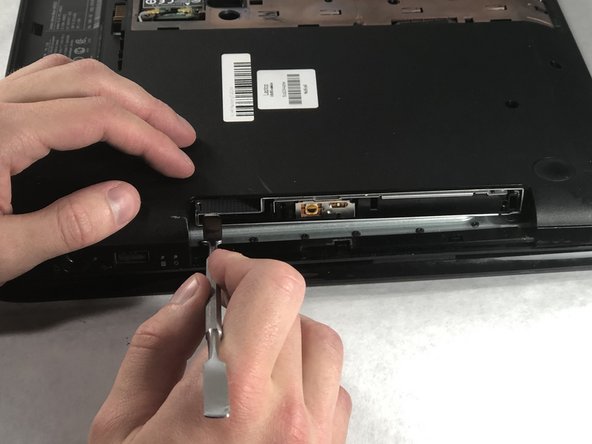
    • Place your finger on the battery lock slider, press toward the center of the laptop to unlock the battery.

    • The lock will make a click sound letting you know that the battery is unlocked.

  2. HP Pavilion g7-2023cl Optical Drive Replacement: 2 단계, 이미지 1/3 HP Pavilion g7-2023cl Optical Drive Replacement: 2 단계, 이미지 2/3 HP Pavilion g7-2023cl Optical Drive Replacement: 2 단계, 이미지 3/3
    • Use your thumb to pry up the edge of the battery and lift it out of the device.

    • When replacing the battery, align the notch on the battery with the battery lock on the device. Gently press down on the battery until you hear the lock click, which signals that the battery is secure.

  3. HP Pavilion g7-2023cl Optical Drive Replacement, Service Door: 3 단계, 이미지 1/2 HP Pavilion g7-2023cl Optical Drive Replacement, Service Door: 3 단계, 이미지 2/2
    • Using a Phillips #0 screwdriver, loosen the service door screw.

    • This is a captive screw that will remain attached to the service door.

  4. HP Pavilion g7-2023cl Optical Drive Replacement: 4 단계, 이미지 1/2 HP Pavilion g7-2023cl Optical Drive Replacement: 4 단계, 이미지 2/2
    • Lift the service door up and away from the device.

  5. HP Pavilion g7-2023cl Optical Drive Replacement, Optical Drive: 5 단계, 이미지 1/2 HP Pavilion g7-2023cl Optical Drive Replacement, Optical Drive: 5 단계, 이미지 2/2
    • Using a Phillips #0 screwdriver, remove the optical drive anchor screw.

  6. HP Pavilion g7-2023cl Optical Drive Replacement: 6 단계, 이미지 1/2 HP Pavilion g7-2023cl Optical Drive Replacement: 6 단계, 이미지 2/2
    • Insert the flat end of a spudger into the optical drive release access hole.

  7. HP Pavilion g7-2023cl Optical Drive Replacement: 7 단계, 이미지 1/3 HP Pavilion g7-2023cl Optical Drive Replacement: 7 단계, 이미지 2/3 HP Pavilion g7-2023cl Optical Drive Replacement: 7 단계, 이미지 3/3
    • Orient the device so that you can remove the optical drive.

    • If you are missing the bezel (face of the optical drive) or have the bezel these same steps work to remove the optical drive.

    • Using a spudger, slide out the optical drive enough so that you can grab it with your hand.

  8. HP Pavilion g7-2023cl Optical Drive Replacement: 8 단계, 이미지 1/2 HP Pavilion g7-2023cl Optical Drive Replacement: 8 단계, 이미지 2/2
    • Remove the optical drive by pulling it out of the device.

    • When replacing the optical drive, slide it completely back into the slot so that it fits flush.

결론

To reassemble your device, follow these instructions in reverse order.

Thomas Maloney

회원 가입일: 03/21/19

1,060 평판

안내서 9개 작성하였습니다

UMass Dartmouth, Team S8-G4, Bailey Spring 2019 UMass Dartmouth, Team S8-G4, Bailey Spring 2019 회원

UMASSD-BAILEY-S19S8G4

3 회원들

안내서 9개 작성하였습니다

댓글 0개

댓글 쓰기

조회 통계:

24 시간 전: 0

7일 전: 0

30일 전: 1

전체 시간: 135