주요 콘텐츠로 건너뛰기

HP Pavilion p6 Hard Drive Replacement

필요한 것

  1. HP Pavilion p6 Hard Drive Replacement, Hard Drive: 1 단계, 이미지 1/3 HP Pavilion p6 Hard Drive Replacement, Hard Drive: 1 단계, 이미지 2/3 HP Pavilion p6 Hard Drive Replacement, Hard Drive: 1 단계, 이미지 3/3
    • Before you start make sure that all of the leads have been disconnected from the computer.

    • It is strongly recomended to wait at least 15 minutes after turing it off to allow the computer and internal components to cool down.

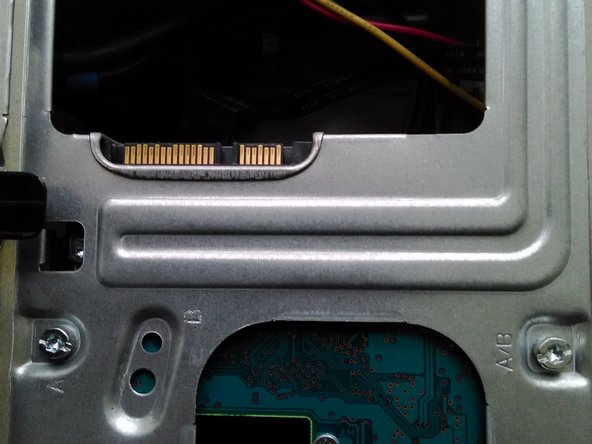
    • It is recomended to lay the computer down with the pull tab at the top to allow it to be easily opened.

    • It is also worth mentioning at this point that for complete safety when working inside the computer that wearing an anti-static band and touching a grounded metal object before starting is good practise.

  2. HP Pavilion p6 Hard Drive Replacement: 2 단계, 이미지 1/3 HP Pavilion p6 Hard Drive Replacement: 2 단계, 이미지 2/3 HP Pavilion p6 Hard Drive Replacement: 2 단계, 이미지 3/3
    • In order to remove the side panel a single screw needs to first be removed.

    • The side panel can then be pulled towards the back of the computer using the pull tab provided.

    • The panel then needs to be rotated as showed in order to remove it from the computer.

  3. HP Pavilion p6 Hard Drive Replacement: 3 단계, 이미지 1/3 HP Pavilion p6 Hard Drive Replacement: 3 단계, 이미지 2/3 HP Pavilion p6 Hard Drive Replacement: 3 단계, 이미지 3/3
    • Firstly the power and Sata cables should be disconected - they can be removed by just pulling them straight back.

    • After this is done it should look like the second picture.

    • Lastly four screws need to be removed that secure the Hard Drive to the case.

    • Extreme care should be take here as the Hard Drive should be supported when loosening off the last screw. Be careful not to press on the casing and only hold it by the edges.

  4. HP Pavilion p6 Hard Drive Replacement: 4 단계, 이미지 1/3 HP Pavilion p6 Hard Drive Replacement: 4 단계, 이미지 2/3 HP Pavilion p6 Hard Drive Replacement: 4 단계, 이미지 3/3
    • The computer should now look like the first picture.

    • While still supporting the Hard Drive by the edges slowly pull it towards you as shown and out of the computer.

    • Make sure you keep it in a safe place and don't apply any force to the top cover.

결론

To reassemble your device, follow these instructions in reverse order.

다른 5명이 해당 안내서를 완성하였습니다.

Oli

회원 가입일: 01/03/14

1,310 평판

안내서 4개 작성하였습니다

댓글 한 개

Still no instruction for installing a 2.5"SSD in a 3.5" HHD.

Ray Fowler - 답글

댓글 쓰기

조회 통계:

24 시간 전: 2

7일 전: 12

30일 전: 41

전체 시간: 3,754