주요 콘텐츠로 건너뛰기

HP Pavilion x360 14m-ba011dx Screen Replacement

필요한 것

  1. HP Pavilion x360 14m-ba011dx Screen Replacement, Battery: 1 단계, 이미지 2개 중 1개 HP Pavilion x360 14m-ba011dx Screen Replacement, Battery: 1 단계, 이미지 2개 중 2개
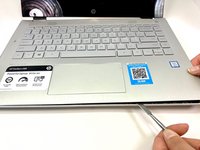
    • Remove the top left and right rubber pads closest to the hinge of screen using a plastic spudger to expose the screws underneath.

    • Remove the following 6 screws from the bottom of the device using a Phillips #00 Screwdriver:​

    • Two 7.5 mm screws.

    • Three 5 mm screws.

    • One 6.5 mm screw.

  2. HP Pavilion x360 14m-ba011dx Screen Replacement: 2 단계, 이미지 1개 중 1개
    • Push into the two screw holes that were under the rubber pads with the screwdriver to pop the keyboard out just a little.

    • Do this with the screen open so that you do not damage the screen.

    • Do not remove keyboard all the way.

  3. HP Pavilion x360 14m-ba011dx Screen Replacement: 3 단계, 이미지 2개 중 1개 HP Pavilion x360 14m-ba011dx Screen Replacement: 3 단계, 이미지 2개 중 2개
    • Separate the keyboard from the rest of the device using a metal or plastic spudger around the edges.

    • Pull up gently just until you can see the cables attaching the keyboard to the motherboard.

    • Flip the small white flaps holding the cables to the motherboard open to unplug the cords.

  4. HP Pavilion x360 14m-ba011dx Screen Replacement: 4 단계, 이미지 2개 중 1개 HP Pavilion x360 14m-ba011dx Screen Replacement: 4 단계, 이미지 2개 중 2개
    • Remove the purple cable attaching the battery to the motherboard by flipping the black flap and pulling the cable out.

    • Remove seven 4 mm screws using a Phillips #00 Screwdriver.

  5. HP Pavilion x360 14m-ba011dx Screen Replacement: 5 단계, 이미지 1개 중 1개
    • Remove the battery by gently pushing battery up, then pulling.

  6. HP Pavilion x360 14m-ba011dx Screen Replacement, Screen: 6 단계, 이미지 2개 중 1개 HP Pavilion x360 14m-ba011dx Screen Replacement, Screen: 6 단계, 이미지 2개 중 2개
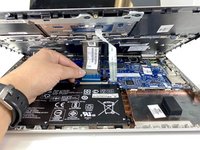
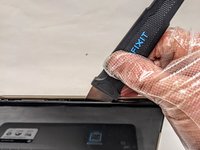
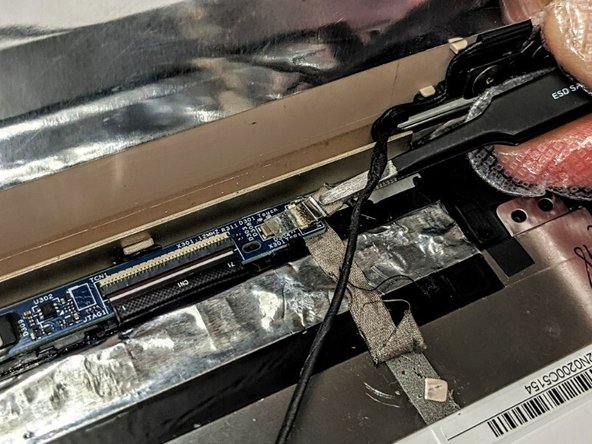
    • Insert the Jimmy between the screen and back case.

    • Carefully detach the screen from the back case by sliding the Jimmy around the casing and prying the screen from the case.

  7. HP Pavilion x360 14m-ba011dx Screen Replacement: 7 단계, 이미지 2개 중 1개 HP Pavilion x360 14m-ba011dx Screen Replacement: 7 단계, 이미지 2개 중 2개
    이 단계에 사용된 도구:
    Tweezers
    $4.99
    • Using the tweezers, remove the tape securing the connector and gently disconnect the wire.

  8. HP Pavilion x360 14m-ba011dx Screen Replacement: 8 단계, 이미지 2개 중 1개 HP Pavilion x360 14m-ba011dx Screen Replacement: 8 단계, 이미지 2개 중 2개
    • Using the tweezers, remove the right side connector from the connector port and free the wiring from right to left.

  9. HP Pavilion x360 14m-ba011dx Screen Replacement: 9 단계, 이미지 2개 중 1개 HP Pavilion x360 14m-ba011dx Screen Replacement: 9 단계, 이미지 2개 중 2개
    • Using the tweezers, remove the left side connector from the connector port and ensure all tape securing the wiring harness is free.

    • Remove the screen from the rest of the laptop.

결론

To reassemble your device, follow these instructions in reverse order.

다른 한 분이 해당 안내서를 완성하였습니다.

0가이드 댓글

댓글 쓰기

조회 통계:

지난 24시간: 2

지난 7일: 16

지난 30일: 60

전체 시간: 1,725