소개
Use this guide to aid in the removal and replacement of the motherboard to any HP Pavilion x360 14m-cd0005dx laptop. Replace the motherboard if the laptop experiences frequent Blue Screen of Death errors for no other discernible cause. For more information as to whether the motherboard should be replaced, look at this troubleshooting guide.
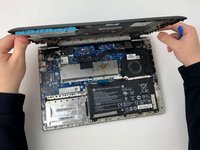
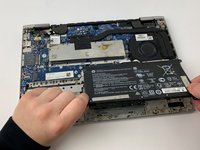
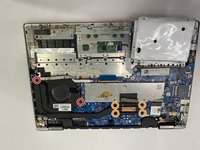
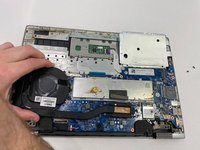
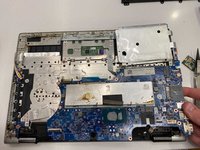
The motherboard is an essential part of any laptop. When replacing the motherboard, a large amount of device software will need to be re-downloaded or reinstalled. If the motherboard needs to be replaced but isn’t, the system may shut down without warning and fail to start again. The motherboard is especially vulnerable to damage from static electricity, so be sure to wear an anti-static wrist strap (like the one here) to reduce the risk of harm to the device's components.
필요한 것
-
-
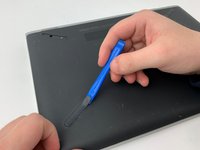
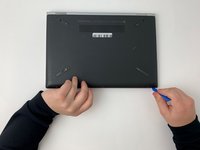
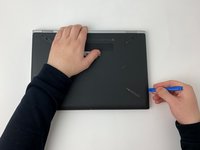
Turn off and shut down the computer.
-
Disconnect the power adapter and all external devices connected to the computer.
-
-
-
-
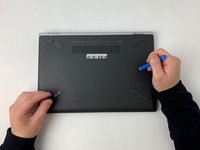
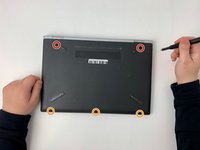
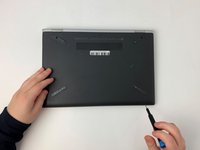
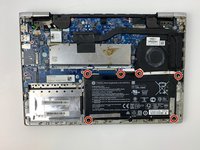
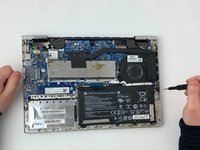
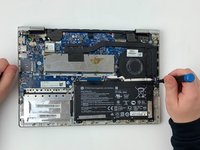
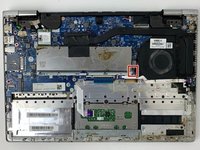
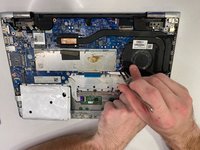
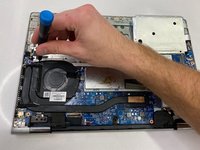
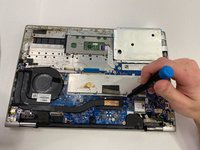
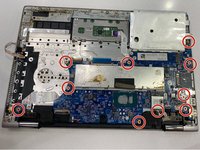
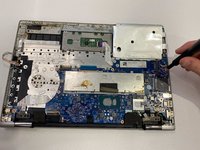
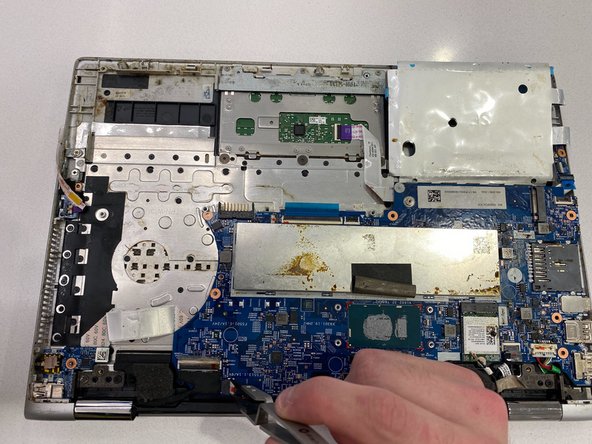
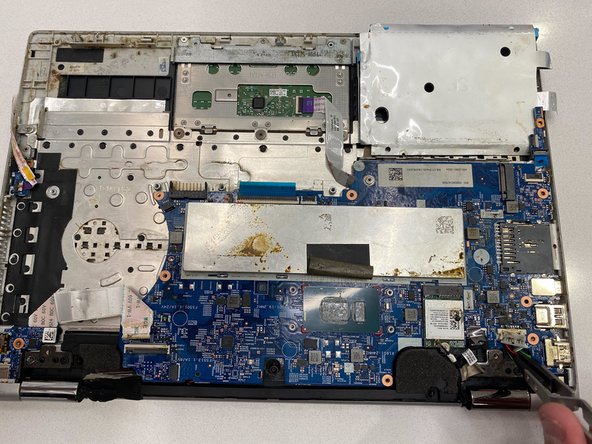
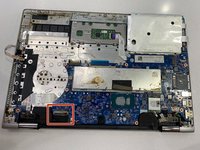
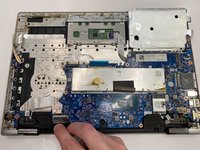
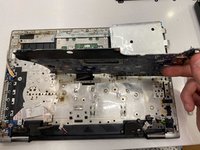
Remove all screws securing the motherboard to the device:
-
Ten Phillips #0 4.5mm screws
-


To reassemble your device, follow these instructions in reverse order.
다른 한 분이 해당 안내서를 완성하였습니다.
팀

Embry-Riddle Aeronautical University, Team S16-G3, Branham Spring 2020 Embry-Riddle Aeronautical University, Team S16-G3, Branham Spring 2020 회원
ERAU-BRANHAM-S20S16G3
3 회원들
안내서 6개를 작성함