소개
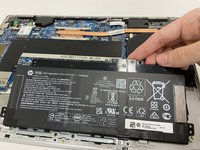
If your HP Pavilion x360 Convertible 14-dw1025nr doesn't hold a charge or the battery level doesn't rise when connected to power, the laptop's battery is probably dead. Use this guide to replace it.
Dead or malfunctioning batteries are often attributed to a device's age, but other causes include blocked power ports or faulty power cables. If clearing the power port and replacing the cables does not allow the battery to hold a charge, a battery replacement is probably the answer.
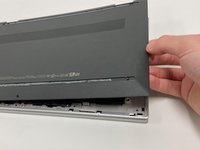
The only tools necessary for this replacement are the Phillips #0 and #1 screwdrivers, as well as the plastic opening tool. Replacing the battery is a simple task, but care must be taken when removing the back panel from your device.
필요한 것
-
-
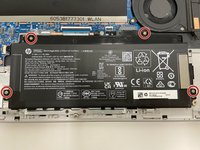
Turn off the device and set it upside down. Orient the hinges away from you.
-
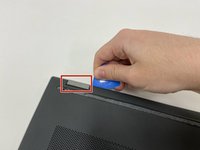
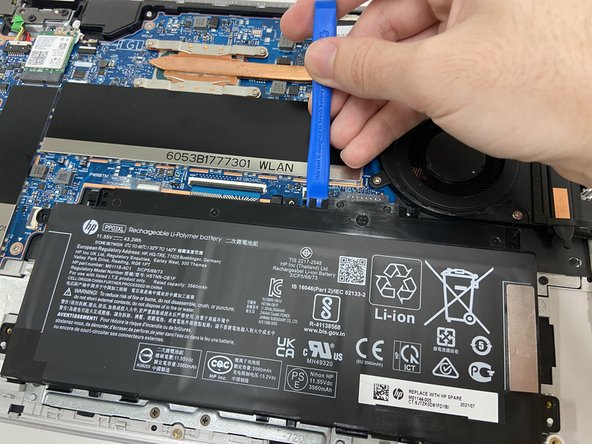
Wedge the opening pick under the grip. Lift the end of the grip.
-
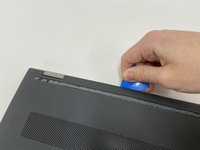
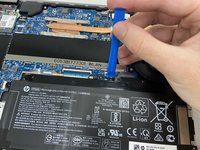
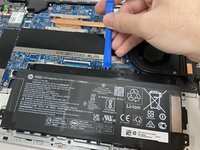
Pull the grip off all the way. Repeat for the second grip.
-
-


To reassemble your device, follow these instructions in reverse order.

팀

Western Carolina University, Team 1-3, Virtue Fall 2022 Western Carolina University, Team 1-3, Virtue Fall 2022 회원
WCU-VIRTUE-F22S1G3
4 회원들
안내서 5개를 작성함
1가이드 댓글
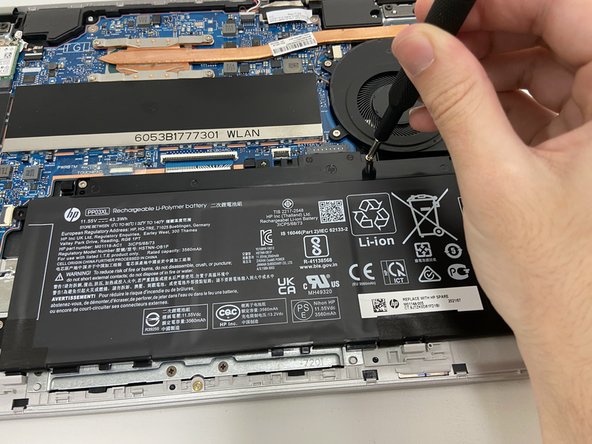
Guide is also useful for HP Envy x360 convertible! There is just two more T2 screws in step 1. Also there is a cable next to the battery which is run alongside the battery. This has to be removed carefully before swapping it out.