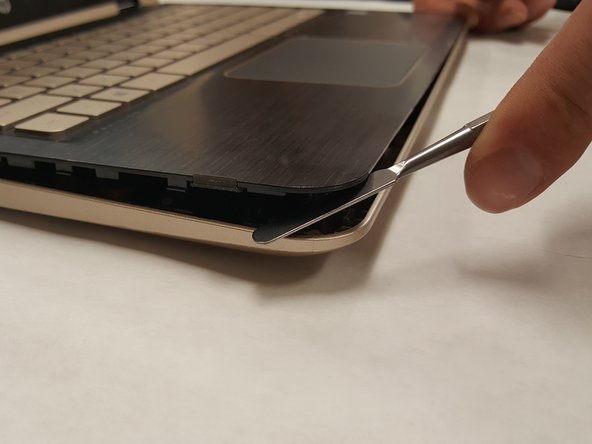
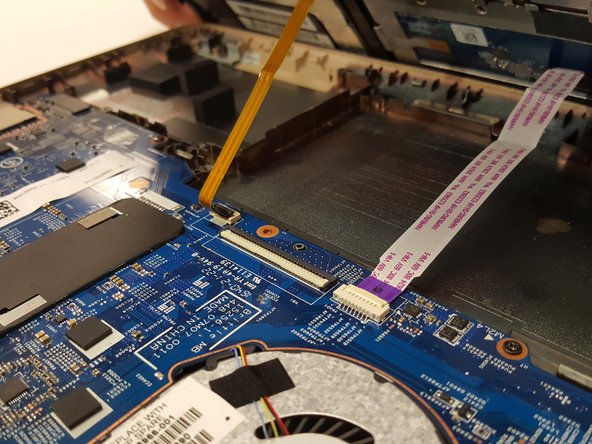
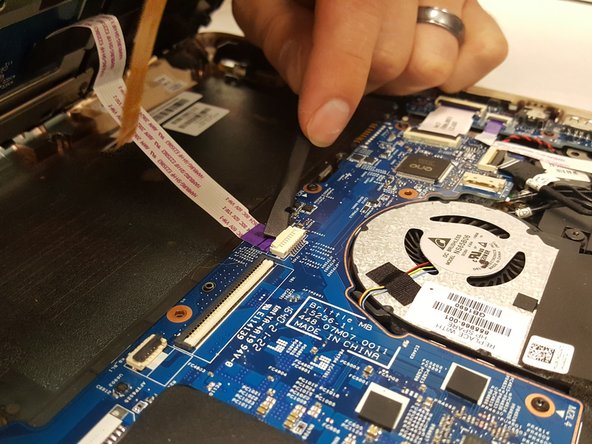
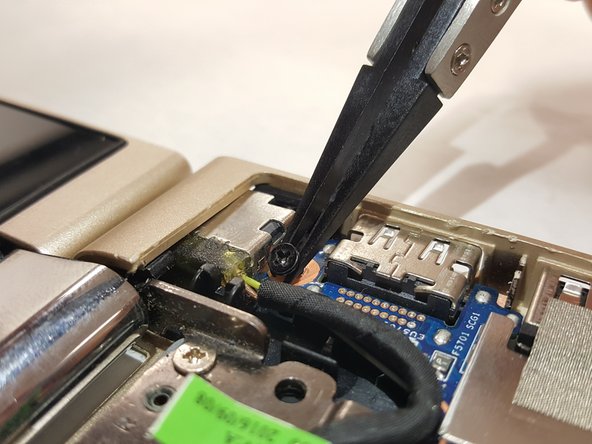
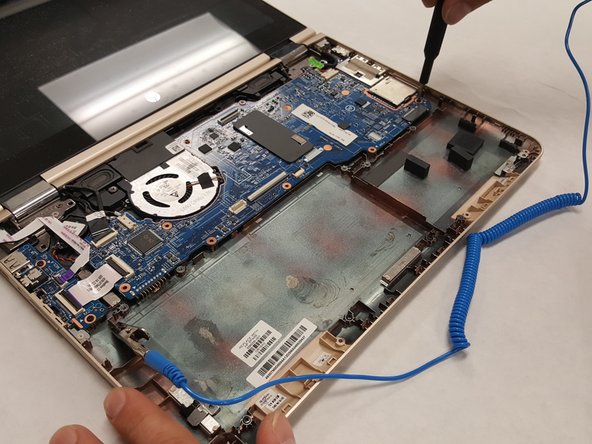
주요 콘텐츠로 건너뛰기

HP Pavilion x360 m3-u103dx Motherboard Replacement

필요한 것

  1. HP Pavilion x360 m3-u103dx Motherboard Replacement, Motherboard: 1 단계, 이미지 1/1
    • Power the device off.

    • Flip the device over.

    • Using the plastic spudger, remove the rubber bumper to reveal 5 screws.

  2. HP Pavilion x360 m3-u103dx Motherboard Replacement: 2 단계, 이미지 1/1
    • Using a Phillips screwdriver, remove 10 screws from the back plate.

    • Five 2.4 x 5.7 mm screws.

    • Five 2.8 x 5.0 mm screws.

  3. HP Pavilion x360 m3-u103dx Motherboard Replacement: 3 단계, 이미지 1/3 HP Pavilion x360 m3-u103dx Motherboard Replacement: 3 단계, 이미지 2/3 HP Pavilion x360 m3-u103dx Motherboard Replacement: 3 단계, 이미지 3/3
    • Using the plastic opening tool, pry the keyboard upwards at the opening shown.

    • Then, using the metal spudger, pry around the rest of the keyboard until it is completely free.

    • Slowly, lift the entire keyboard up and away from the screen to reveal the connections and internals.

    • The connector ribbons can be damaged if the keyboard is lifted too high.

  4. HP Pavilion x360 m3-u103dx Motherboard Replacement: 4 단계, 이미지 1/2 HP Pavilion x360 m3-u103dx Motherboard Replacement: 4 단계, 이미지 2/2
    • Using the black nylon spudger, lift the retaining clip for each ribbon shown.

    • Lift the keyboard out of the device and out of the way.

  5. HP Pavilion x360 m3-u103dx Motherboard Replacement: 5 단계, 이미지 1/3 HP Pavilion x360 m3-u103dx Motherboard Replacement: 5 단계, 이미지 2/3 HP Pavilion x360 m3-u103dx Motherboard Replacement: 5 단계, 이미지 3/3
    • Using a J000 screwdriver, remove 9 screws from the motherboard.

    • Using a Y1 screwdriver, remove the 10th screw from the top of the motherboard.

    • Tweezers can be helpful to pull screws from tight areas.

    • Grounding bracelets can prevent static from harming delicate electronics.

  6. HP Pavilion x360 m3-u103dx Motherboard Replacement: 6 단계, 이미지 1/2 HP Pavilion x360 m3-u103dx Motherboard Replacement: 6 단계, 이미지 2/2
    • Using a spudger, flip the retaining clips for these two ribbons and gently pull them away from their sockets.

    • Using tweezers, gently pull this connector away from its socket.

  7. HP Pavilion x360 m3-u103dx Motherboard Replacement: 7 단계, 이미지 1/2 HP Pavilion x360 m3-u103dx Motherboard Replacement: 7 단계, 이미지 2/2
    • Gently lift the entire motherboard while tilting it to the left side of the laptop.

    • Disconnect the final plug from underneath the motherboard.

    • Lift the old motherboard from the laptop completely.

결론

To reassemble your device, follow these instructions in reverse order.

Nicholas Bassett

회원 가입일: 09/03/19

145 평판

안내서 1개 작성함

IUPUI, Team S1-G2, Hovde Fall 2019 IUPUI, Team S1-G2, Hovde Fall 2019 회원

IUPUI-HOVDE-F19S1G2

3 회원들

안내서 1개 작성하였습니다

댓글 0개

댓글 쓰기

조회 통계:

24 시간 전: 0

7일 전: 1

30일 전: 6

전체 시간: 538