주요 콘텐츠로 건너뛰기

HP Pavillion dm1-3010nr Keyboard Replacement

필요한 것

  1. HP Pavillion dm1-3010nr Keyboard Replacement, Battery: 1 단계, 이미지 1/1
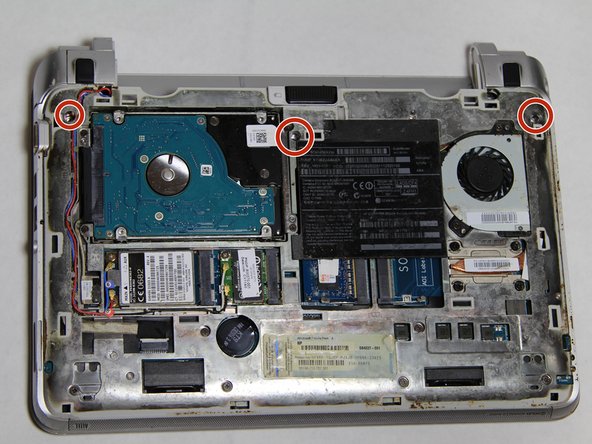
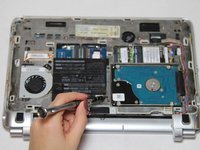
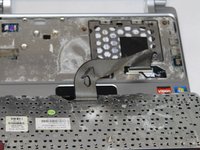
    • Flip the device over, so that the bottom cover is exposed.

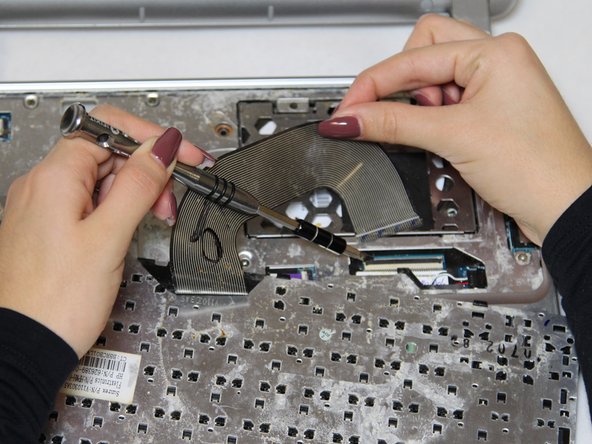
    • Slide the black locking mechanism into its unlock position.

  2. HP Pavillion dm1-3010nr Keyboard Replacement: 2 단계, 이미지 1/1
    • After unlocking the mechanism, slide the battery out of its compartment.

  3. HP Pavillion dm1-3010nr Keyboard Replacement, Keyboard: 3 단계, 이미지 1/1
    • Remove the black bottom cover by using your fingernails or a thin flat tool.

  4. HP Pavillion dm1-3010nr Keyboard Replacement: 4 단계, 이미지 1/2 HP Pavillion dm1-3010nr Keyboard Replacement: 4 단계, 이미지 2/2
    • Use the Phillips #0 screwdriver to remove three 5mm screws securing the keyboard.

    • The screws to be removed are circled in red in the picture provided.

    • Make sure to place the screws somewhere safe like on top of a magnet.

  5. HP Pavillion dm1-3010nr Keyboard Replacement: 5 단계, 이미지 1/1
    • Flip the laptop so that they keyboard is facing you.

    • Use a thin and flat metal to carefully lift up the top side of the keyboard and separate it from the top cover.

  6. HP Pavillion dm1-3010nr Keyboard Replacement: 6 단계, 이미지 1/2 HP Pavillion dm1-3010nr Keyboard Replacement: 6 단계, 이미지 2/2
    • Now you will see the keyboard cable connector attached to a locking tab.

    • Lift up the locking tab with a thin and flat screwdriver or your fingernail.

    • The locking tab will open up at a 90 degree angle.

    • Pull the keyboard cable from the connector.

결론

To reassemble your device, follow these instructions in reverse order.

Rosalia Olga Dupont Ayala

회원 가입일: 10/22/18

210 평판

안내서 1개 작성함

UC Davis, Team S7-G1, Lore Fall 2018 UC Davis, Team S7-G1, Lore Fall 2018 회원

UCD-LORE-F18S7G1

3 회원들

안내서 4개 작성하였습니다

댓글 0개

댓글 쓰기

조회 통계:

24 시간 전: 0

7일 전: 5

30일 전: 8

전체 시간: 636