소개
You will have to remove many parts of the computer. Be sure to be careful when removing the parts so not to damage them.
필요한 것
-
-
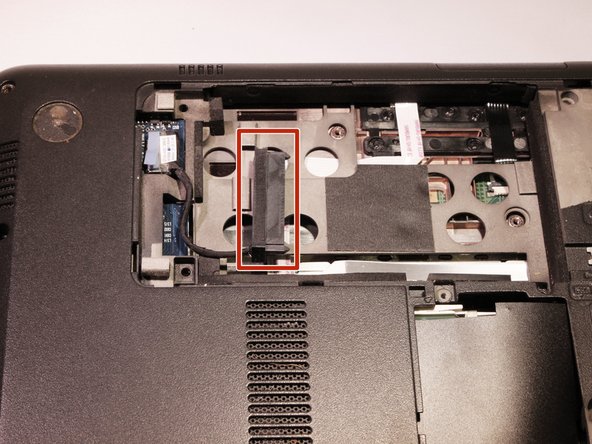
Position the computer so the front is towards you.
-
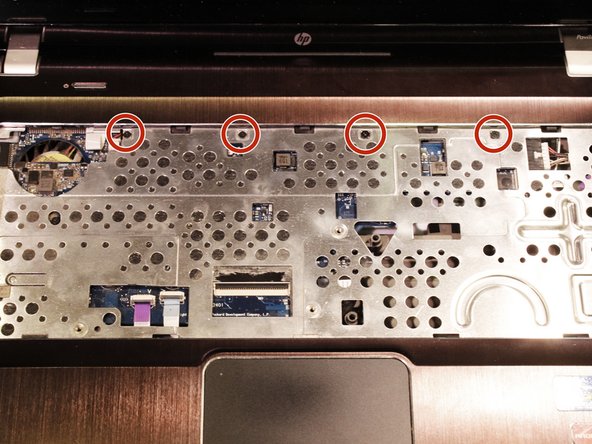
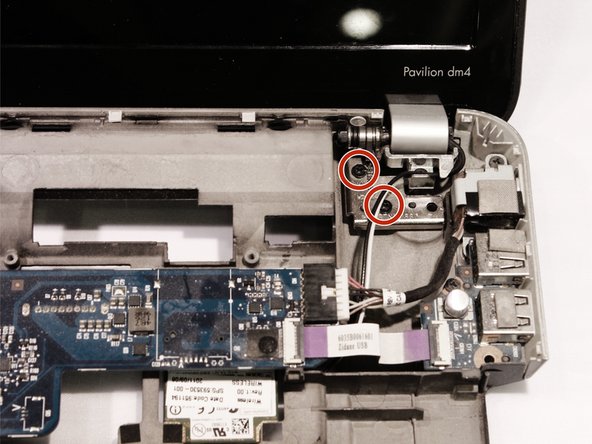
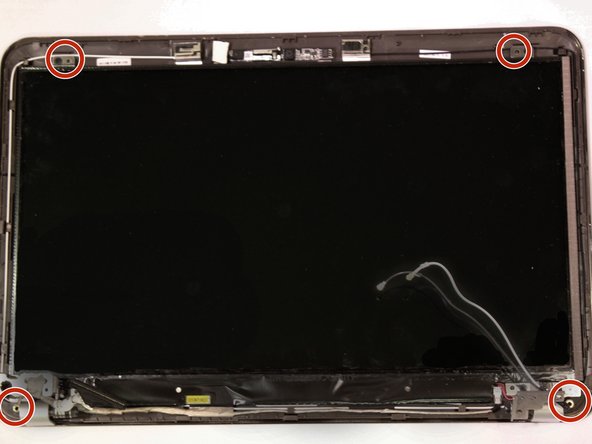
Remove two 5mm Phillips #1 screws
-
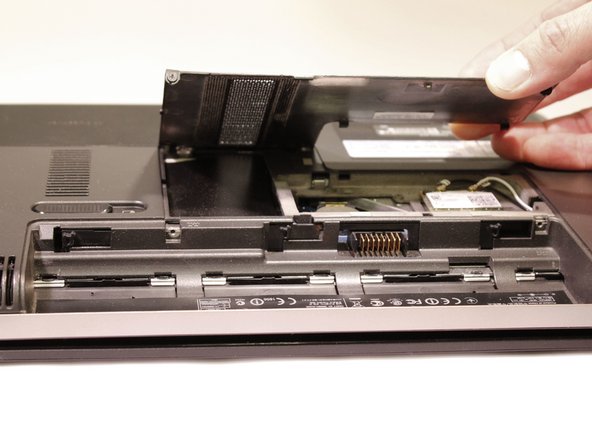
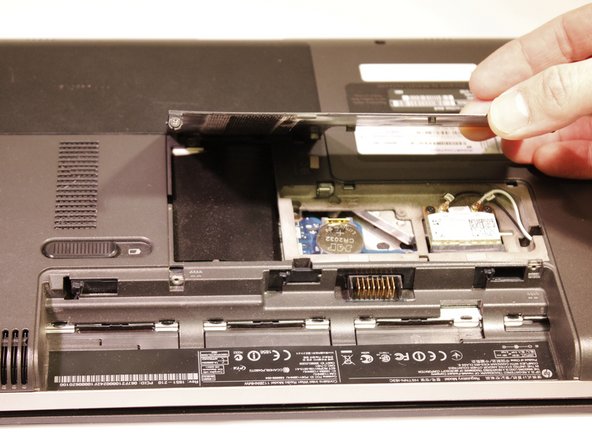
Slide the hard drive cover towards the empty battery spot and remove it.
-
-
-
-
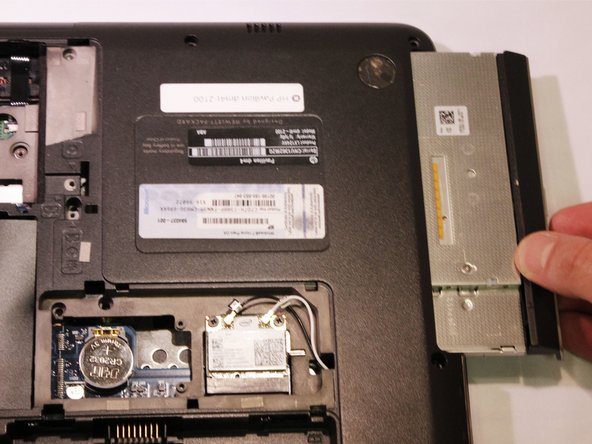
Remove one Phillips M2.5X5.0 Screw that is securing the optical drive.
-
With the nylon spudger, push the optical drive until you can grab it and pull it all the way out.
-


To reassemble your device, follow these instructions in reverse order.
To reassemble your device, follow these instructions in reverse order.

팀

Eastern Washington University, Team 2-3, Andersen Winter 2016 Eastern Washington University, Team 2-3, Andersen Winter 2016 회원
EWU-ANDERSEN-W16S2G3
5 회원들
안내서 6개 작성하였습니다