소개
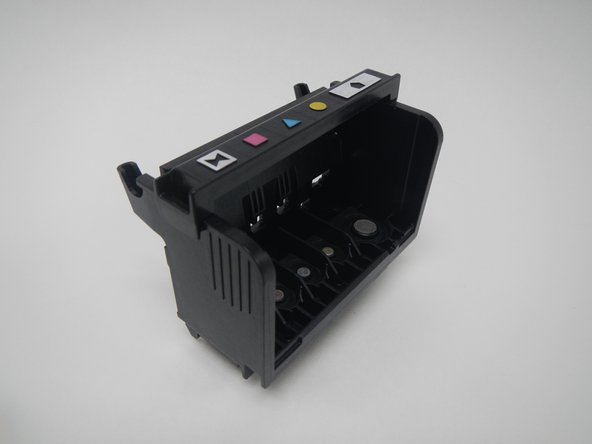
If the printhead is bad, it will reflect on the quality of the printing. The printhead holds the ink and transfers characters and images tot he paper. If the printing quality is not acceptable, the printhead may need replacement.
-
-
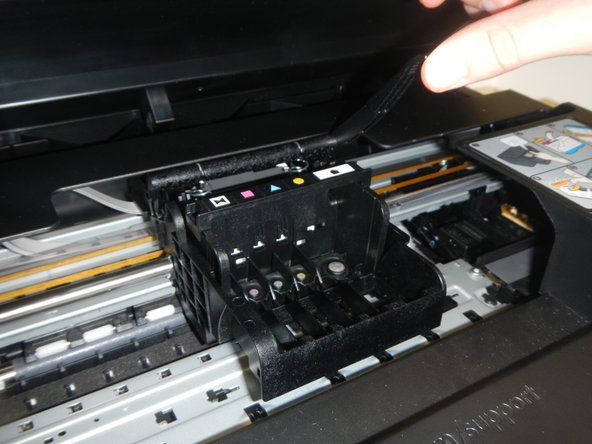
Open the top of the printer as shown.
-
Locate the ink cartridges housed by the printhead.
-
-


To reassemble your device, follow these instructions in reverse order.
To reassemble your device, follow these instructions in reverse order.
다른 10명이 해당 안내서를 완성하였습니다.
팀

Michigan Tech, Team 1-2, Lauer Fall 2014 Michigan Tech, Team 1-2, Lauer Fall 2014 회원
MTU-LAUER-F14S1G2
3 회원들
안내서 5개 작성하였습니다
댓글 한 개
Greetings:
I just replaced an empty black ink cartridge. The colors all print, but the new cartridge does not print. I have touched the cartridge and the ink seems wet and okay. Any other thoughts? I have taken the cartridge out and re-inserted it numerous times to no avail.
Thank you for any help you can give me.
Louann Dicus
dicus_6216 - 답글