이 안내서에는 최근 변경 사항이 더 있습니다. 최신 비검증 버전으로 전환하십시오.
소개
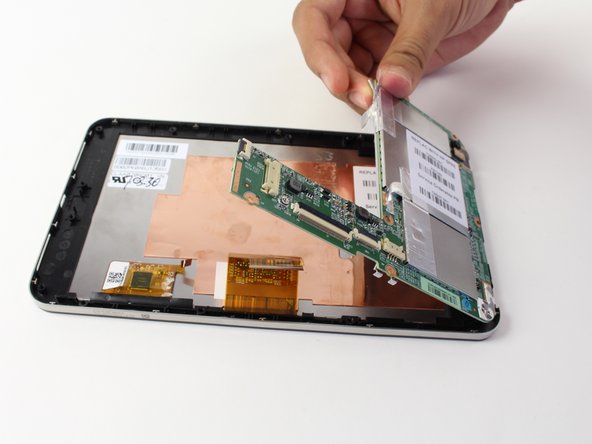
This device's motherboard is a green, "L"-shaped component internally located against the front screen and beneath the battery. Replacement requires the removal of the battery prior to removing the motherboard and involves the disconnection of two gold ribbons and 6 screws. In this guide, you will be removing the following:
- Back Cover
- Battery
- Charging Port
- Speaker Unit
- Motherboard
If the guide steps are accurately followed, replacement should be a breeze. So, prepare your required tools, a new motherboard for your tablet, and set aside about 20 to 30 minutes to delve into the inner workings of your HP Slate.
필요한 것
-
-
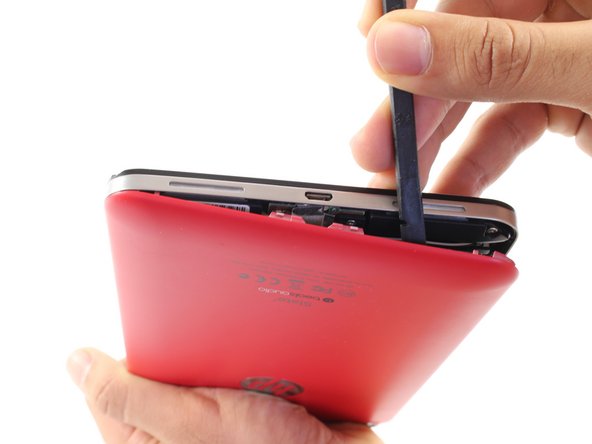
Begin your replacement by using a T3 or T4 Torx screwdriver.
-
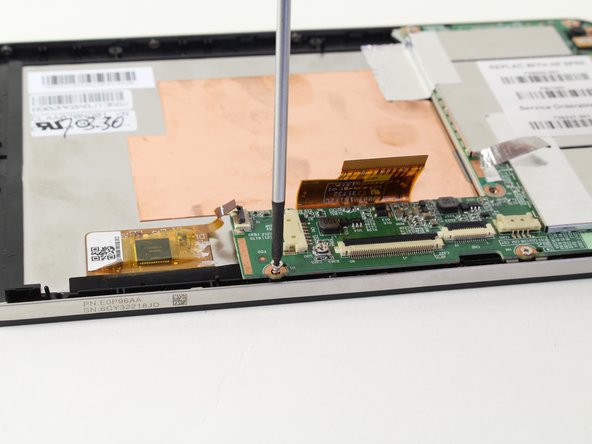
Remove the two 1.4mm x 3mm Torx Head screws at the top of the device.
-
-
-
-
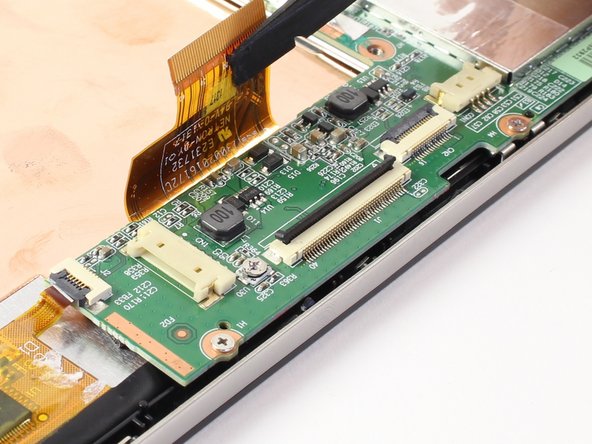
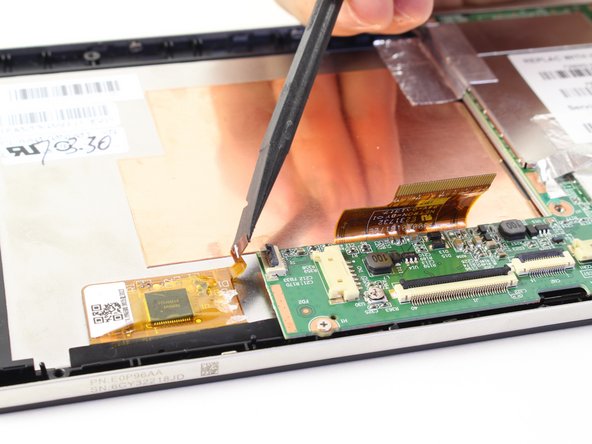
Disconnect the LCD screen ribbon by lifting up the black panel with the flat end of a spudger and sliding the gold strip out.
-


To reassemble your device, follow these instructions in reverse order.
To reassemble your device, follow these instructions in reverse order.
다른 4명이 해당 안내서를 완성하였습니다.

팀

Cal Poly, Team 13-30, Maness Spring 2014 Cal Poly, Team 13-30, Maness Spring 2014 회원
CPSU-MANESS-S14S13G30
3 회원들
안내서 8개 작성하였습니다