소개
This is a difficult process, and you will need precision and caution in order to carefully remove the parts and motherboard.
필요한 것
-
-
Use the plastic opening tool to separate the back cover from the tablet. Carefully use the tool to pry open the sides, going around the entire tablet to lift the sides up.
-
Once all sides have been pried up, pull the cover off and place it to the side.
-
-
-
Use the PH #000 screw bit to remove the 5.0 mm screw holding down the top speaker to expose the front-facing camera.
-
-
-
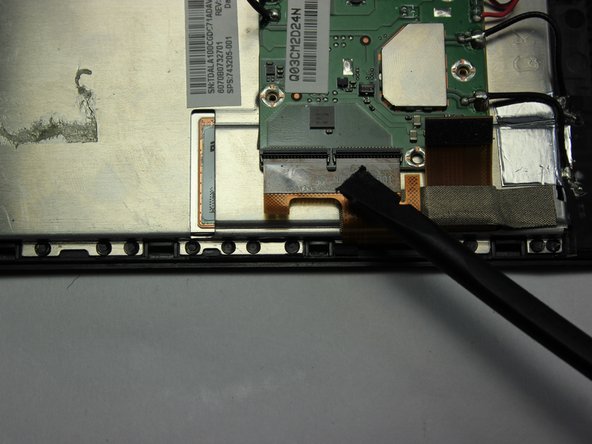
Pull back the tape holding the the camera's connector strip to the device.
-
Use the nylon spudger to flip up the black retaining flap of the zero insertion force (ZIF) connector holding the strip in place.
-
Gently pull the camera's connecting strip out from the port.
-
-
-
Cut the battery connectors one by one using wire cutters.
-
After disconnecting the battery, take the new battery and use wire connectors to connect to the motherboard.
-
-
-
-
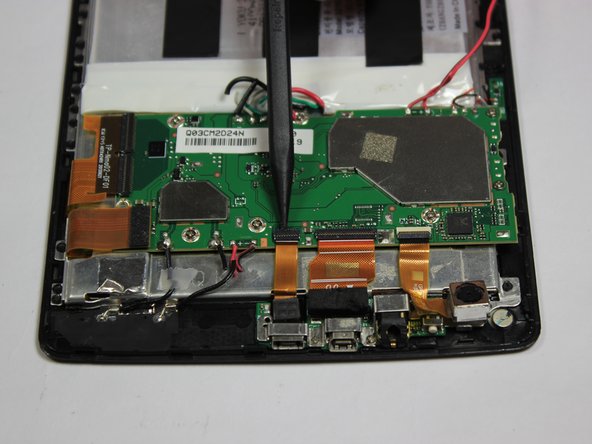
Use the PH #000 phillips head screw driver to remove one 5.0 mm screw.
-
Move plastic housing and rear facing camera to expose silver bracket.
-
-
-
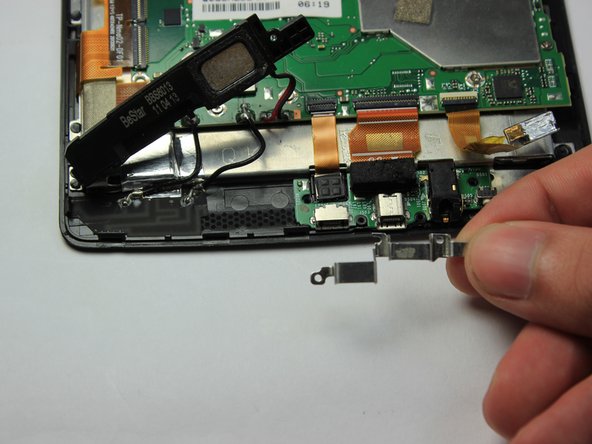
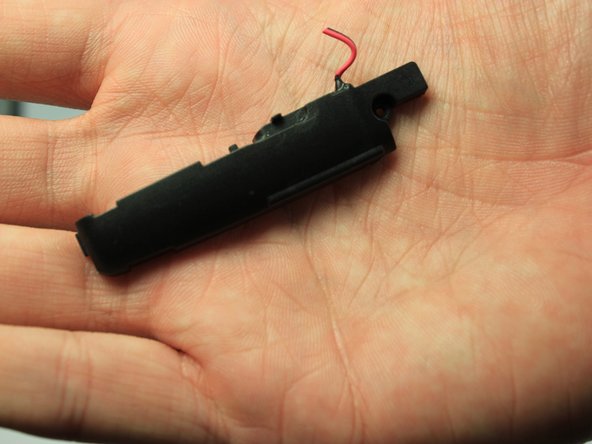
Gently pull the entire black housing away from device.
-
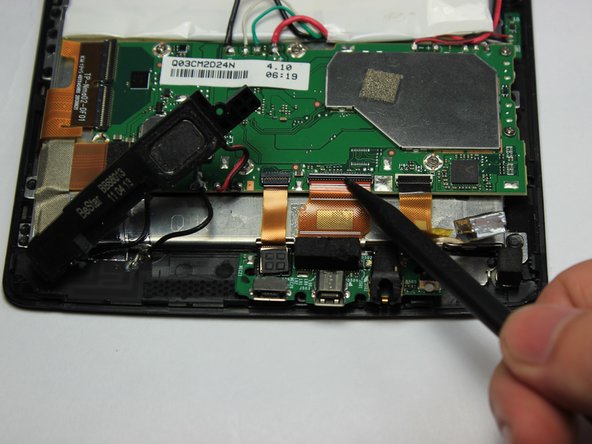
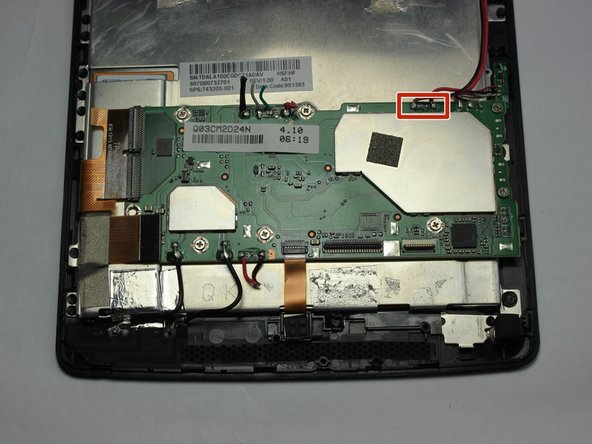
Locate where the speakers' wires are connected to the motherboard.
-
Using wire cutters, sever the wires connecting the speaker to the motherboard. Strip the wires with a wire stripper and fashion the new wires to the old ones connected to the motherboard to reconnect.
-
-
-
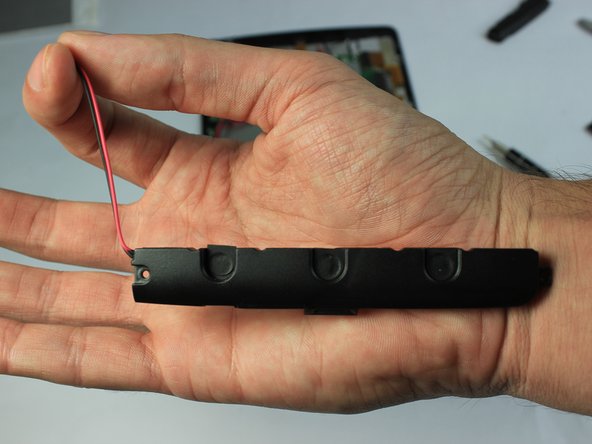
Locate the wires connecting the bottom speaker to the motherboard. The wires will be running alongside the battery
-
Using the PH #000 screw bit, unscrew the two 5.0 mm screws holding the bottom speaker in place
-
-
-
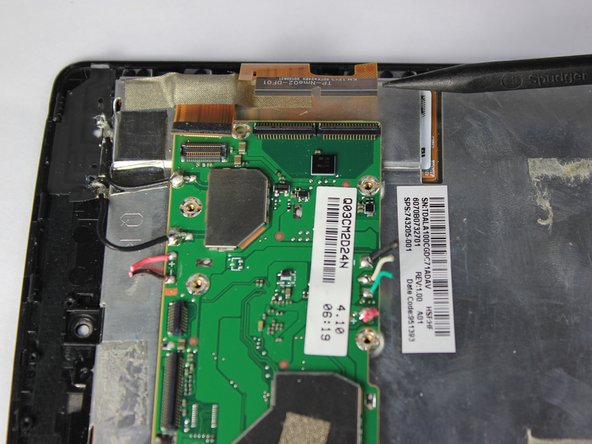
Using the PH #000 philips head screw bit, unscrew the seven screws holding the motherboard in place. Those in red are 3.0mm in length
-
Those in orange are 5.0 mm in length
-


To reassemble your device, follow these instructions in reverse order.
To reassemble your device, follow these instructions in reverse order.

팀

USF Tampa, Team 11-4, Blackwell Fall 2016 USF Tampa, Team 11-4, Blackwell Fall 2016 회원
USFT-BLACKWELL-F16S11G4
4 회원들
안내서 16개 작성하였습니다