소개
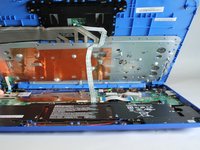
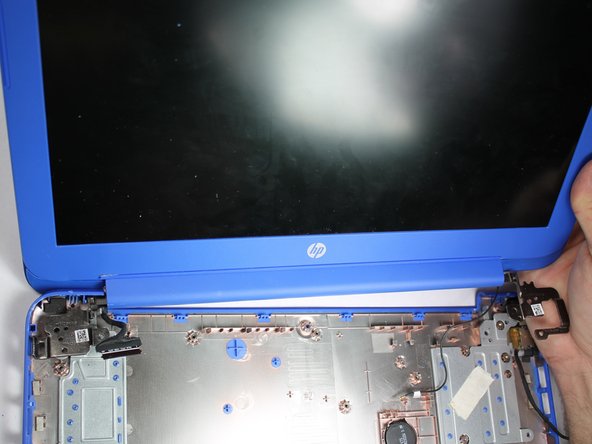
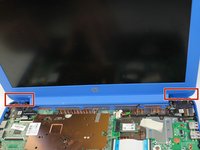
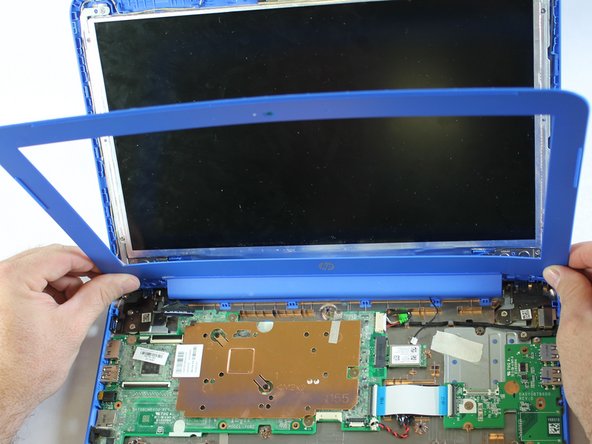
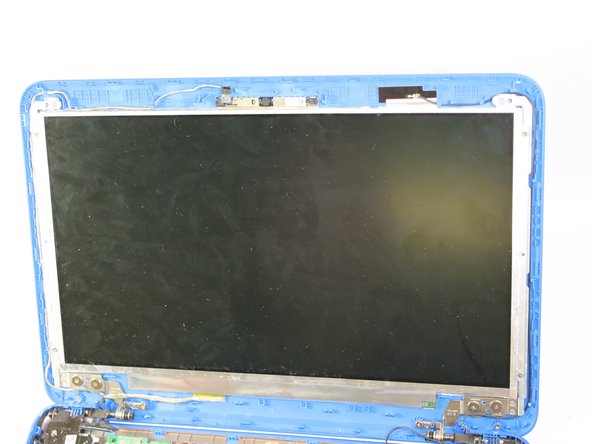
The Display Assembly repair guide will assist users to repair the monitor of the HP Stream 13-c110nr. The guide will also provide steps to remove the WLAN and camera assembly.
필요한 것
-
-
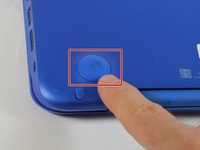
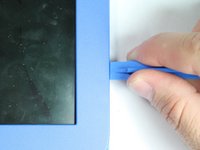
Close the device.
-
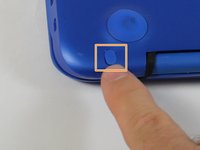
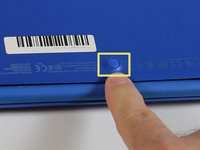
Remove AC adapter plug from electrical outlet.
-
Remove AC adapter from device.
-
Turn the device off.
-
Unplug all external devices from device.
-
-
이 단계에 사용된 도구:Magnetic Project Mat$19.95
-
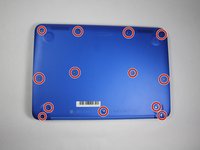
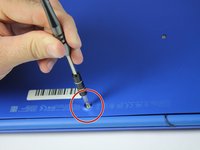
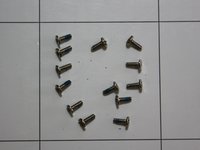
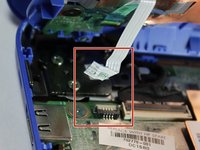
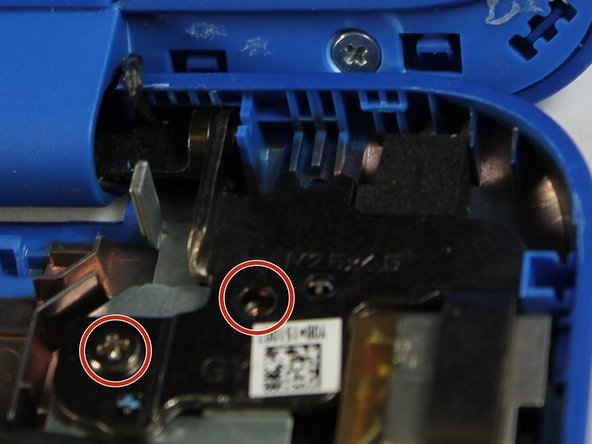
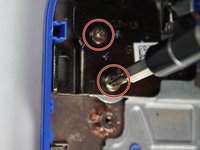
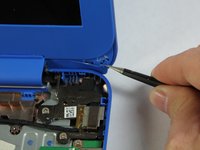
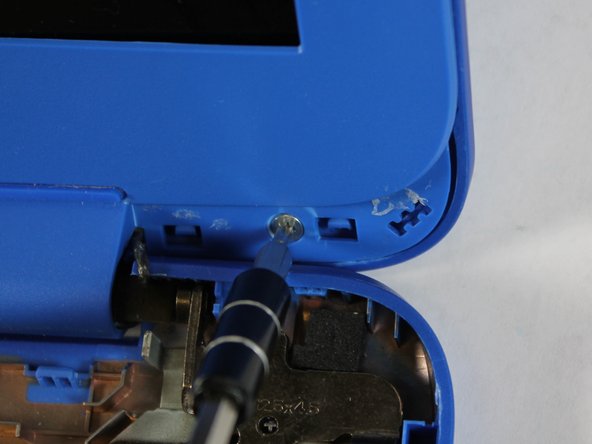
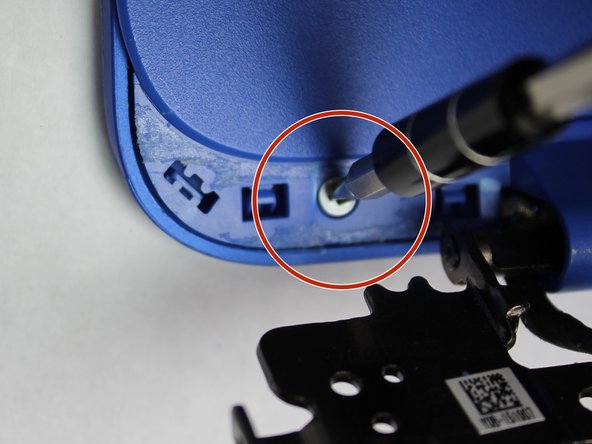
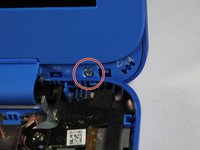
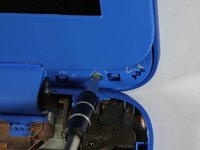
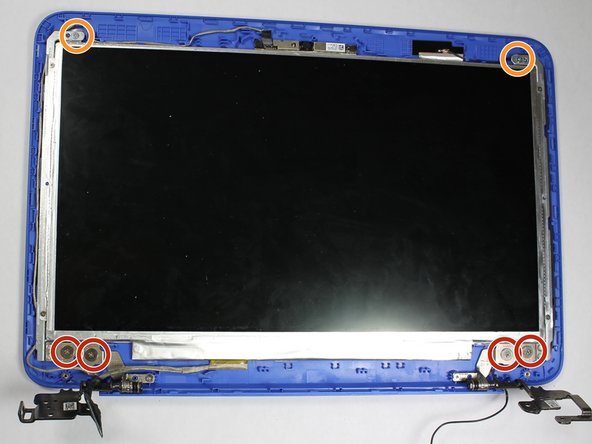
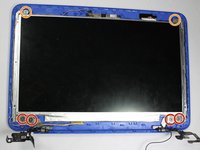
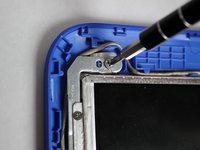
Remove the thirteen (13) Phillips P0 PM2.5x6.0 mm screws.
-
Place the thirteen (13) screws on magnetic mat for reassembly.
-
-


결론
To reassemble your device, follow these instructions in reverse order.
팀

Appalachian State University, Team S1-G2, Menagarishvili Spring 2019 Appalachian State University, Team S1-G2, Menagarishvili Spring 2019 회원
APSU-MENAGARISHVILI-S19S1G2
4 회원들
안내서 15개를 작성함