소개
This guide goes over how to replace the controller's trigger button.
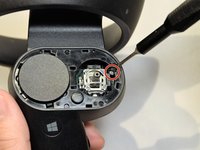
If your TPC-Q044 trigger button starts failing when using your controller, you may want to think about replacing the component. The failure may be a result of a loose spring or a broken latch. The replacement of the circuit board is not too complex. You will need the indicated screwdrivers and a spudger to complete this task. There are no warnings or potential hazards when replacing the pad.
필요한 것
-
-
-
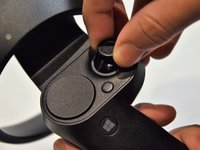
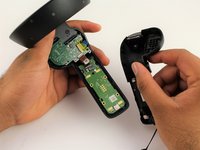
Grasp the trigger with one hand while pushing against the outer wall of the shell.
-
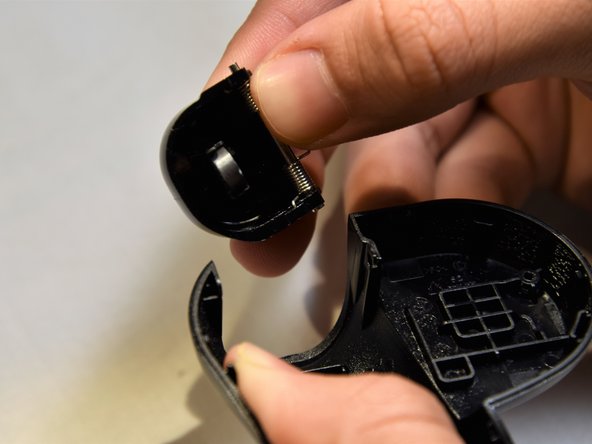
Apply pressure, pulling the wall away from the trigger.
-
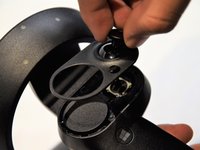
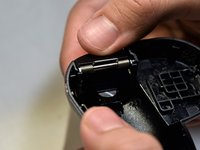
Remove the trigger starting from the freed edge.
-


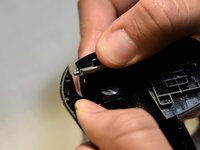

To reassemble your device, follow these instructions in reverse order.
다른 4명이 해당 안내서를 완성하였습니다.
팀

Cal Poly, Team S18-G5, White Winter 2019 Cal Poly, Team S18-G5, White Winter 2019 회원
CPSU-WHITE-W19S18G5
2 회원들
안내서 14개를 작성함