이 버전에는 잘못된 편집 사항이 있을 수 있습니다. 최신 확인된 스냅샷으로 전환하십시오.
필요한 것
-
이 단계는 번역되지 않았습니다. 번역을 도와주십시오
-
To start the disassembly of iPAQ speaker shown by picture, you must place speaker on a flat surface with the screen laying down.
-
-
이 단계는 번역되지 않았습니다. 번역을 도와주십시오
-
You must carefully remove the back cover using a plastic opening tool against the grooves along the sides of the iPAQ speaker.
-
-
이 단계는 번역되지 않았습니다. 번역을 도와주십시오
-
Using the plastic opening tool, carefully detach the yellow ribbon from the connector pins to separate the iPAQ speaker into two halves. (This step isn't necessary for speaker removal it will just make the process a lot easier.)
-
-
이 단계는 번역되지 않았습니다. 번역을 도와주십시오
-
Remove ribbon cable connected to iPAQ speaker logic board by pulling plastic clips on both sides towards top of iPAQ speaker.
-
Use plastic opening tool to carefully pull brown ribbon cable from connector.
-
-
이 단계는 번역되지 않았습니다. 번역을 도와주십시오
-
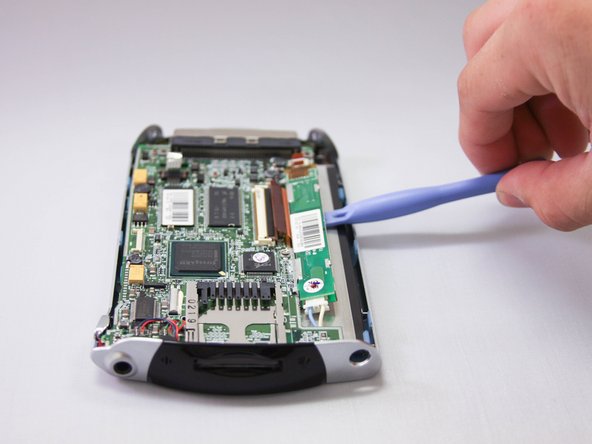
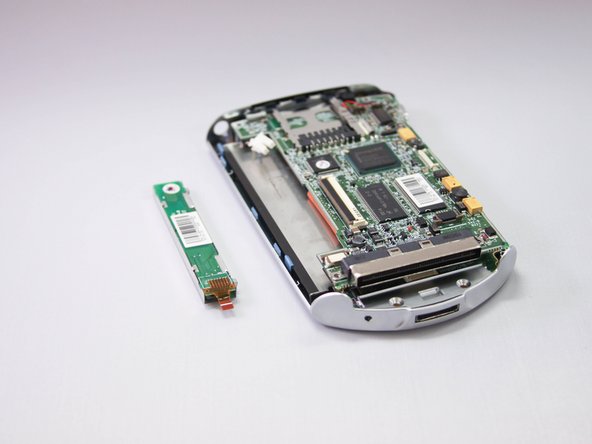
Use plastic opening tool to carefully remove display logic board from housing.
-
Unplug connector from the opposite end of the display logic board.
-
Completely remove component.
-
-
이 단계는 번역되지 않았습니다. 번역을 도와주십시오
-
Flip up black plastic clip on large ribbon cable connector located towards center of mother board.
-
Use plastic opening tool to carefully remove ribbon cable from connector.
-
-
이 단계는 번역되지 않았습니다. 번역을 도와주십시오
-
Gently pry clear/grey ribbon cable in the bottom corner of the device out of connector with plastic opening tool.
-
Use hands or tweezers to remove if necessary
-
-
이 단계는 번역되지 않았습니다. 번역을 도와주십시오
-
Use hands to gently unplug speaker and microphone connectors from mother board.
-
-
이 단계는 번역되지 않았습니다. 번역을 도와주십시오
-
Remove four small screws from each corner of the motherboard using phillips head screwdriver.
-
Use your hands/plastic opening tool to carefully lift the mother board out of housing.
-
Place the motherboard to the side.
-
-
이 단계는 번역되지 않았습니다. 번역을 도와주십시오
-
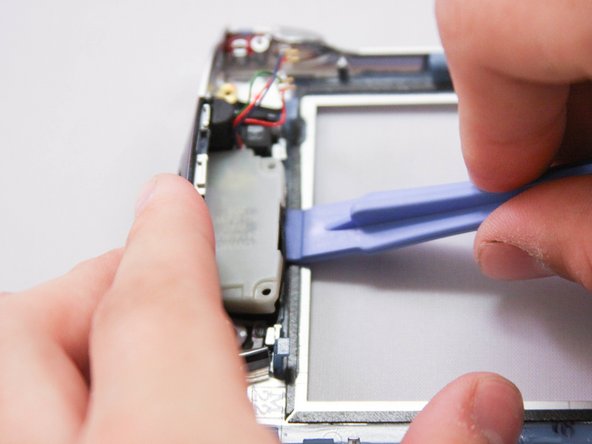
At the top of the iPAQ remove the screws holding down the speaker and housing.
-
When the screws are out pry out speaker along with the housing.
-
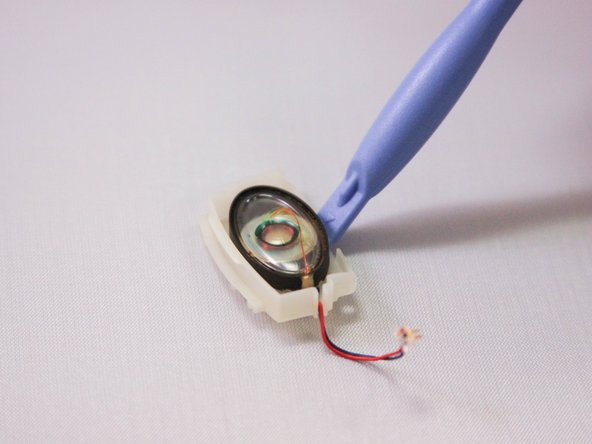
Lay down the speaker and housing with the housing on the bottom side and pry out the speaker with the plastic opening tool.
-
-
이 단계는 번역되지 않았습니다. 번역을 도와주십시오
-
Insert replacement speakers as needed.
-
Follow steps in reverse order to reassemble the iPAQ.
-


