이 버전에는 잘못된 편집 사항이 있을 수 있습니다. 최신 확인된 스냅샷으로 전환하십시오.
필요한 것
-
이 단계는 번역되지 않았습니다. 번역을 도와주십시오
-
While sliding the silver release tab up, simultaneously lift the cover up from the left side.
-
-
-
이 단계는 번역되지 않았습니다. 번역을 도와주십시오
-
Remove the four silver screws using the T5 Torx Screwdriver (T5 x .25 in).
-
-
이 단계는 번역되지 않았습니다. 번역을 도와주십시오
-
Remove the single black screw that is located beneath the HP sticker with the T5 Torx Screwdriver.
-
-
이 단계는 번역되지 않았습니다. 번역을 도와주십시오
-
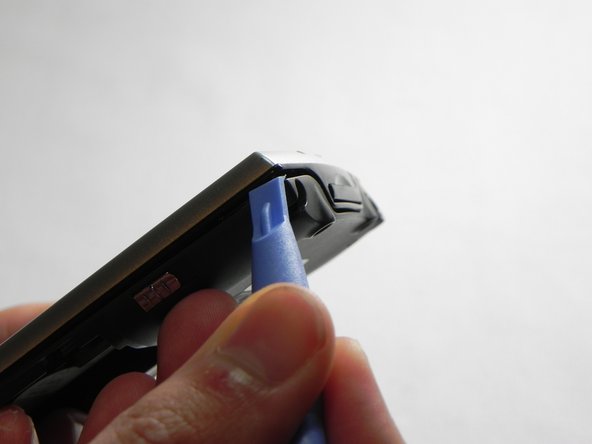
Next, use your plastic removal tool to separate the gray back from the black center piece.
-
For better results, start the separation at the corner piece.
-


다른 3명이 해당 안내서를 완성하였습니다.