이 버전에는 잘못된 편집 사항이 있을 수 있습니다. 최신 확인된 스냅샷으로 전환하십시오.
필요한 것
-
이 단계는 번역되지 않았습니다. 번역을 도와주십시오
-
While sliding the silver release tab up, simultaneously lift the cover up from the left side.
-
-
이 단계는 번역되지 않았습니다. 번역을 도와주십시오
-
Remove the four silver screws using the T5 Torx Screwdriver (T5 x .25 in).
-
-
이 단계는 번역되지 않았습니다. 번역을 도와주십시오
-
Remove the single black screw that is located beneath the HP sticker with the T5 Torx Screwdriver.
-
-
-
이 단계는 번역되지 않았습니다. 번역을 도와주십시오
-
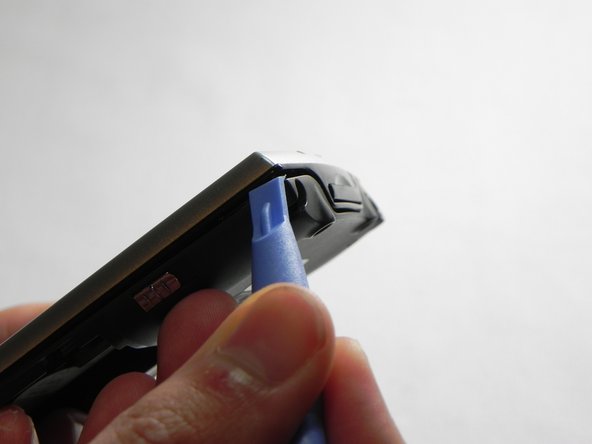
Next, use your plastic removal tool to separate the gray back from the black center piece.
-
For better results, start the separation at the corner piece.
-
-
이 단계는 번역되지 않았습니다. 번역을 도와주십시오
-
Now that the back cover is removed, use the #00 Philips x .17 screwdriver to remove the small screw to the left of the SD card slot.
-
-
이 단계는 번역되지 않았습니다. 번역을 도와주십시오
-
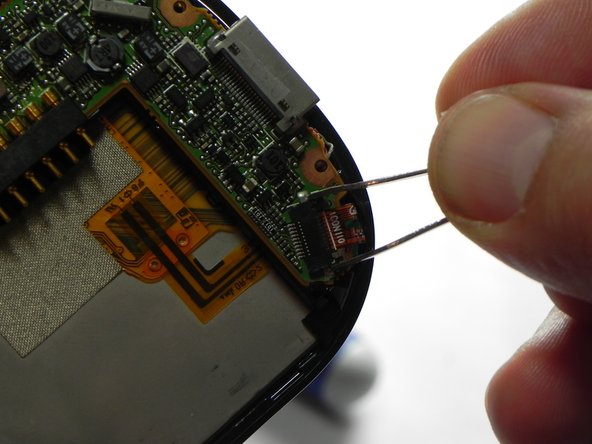
Next, unlock and remove the ribbon cable.
-
Using metal tweezers, carefully pull back on both sides of the brown bar unlocking the cable and slipping it out of the connector.
-
-
이 단계는 번역되지 않았습니다. 번역을 도와주십시오
-
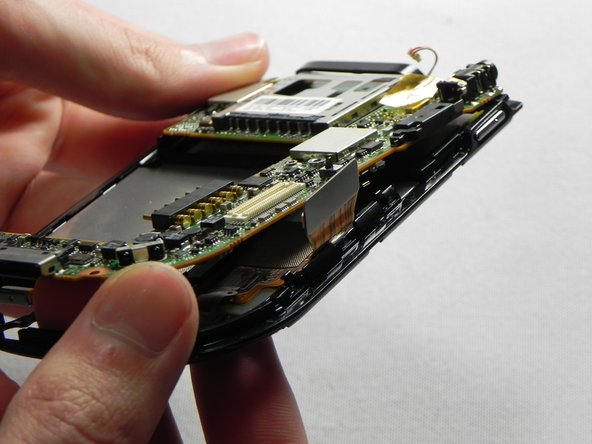
Next, remove the wire from the bottom of the mother board.
-
Make sure all the connections are properly disconnected before separation from the motherboard.
-
-
이 단계는 번역되지 않았습니다. 번역을 도와주십시오
-
Next, use a plastic removal tool and separate the silver front case from the black frame.
-
-
이 단계는 번역되지 않았습니다. 번역을 도와주십시오
-
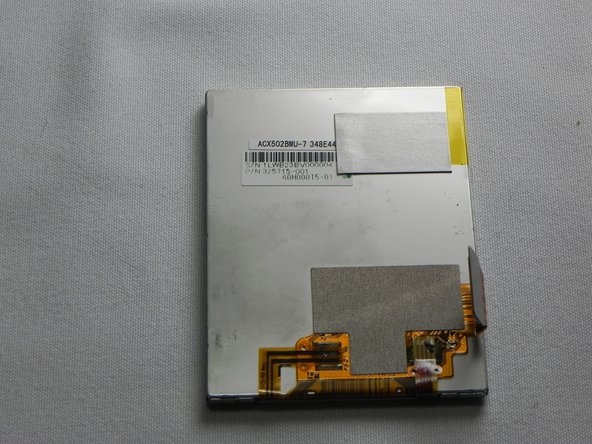
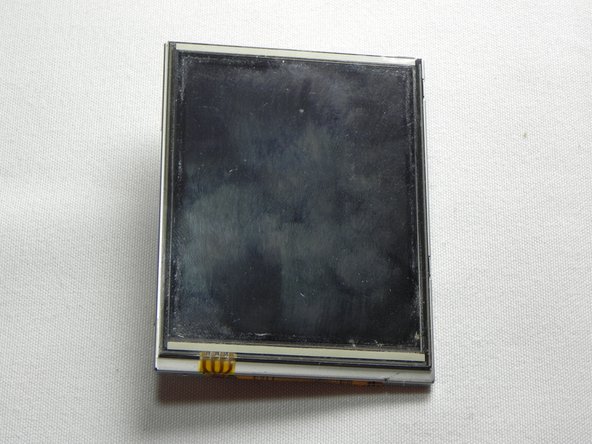
Now that the front cover is removed we can detach the screen
-
Remove the ribbon connector by pulling gently on the silver top. It will snap off the mother board.
-
다른 한 분이 해당 안내서를 완성하였습니다.


