이 버전에는 잘못된 편집 사항이 있을 수 있습니다. 최신 확인된 스냅샷으로 전환하십시오.
필요한 것
-
이 단계는 번역되지 않았습니다. 번역을 도와주십시오
-
Use the plastic opening tools to remove the plastic speaker covers that are attached through an adhesive layer.
-
-
이 단계는 번역되지 않았습니다. 번역을 도와주십시오
-
Use the T5 Torx screwdriver to remove the four screws in each corner.
-
Make sure to take out any SD cards, located on the left side of the phone before proceeding to the next step.
-
Use the plastic opening tool to pry the front of the device off. Fully go around the front with the plastic opening tool before attempting to pull it off.
-
-
이 단계는 번역되지 않았습니다. 번역을 도와주십시오
-
Dislocate the small piece with the wires connected using a nylon spudger.
-
Loosen the adhesive layer for the battery by running a hair dryer over it briefly. After the adhesive is loosened you can pry the battery out with a plastic opening tool.
-
-
-
이 단계는 번역되지 않았습니다. 번역을 도와주십시오
-
After the battery has been removed, there are two screws that also need to be removed
-
There are two gold strips that you must disconnect from the motherboard, They simply pop right off.
-
-
이 단계는 번역되지 않았습니다. 번역을 도와주십시오
-
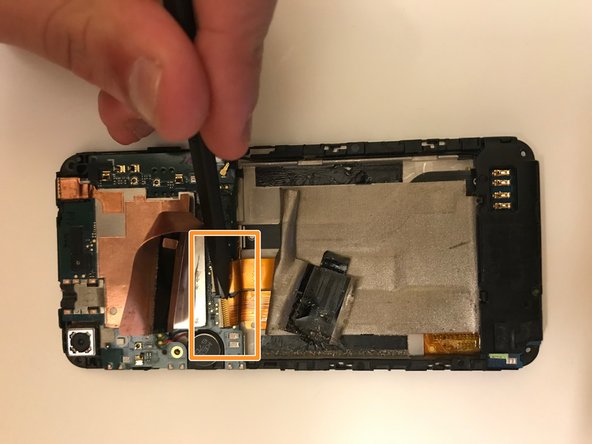
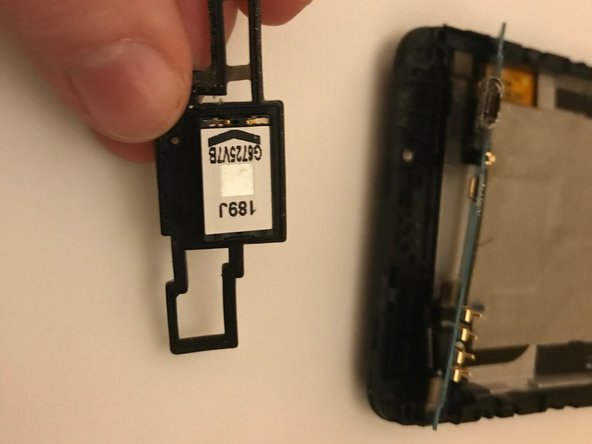
Remove the circular piece from the motherboard.
-
Proceed to pry off the motherboard. Go around all edges with the plastic opening tool and it should come off with ease.
-
-
이 단계는 번역되지 않았습니다. 번역을 도와주십시오
-
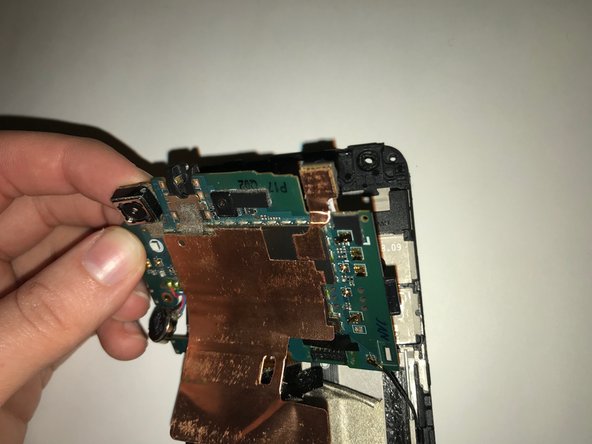
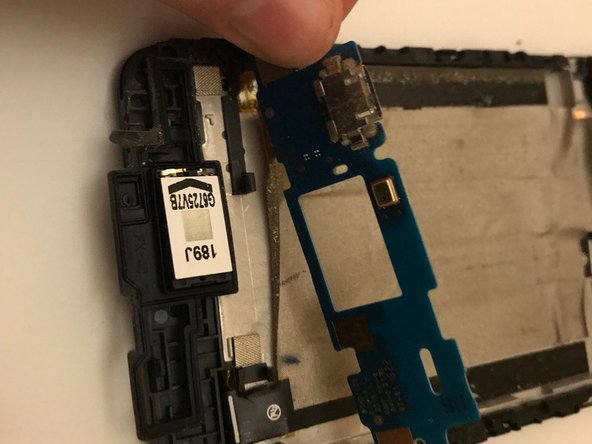
Next, the motherboard should still be connected by a wire that leads to the bottom portion of the phone.
-
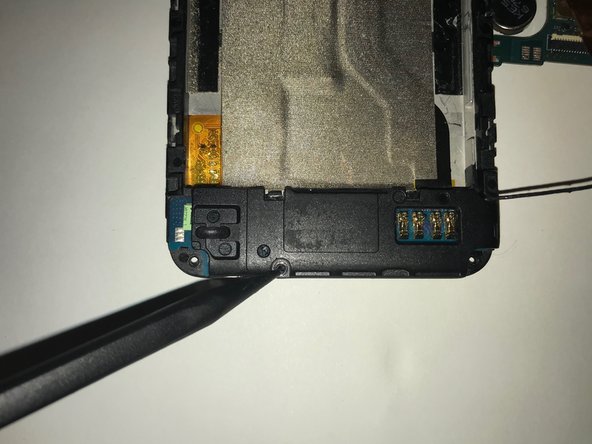
To remove the black plastic piece there is one screw that needs to be removed then you can pry it off with the plastic opening tool.
-
-
이 단계는 번역되지 않았습니다. 번역을 도와주십시오
-
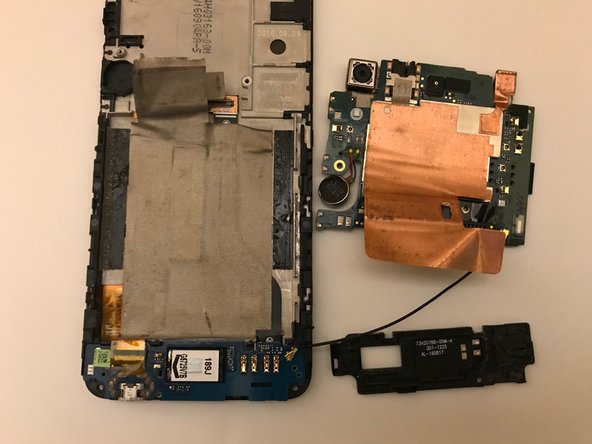
To fully remove the motherboard the last step is to disconnect the wire that was previously mentioned.
-
Remove the motherboard.
-
-
이 단계는 번역되지 않았습니다. 번역을 도와주십시오
-
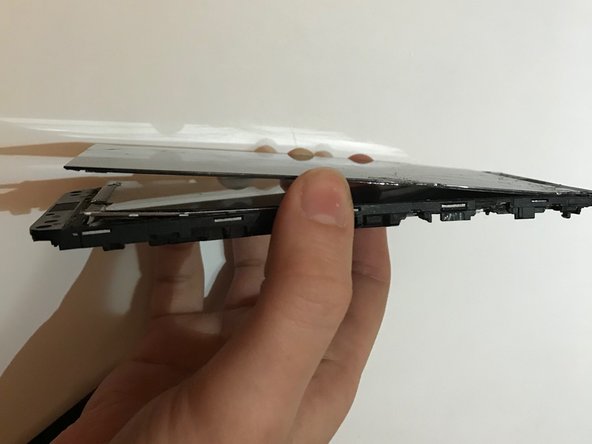
After the phone is gutted, all that is left is to pry the actual screen off from the backing and prepare for replacement.
-


다른 2명이 해당 안내서를 완성하였습니다.
팀
