이 안내서에는 최근 변경 사항이 더 있습니다. 최신 비검증 버전으로 전환하십시오.
소개
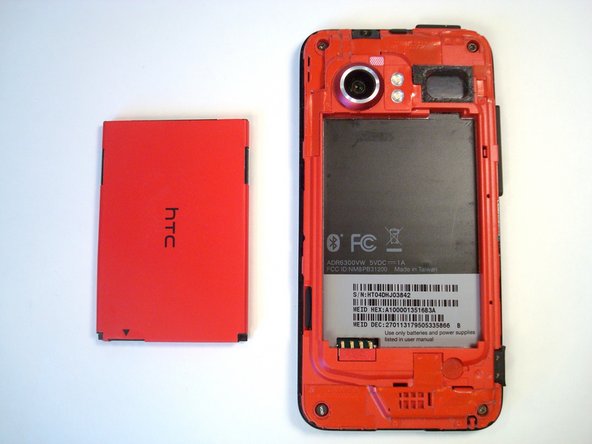
Use this guide to remove or replace your current MicroSD card. The Droid Incredible supports a MicroSD card up to 32 GB.
-
-
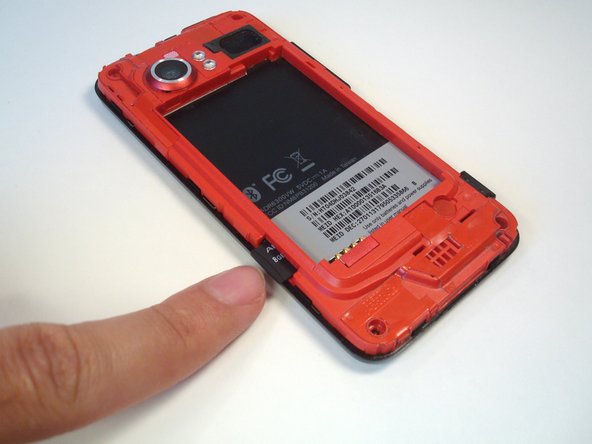
Press your thumbnail into the slot between the rear panel and the front case located in the bottom of the phone.
-
Gently pry the rear panel up and away from the phone. You may need to slide your thumb up the crack to separate the rear panel from the front case.
-
-
-
-
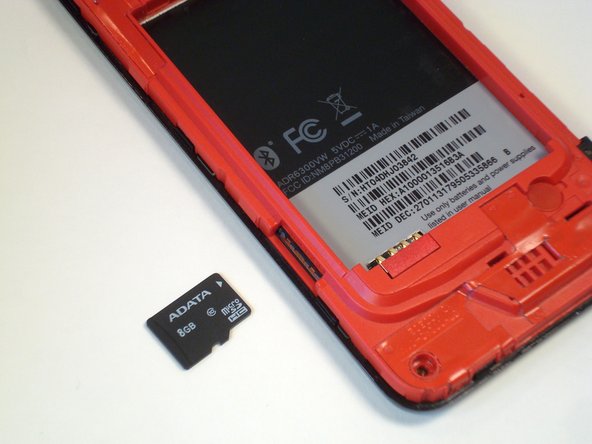
Press the MicroSD card further into its slot until it clicks.
-
Release the MicroSD card, and it will pop out slightly.
-


To reassemble your device, follow these instructions in reverse order.
To reassemble your device, follow these instructions in reverse order.
다른 한 분이 해당 안내서를 완성하였습니다.
