이 버전에는 잘못된 편집 사항이 있을 수 있습니다. 최신 확인된 스냅샷으로 전환하십시오.
필요한 것
-
이 단계는 번역되지 않았습니다. 번역을 도와주십시오
-
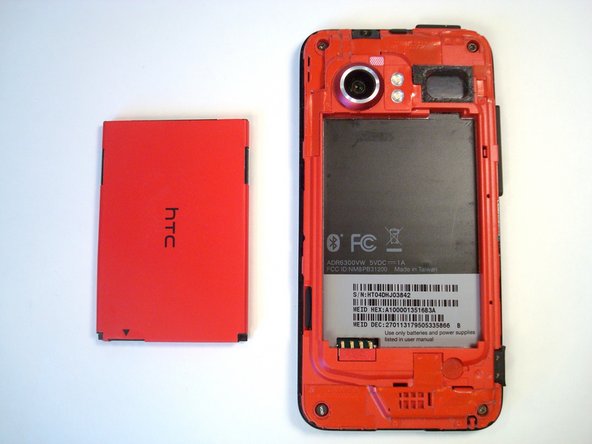
Press your thumbnail into the slot between the rear panel and the front case located in the bottom of the phone.
-
Gently pry the rear panel up and away from the phone. You may need to slide your thumb up the crack to separate the rear panel from the front case.
-
-
-
이 단계는 번역되지 않았습니다. 번역을 도와주십시오
-
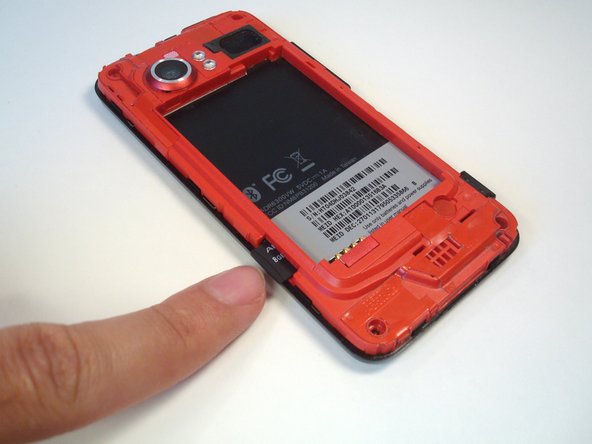
Insert a fingertip into the gap between the battery and the rear inner frame, located between the battery and the speaker. Slide the battery away from the speaker, widening the gap.
-
Lift the top of the battery up and remove the battery from the rear inner frame.
-
-
이 단계는 번역되지 않았습니다. 번역을 도와주십시오
-
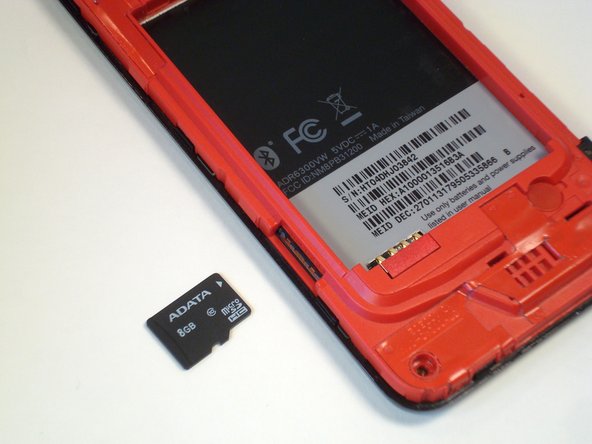
Press the MicroSD card further into its slot until it clicks.
-
Release the MicroSD card, and it will pop out slightly.
-


다른 한 분이 해당 안내서를 완성하였습니다.
