이 버전에는 잘못된 편집 사항이 있을 수 있습니다. 최신 확인된 스냅샷으로 전환하십시오.
필요한 것
-
이 단계는 번역되지 않았습니다. 번역을 도와주십시오
-
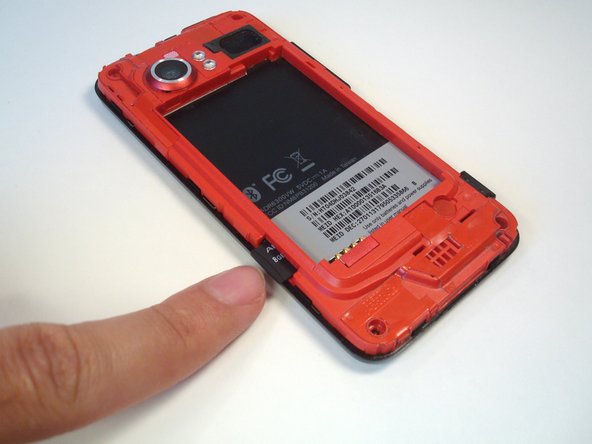
Press your thumbnail into the slot between the rear panel and the front case located in the bottom of the phone.
-
Gently pry the rear panel up and away from the phone. You may need to slide your thumb up the crack to separate the rear panel from the front case.
-
-
이 단계는 번역되지 않았습니다. 번역을 도와주십시오
-
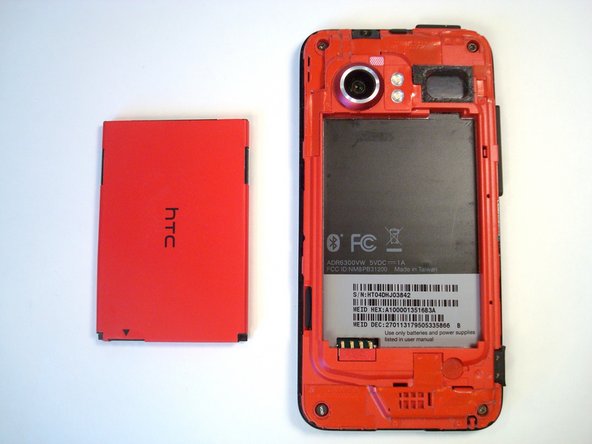
Insert a fingertip into the gap between the battery and the rear inner frame, located between the battery and the speaker. Slide the battery away from the speaker, widening the gap.
-
Lift the top of the battery up and remove the battery from the rear inner frame.
-
-
이 단계는 번역되지 않았습니다. 번역을 도와주십시오
-
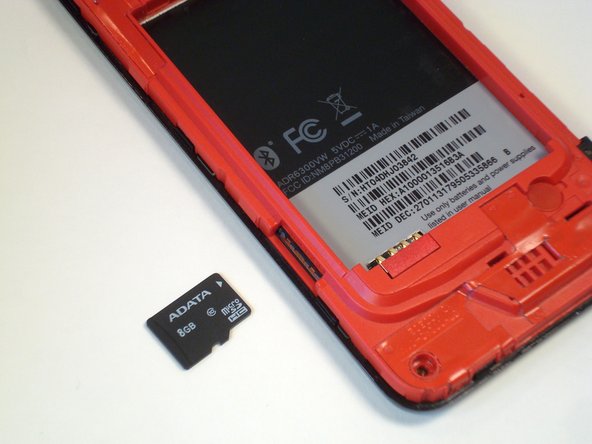
Press the MicroSD card further into its slot until it clicks.
-
Release the MicroSD card, and it will pop out slightly.
-
-
-
이 단계는 번역되지 않았습니다. 번역을 도와주십시오
-
Remove four T6 Torx screws securing the rear inner frame to the front case.
-
-
이 단계는 번역되지 않았습니다. 번역을 도와주십시오
-
The rear inner frame is attached to the front case by nine plastic clips, marked here for reference.
-
-
이 단계는 번역되지 않았습니다. 번역을 도와주십시오
-
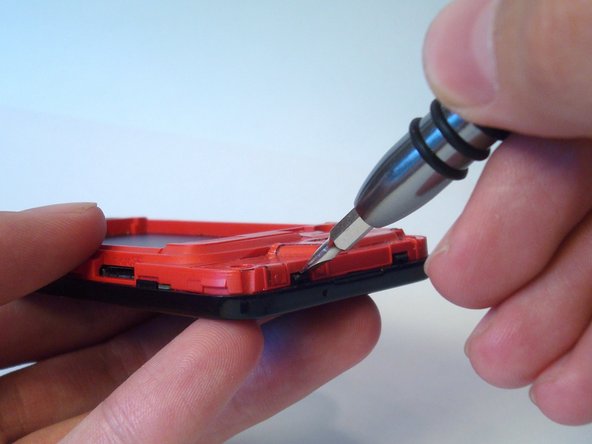
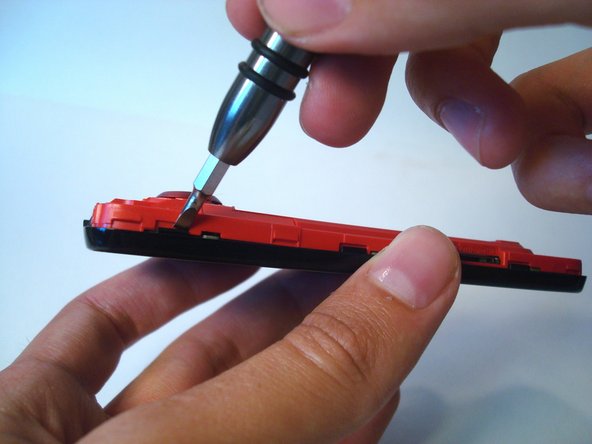
Starting on the bottom of the phone, gently push in on the (red) rear inner frame behind each black clip with a small flathead screwdriver.
-
Go slow and be gentle, you may have to go back and forth between each side several times to work the rear inner case free.
-
-
이 단계는 번역되지 않았습니다. 번역을 도와주십시오
-
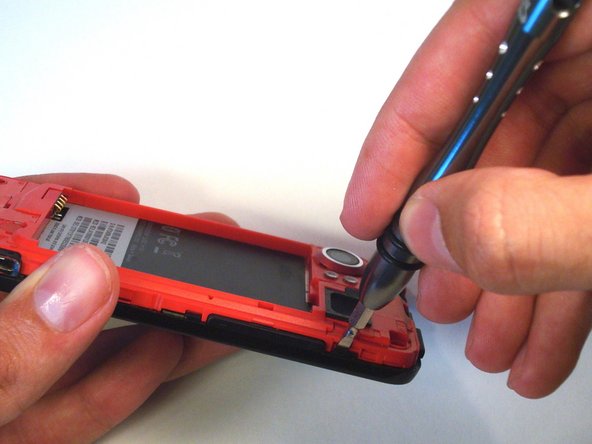
Loosen the clips on the side next to the camera using the method described in the previous step.
-
-
이 단계는 번역되지 않았습니다. 번역을 도와주십시오
-
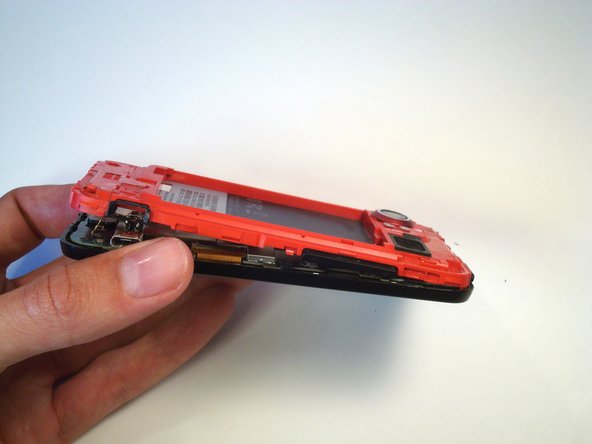
Rotate the phone 180 degrees and loosen the three clips on the side by the speaker. Note that the middle clip on this side is smaller than the others.
-
-
이 단계는 번역되지 않았습니다. 번역을 도와주십시오
-
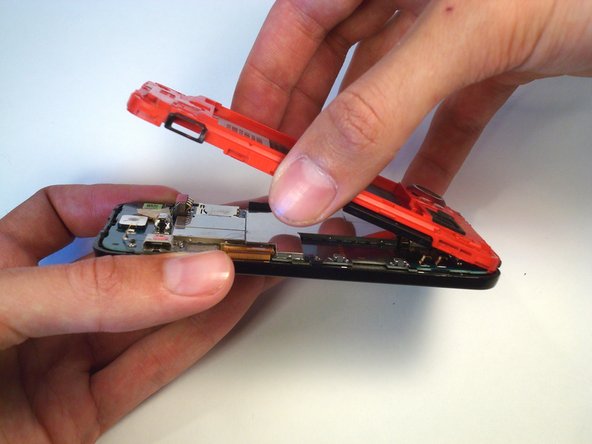
Use the same technique to loosen the clip on the top of the phone.
-
You may need to gently lift the bottom of the rear inner frame to free this clip.
-
-
이 단계는 번역되지 않았습니다. 번역을 도와주십시오
-
Pry the rear speaker out of its socket with a small flathead screwdriver.
-