이 버전에는 잘못된 편집 사항이 있을 수 있습니다. 최신 확인된 스냅샷으로 전환하십시오.
필요한 것
-
이 단계는 번역되지 않았습니다. 번역을 도와주십시오
-
Tools: Phillips #000 Screwdriver, T4 Torx Screwdriver, Safety Pry Tool (Guitar pick), Tweezers
-
-
이 단계는 번역되지 않았습니다. 번역을 도와주십시오
-
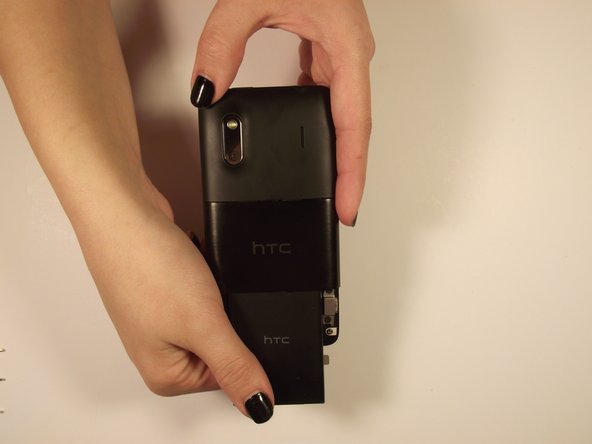
Use fingers on either end of the button edges of the phone to pull back cover off. It should slide off.
-
-
이 단계는 번역되지 않았습니다. 번역을 도와주십시오
-
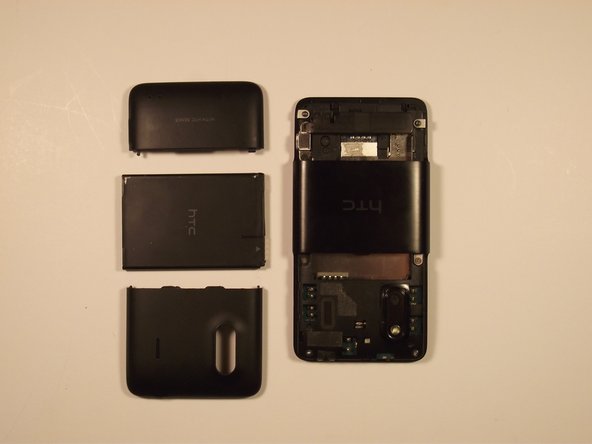
When open, pull on “Open” tab and it should rotate towards you
-
Grab the bottom edge of the battery and pull it toward you
-
-
이 단계는 번역되지 않았습니다. 번역을 도와주십시오
-
On the side of the top casing on the phone there should be a slot. Use your safety pry tool (guitar pick) pry around the perimeter of the casing to remove it
-
Info*: The adhesive tape that you may find will not be necessary for replacement later
-
-
-
이 단계는 번역되지 않았습니다. 번역을 도와주십시오
-
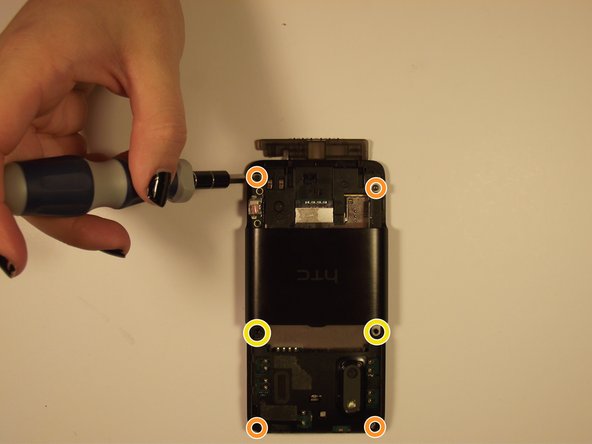
Remove the two Phillips screws to release the casing above the port
-
Remove the top and bottom pairs of Torx screws.
-
Remove the middle pair of two Phillips screws.
-
-
이 단계는 번역되지 않았습니다. 번역을 도와주십시오
-
To remove the remaining cover, lift the side port, which was previously uncovered, then lift the outer shell from the bottom of the phone and slide it forward
-
-
이 단계는 번역되지 않았습니다. 번역을 도와주십시오
-
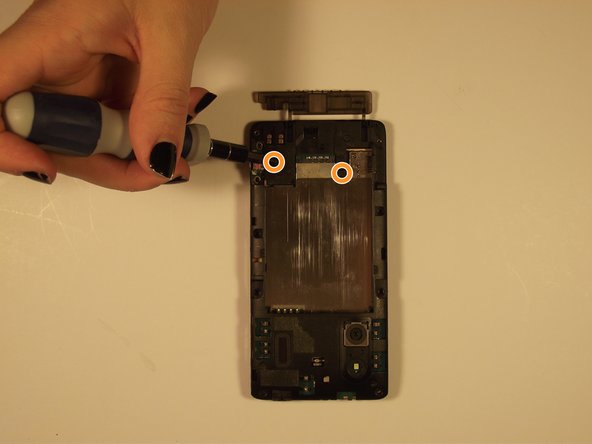
Remove the two revealed screws on the outside (Torx = red, Phillips = orange), and then remove the two phillips on the bottom of the phone
-
-
이 단계는 번역되지 않았습니다. 번역을 도와주십시오
-
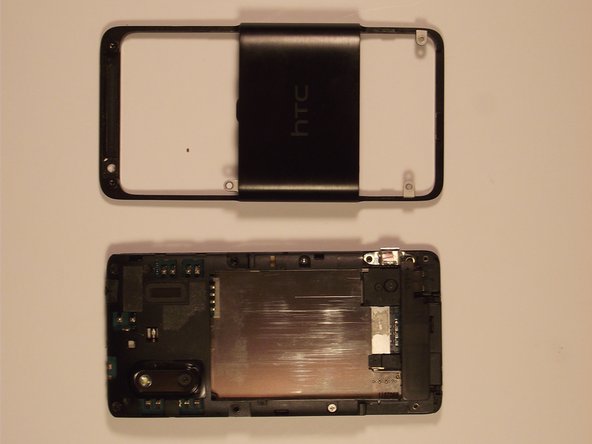
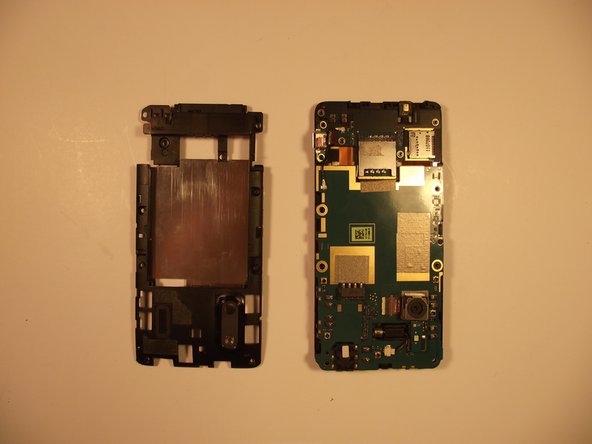
Remove the rear housing by prying around the edge with your Safety Pry Tool
-
-
이 단계는 번역되지 않았습니다. 번역을 도와주십시오
-
Unplug the wire connecting the vibrator to the board with your tweezers
-
-
이 단계는 번역되지 않았습니다. 번역을 도와주십시오
-
The flex cables should be the only binding and after being removed should leave you with the separate screen
-
다른 한 분이 해당 안내서를 완성하였습니다.


