소개
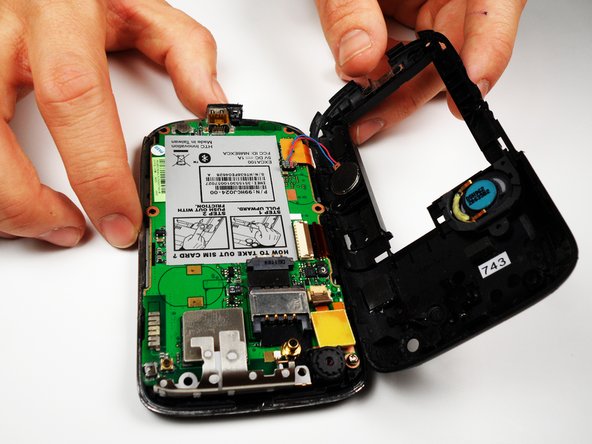
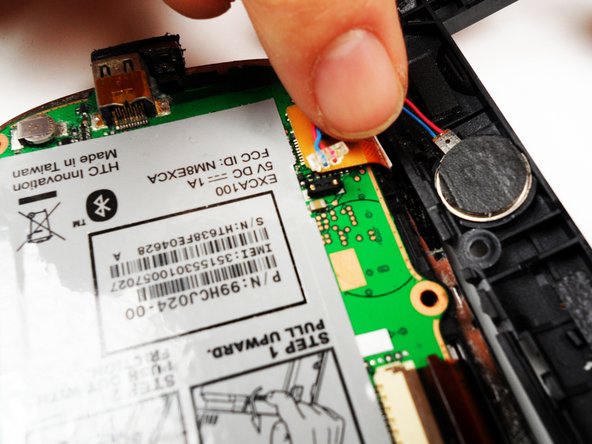
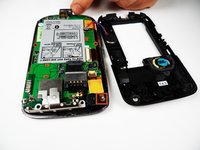
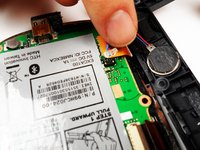
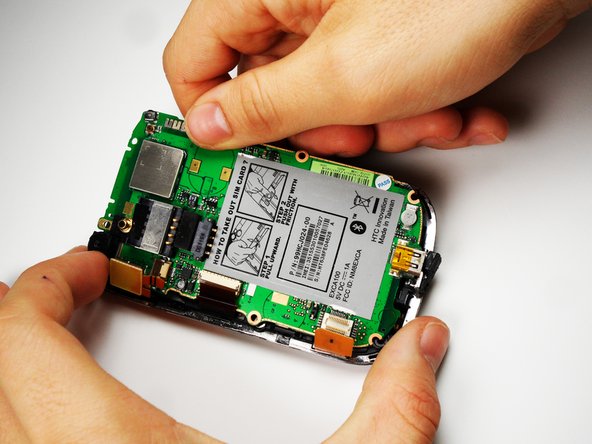
The motherboard is the main component of your device and is responsible for processing data and connecting the hardware. If your HTC Excalibur has experienced a malfunction like continuous crashes, failure to reboot, or it's unresponsive, this guide is here to help you go through the step-by-step process to replace your motherboard. Be careful while working with the device and avoid damaging the components of the device.
필요한 것
-
-
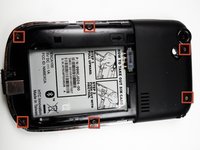
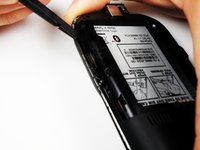
Remove the rubber screw covers. If needed, use a thin object to help pry them off. There should be two of them on top of the phone. Skip this step if already removed.
-
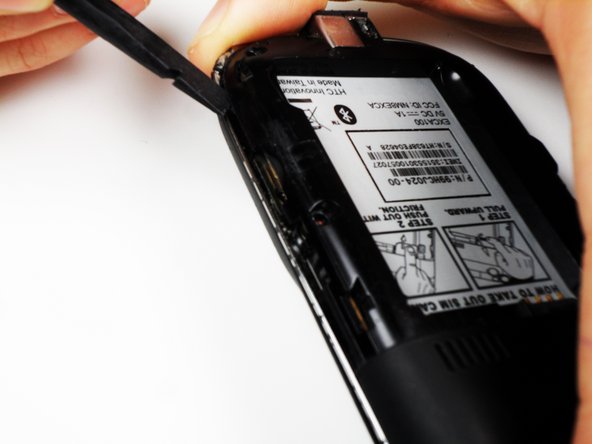
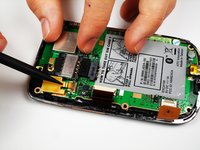
Pry loose the metal cover near the camera lens, circled in the picture.
-


To reassemble your device, follow these instructions in reverse order.
다른 한 분이 해당 안내서를 완성하였습니다.
팀

Cal Poly, Team 25-27, Garner Spring 2011 Cal Poly, Team 25-27, Garner Spring 2011 회원
CPSU-GARNER-S11S25G27
4 회원들
안내서 10개를 작성함